D-2 Mechanical Installation 3AXD50000011888
D.3 Necessary Tools
• Drill and drill bits
• Screwdriver and/or wrench with bits. The drive cover has Torx screws.
D.4 Moving the Drive
Move the transport package by pallet truck to the installation site.
D.5 Unpacking and Examining the Delivery (Frames R1 to R5)
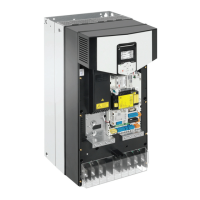
This illustration shows the layout of the transport package. Examine that all items are present and there are no signs of
damage. Read the data on the type designation label of the drive to make sure that the drive is of the correct type.
Figure D-3
4
9
5
8
10
3
2
1
6
7
11
1
2
3
4
5
6
7
8
9
10
12
Table D-1
Item Description Item Description
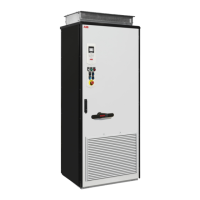
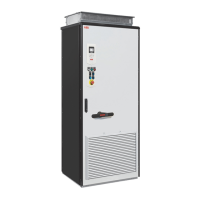
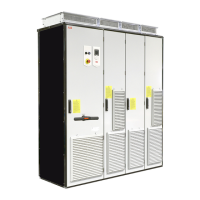
1 Drive with factory installed options.
Control cable grounding shelf. Romex
connectors in IP21 frames R1 to R3
in a plastic bag inside the cable entry
box.
5 Cardboard sleeve
2 Manuals CD 6 - 9 Cushions
3 Printed quick guides and manuals,
multilingual residual voltage warning
sticker
10 PET straps
4 Cardboard tray 11 Top cardboard cover
- - 12 Hood included with option +B056
To unpack:
• Cut the straps (10).
• Remove the top cardboard cover (11) and cushions (6 - 9).
• Lift the cardboard sleeve (5).
• Lift the drive.
 Loading...