D-10 Mechanical Installation 3AXD50000011888
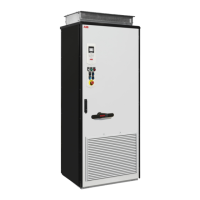
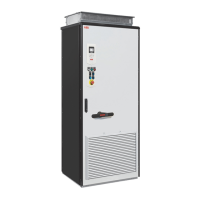
D.7.2 Frames R4 and R7 (UL Type 12)
1. Position the drive onto the screws on the wall as shown in section Frames R5 to R9 without vibration dampers on page
50.
2. Put the hood onto the upper screws.
3. Tighten the upper screws in the wall securely.
4. Tighten the lower screws in the wall securely.
Note: Do not open or remove the cable entry box for easier installation. The gaskets do not fulll the degree of protection if
the box is opened.
Figure D-11
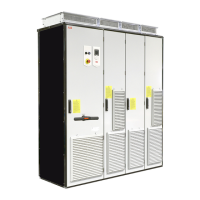
D.7.3 Frames R5 and R9 without Vibration Dampers
1. See the dimensions in chapter Dimension drawings. Mark the locations for the four or six mounting holes.
2. Drill the mounting holes.
3. Start the screws or bolts into the mounting holes.
4. Remove the front cover.
5. For IP21 units: Attach the cable entry box to the drive frame. For instructions, see the assembly drawing in the cable
entry box. A view of frame R5 is shown below.
6. Position the drive onto the screws on the wall.
7. Tighten the accessible screws in the wall securely.
Note: If you use the lower mounting screws, you can replace the drive module without unfastening the cable entry box.
 Loading...