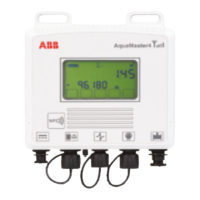
AQUAMASTER4 | ELECTROMAGNETIC FLOWMETER TRANSMITTER | OI/FET400-EN REV. D 27
Installing internal batteries – FET41X/43X
IMPORTANT (NOTE)
• Observe all warnings in Health, safety and security.
See page page 4.
• Never remove the transmitter lid assembly when
the water level around the flowmeter is close to the
enclosure.
• Only use 3.6 V lithium thionyl chloride D batteries
recommended by ABB - see list in Installation on
page 26.
• If fitting batteries for the first time, perform steps
2, 3 and 8 to 14 of the procedure below.
• Always fit batteries as new pairs.
• The transmitter assembly is not attached to the
housing by a restraining cord/cable. After removal,
place it in a clean dry accessible location.
• On small flanged sensors, the transmitter should be
90 ° to the pipe to avoid connectors impacting the
flanges.
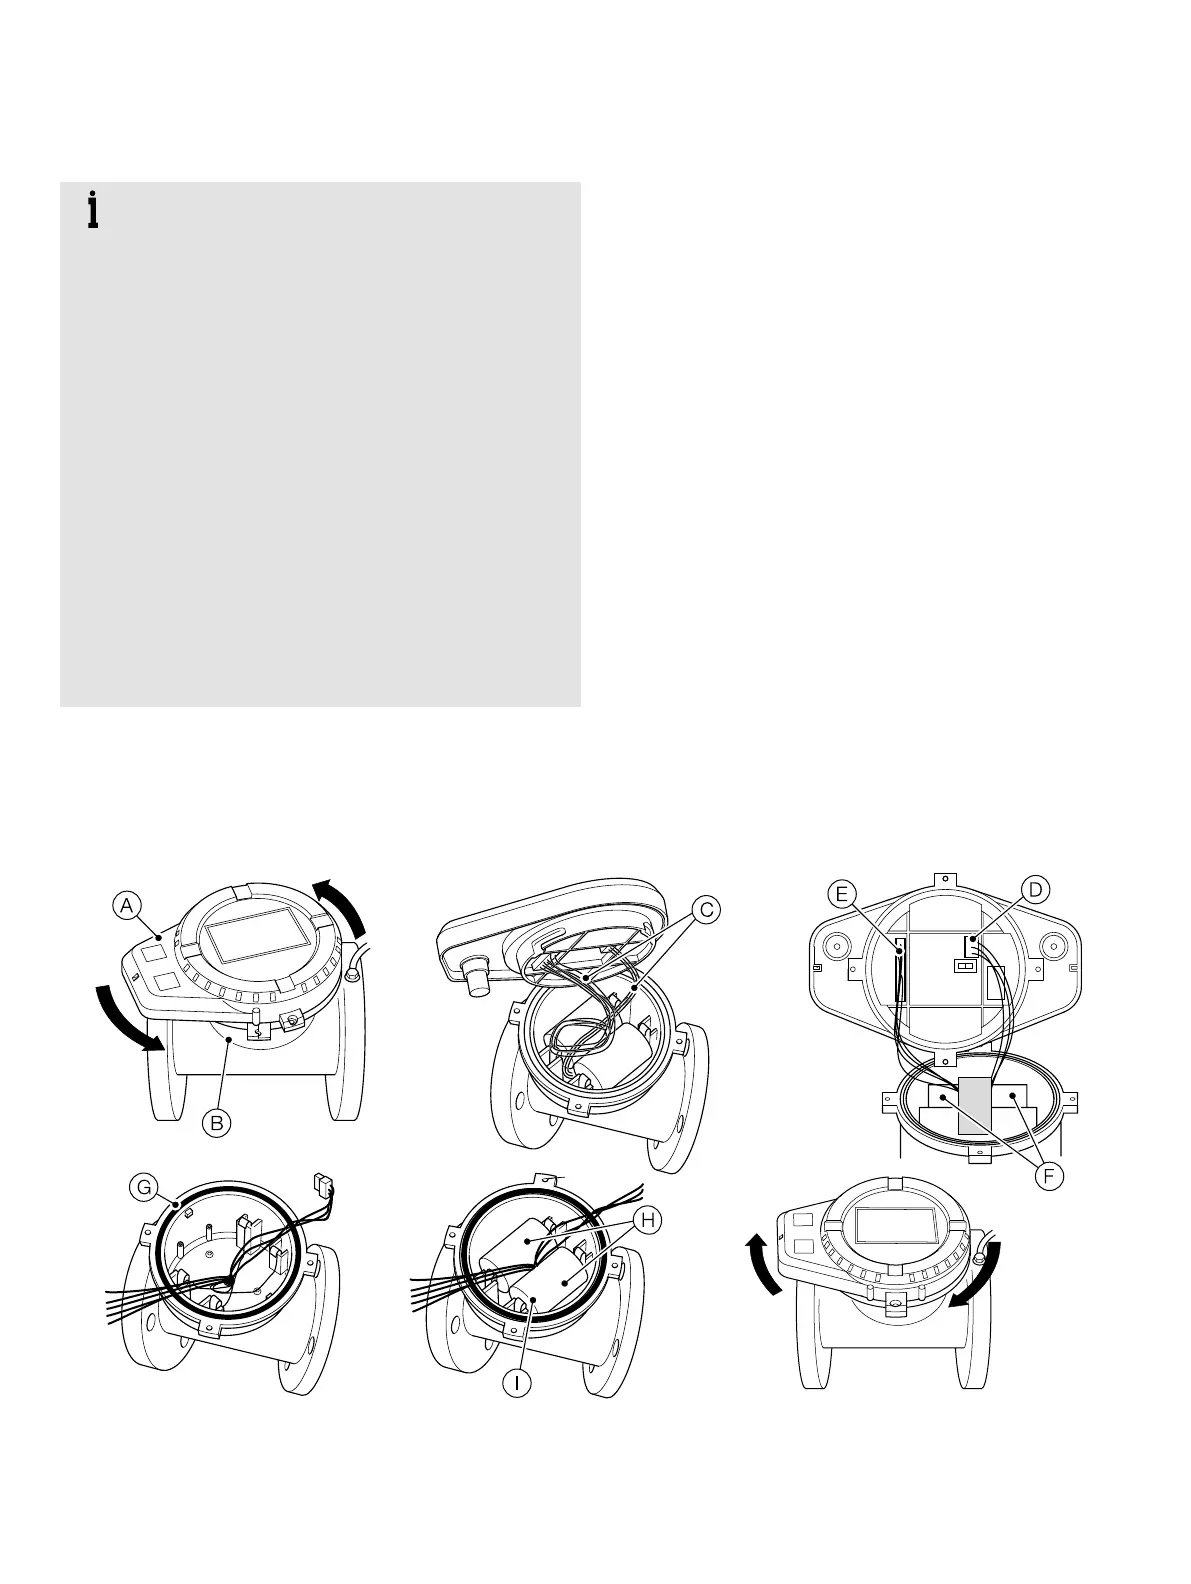
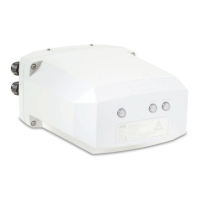
Referring to Figure 42:
1 If tamper detection seals or locking screw(s) are fitted
remove them – see page 37 and page 38 (not
applicable if fitting the batteries for the first time).
2 Rotate transmitter assembly
A anticlockwise to disengage
it from transmitter housing
B.
3 Carefully lift transmitter assembly
A away from transmitter
housing
B avoiding strain/damage to any attached internal
wiring
C.
4 Carefully disconnect battery connection plug
D.
5 Carefully disconnect sensor connection plug
E.
6 Remove existing batteries
F and discard safely –
refer to page 6.
7 Remove O-ring
G from the recess in the transmitter
housing and ensure transmitter/housing mating sealing
faces are clean. If contaminated, clean recess and sealing
faces and fit a new O-ring using supplied grease type (ABB
kit no. 3K220).
8 Remove and discard any silica gel bags (not illustrated).
9 Insert new batteries
H of the correct type into the holders,
ensuring the correct polarity (
I = positive [+]).
10 Place new silica gel bags from spares kit (not illustrated) in
the housing.
11 Carefully connect sensor connection cable plug
E avoiding
strain/damage to the cable loom.
12 Carefully connect battery connection plug
D avoiding
strain/damage to the cable loom.
13 Fit transmitter assembly
A onto transmitter housing B
and rotate clockwise until the tamper seal openings in the
housing and transmitter assembly align fully.
14 If required fit tamper seals or refit locking screw(s) – see
page 37 and page 38.
Figure 42 Fitting internal batteries (FET41X/43X)