- 75 -
000331BG
7 - Operation
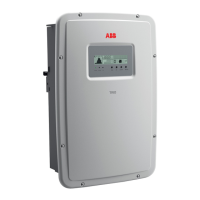
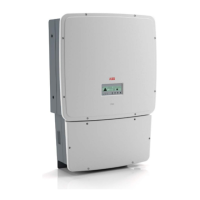
Display access and settings
Once the inverter has been commissioned, it is possible/necessary to
congure the inverter by accessing the Settings Menu directly from the
display. The following are the main adjustable parameters (see the sec-
tion on “Menu descriptions”)
• RS485 address: setting required in the case of system monitoring via
the RS485 line
• Vstart: setting required if requested by the congurator during the sy-
stem sizing procedure ("Vstart" parameter)
• MPPT scan: allows maximum power point tracking with settable sensi-
tivity and time interval ("MPPT" parameter).
• Setting of analogue inputs (if any): allows you to set the parameters
of the analogue sensors connected to the input (“Analogue Inputs”).
• Input Strings (where present): setting necessary for checking the
status of the fuses and the unbalance of the string currents at the input
(“Fuse control” parameter).
• Reactive power feed-in setting (where present): setting necessary
for managing the different ways of feeding reactive power into the grid
(“Reactive Power" parameter)
• Active power limitation setting (where present): setting necessary
to set a limit on the active power supplied by the inverter (“Power reduc-
tion” parameter)
Updating the firmware from an SD card
The rmware can be easily updated by means of an SD Card (4GB ma-
ximum capacity)
The latest rmware version is available from the download area of the websi-
te www.abb.com/solarinverters or from https://registration.abbsolarin-
verters.com
Perform the update during good irradiation conditions (avoid the dawn and dusk hours)
• Format the SD card with a "FAT32" File System
• Save the (.tib) update le on the SD Card. The le must not be com-
pressed and/or nested inside folders
• Turn the inverter off by physically disconnecting the AC and DC volta-
ges, as well as any voltages connected to the multi-function relay, then
open the inverter front cover.
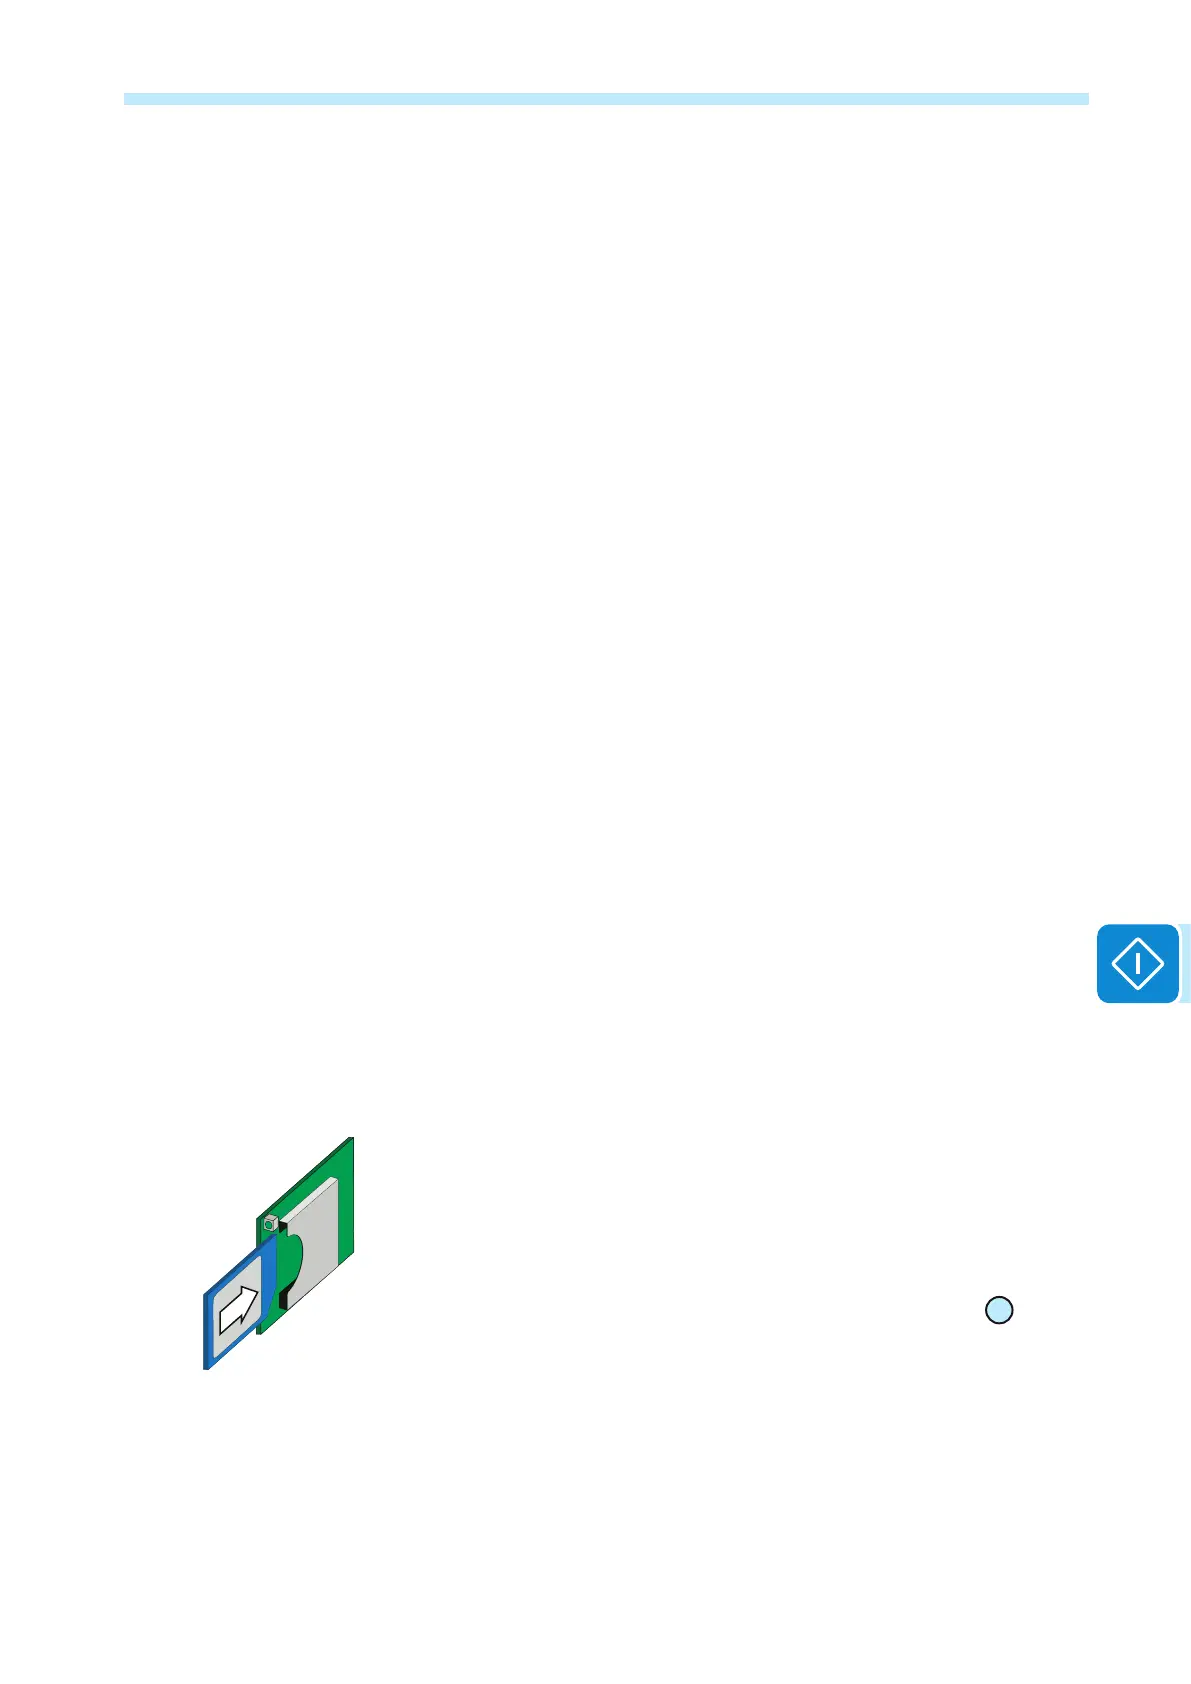
• Insert the SD Card in the dedicated memory card housing
25
with the
notched side facing down.
•Start the inverter
• The inverter display prompts for conrmation to launch the update
The update procedure starts automatically. Do not carry out any operation on the inverter
during the update process
• Once the procedure is completed, the display shows the update results
 Loading...