ABB Turbocharger VTC..4 Seite / Page 43
Demontage und Montage Kap. / Chap. 5 Disassembly and assembly
ABB Turbo Systems Ltd
HZTL 10104
- D -
ABB
- Deckel der Montage-Demontage-Vorrichtung
(90020) entfernen (s. Fig. 5-17/1).
- Montage-Demontage-Vorrichtung (90020) bis zum
Anschlag in die Radbüchse (25002) einschrauben
und mit Hakenschlüssel (90080) festziehen.
Vorsicht ! Vor der Montage des Verdichterrad-
satzes prüfen, ob der Kolbenring
(25003) richtig montiert und im Einstich
der Radbüchse mit Hochvakuumfett
vorzentriert ist (s. Fig. 5-17/2).
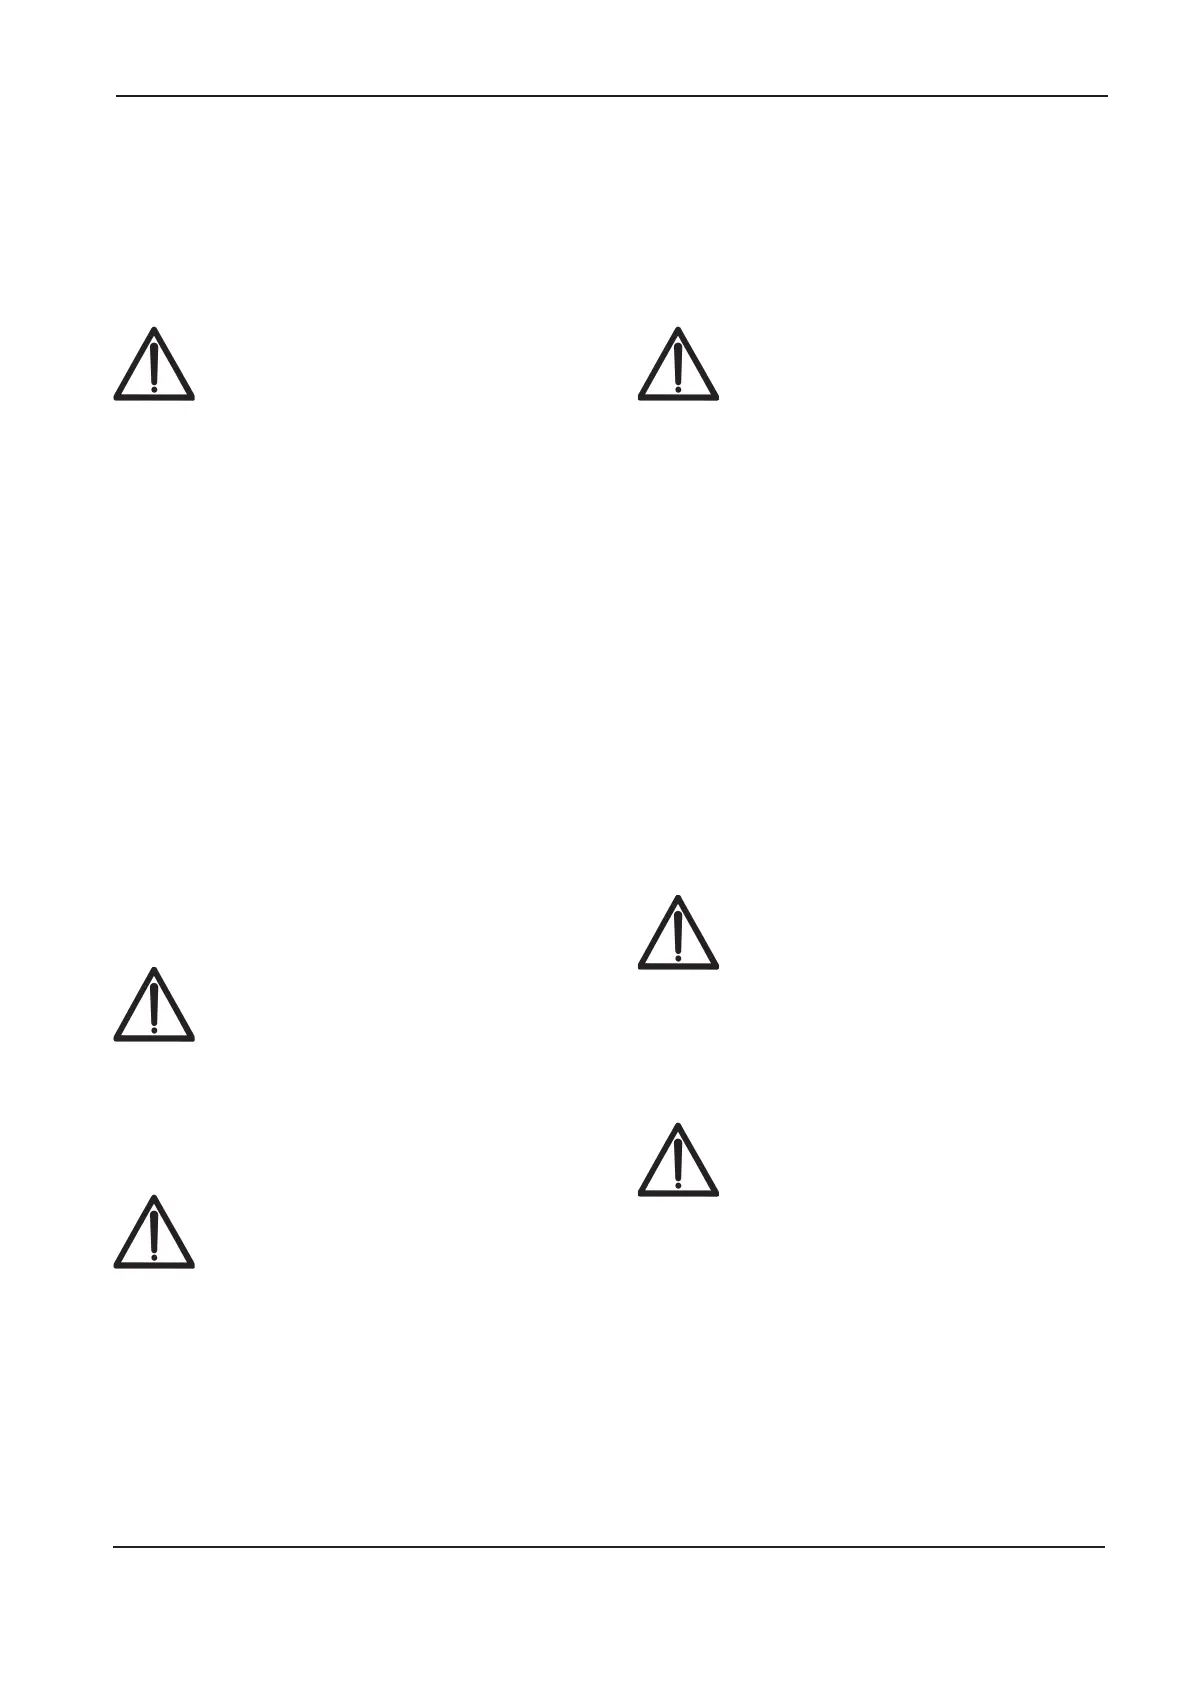
- Verdichterradsatz (25000) mit montierter Montage-
Demontage-Vorrichtung (90020) vorsichtig auf die
Welle schieben.
- Kolben der Montage-Demontage-Vorrichtung
(90020) mit 6kt-Stiftschlüssel bis zum Anschlag
eindrehen.
- Schlauch der Hydraulikpumpe (90023) an der
Montage-Demontage-Vorrichtung (90020) an-
schliessen.
- Hebel der hydraulischen Handpumpe (90023)
so lange betätigen bis die Stirnseite der Welle
(21001) mit dem Absatz in der Radbüchse (25002)
bündig ist.
Vorsicht ! Der Druck der Hydraulischen Hanpum-
pe sollte dabei 600 bar nicht überstei-
gen.
Falls bei diesem Druck der Verdichter-
radsatz noch nicht fertig aufgezogen ist,
Druck langsam und vorsichtig erhöhen.
Vorsicht ! Unter keinen Umständen eine Verlän-
gerung am Pumpenhebel anbringen !
- Schlauch der Hydraulikpumpe von der Montage-
Demontage-Vorrichtung (90020) entfernen.
- Kolben der Montage-Demontage-Vorrichtung
(90020) mit 6kt-Stiftschlüssel zurückschrauben.
- Montage-Demontage-Vorrichtung (90020) entfer-
nen.
- Remove the cover of the assembly-disassembly
device(90020)(seeg.5-17/1).
- Screw in the assembly-disassembly device into
the wheel bush (25002) up to the limit and tighten
it with the C-spanner (90080).
Caution ! Before assembling the set of com-
pressor wheels check if the piston ring
(25003) is placed correctly and cen-
tered with high vacuum grease in the
grooveofwheelbush(seeg.5-17/2).
- Carefully slide the set of compressor wheels
(25000) with mounted assembly-disassembly de-
vice (90020) over the shaft.
- With an Allen key screw-in the piston of the assem-
bly-disassembly device (90020) up to the limit.
- Connect the hose of the hydraulic pump (90023) to
the assembly-disassembly device (90020).
- Actuate the lever of the hydraulic pump (90023)
until the front end of the shaft (21001) is in line with
the shoulder in the wheel bush (25002).
Caution ! The pressure of the hydraulic pump
should not exceed 600 bars.
If the set of compressor wheels is not
yet in its nal position, carefully incre-
ase the pressure slowly.
Caution ! By all means do not extend the pump
lever !
- Remove the hose of the hydraulic pump from the
assembly-disassembly device (90020).
- With an Allen key screw back the piston of the
assembly-disassembly device (90020).
- Remove the assembly-disassembly device
(90020).