32
REPLACING A KEYGUARD
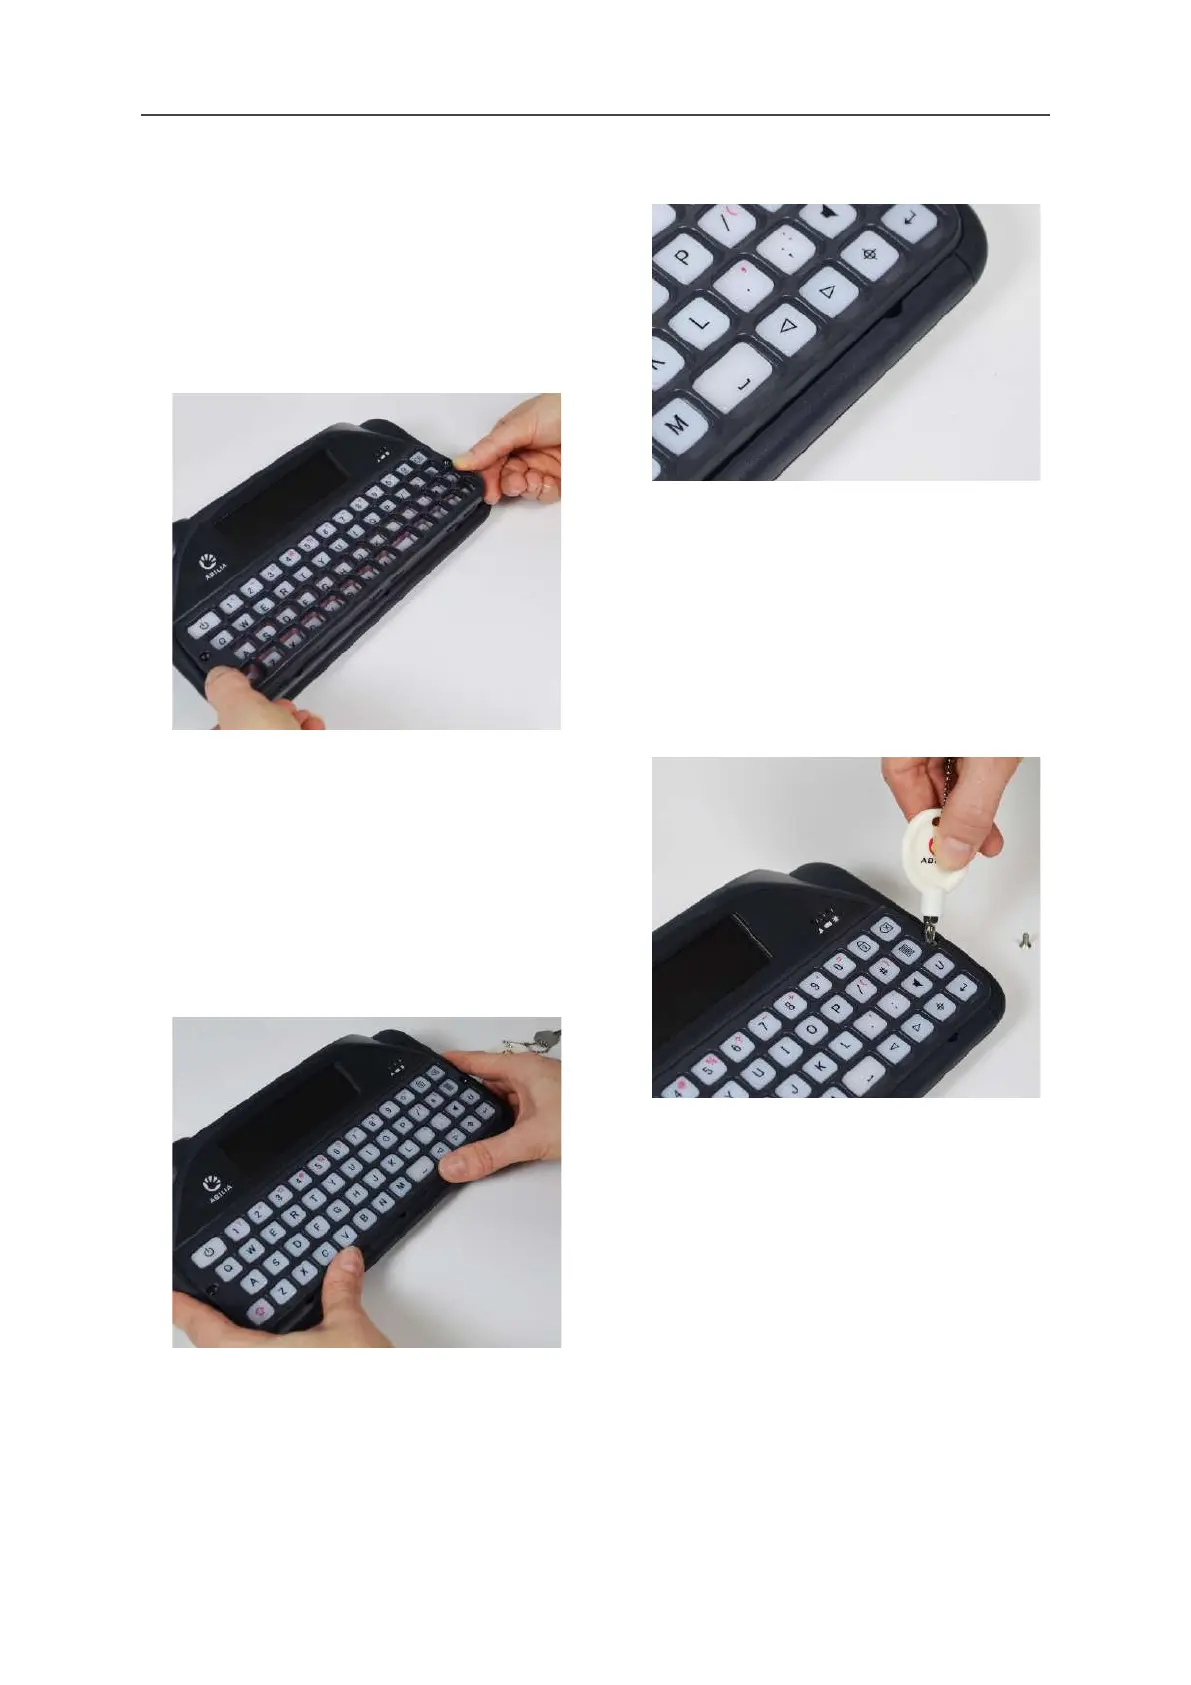
5. Select a new keyguard and line it up with
your Lightwriter’s keyboard. You can see
which way around your keyguard goes as
the wider Power key slot is on the top-left of
your keyboard. Holding the bottom of the
keyguard, gently push the top of the
keyguard in underneath the Main Display.
6. Once the top of the keyguard is in place,
gently push down on the front of the
keyguard, around where the leverage points
are. You will hear or feel a gentle click as the
keyguard fits into place. Make sure that
none of the keys are trapped underneath
the keyguard, and that all the edges are
fully pressed down.
QUICK TIP - If there is a gap along the front
of the keyguard, then you will need to press
the keyguard till it clicks properly into place.
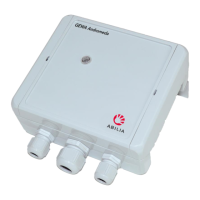
7. Using the screwdriver supplied with your
Lightwriter, replace the two screws on either
side of the keyguard. Do not overtighten
these screws, as you may damage the
keyguard or the case of your Lightwriter.
Your new keyguard is now fitted.
www.sentient-healthcare.ie