3-22 Machine Maintenance Procedures
3. Disconnect the following cables: (Figure 3-19)
Touchpad board FFC (D) from mainboard connector (C)
LED Board FFC (E) from mainboard connector (F)
4. Remove screws (B) from upper case.
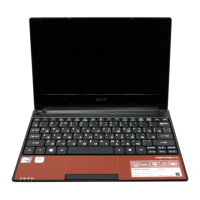
5. Separate upper case from lower case, as shown in Figure 3-20.
Figure 3-20. Separating Upper Case
6. Move along edges until upper and lower case are separated.
7. Remove upper case.
Upper Case Installation 0
1. Install upper case to lower case. (Figure 3-20)
2. Press along edges until there is no gap between upper case and lower case.
3. Install and secure screws (B) to upper case. (Figure 3-19)
4. Connect the following cables:
Touchpad board FFC (D) to mainboard connector (C)
LED Board FFC (E) to mainboard connector (F)
5. Turn computer over. (Figure 3-18)
6. Install and secure screws (A) to lower case.
7. Install keyboard.
ID Size Quantity Screw Type
A M2.0x5.0 6
B M2.0x5.0 7

 Loading...