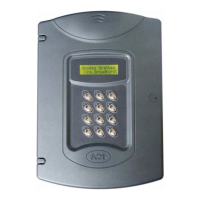
ACTpro 4000 TCP/IP Settings
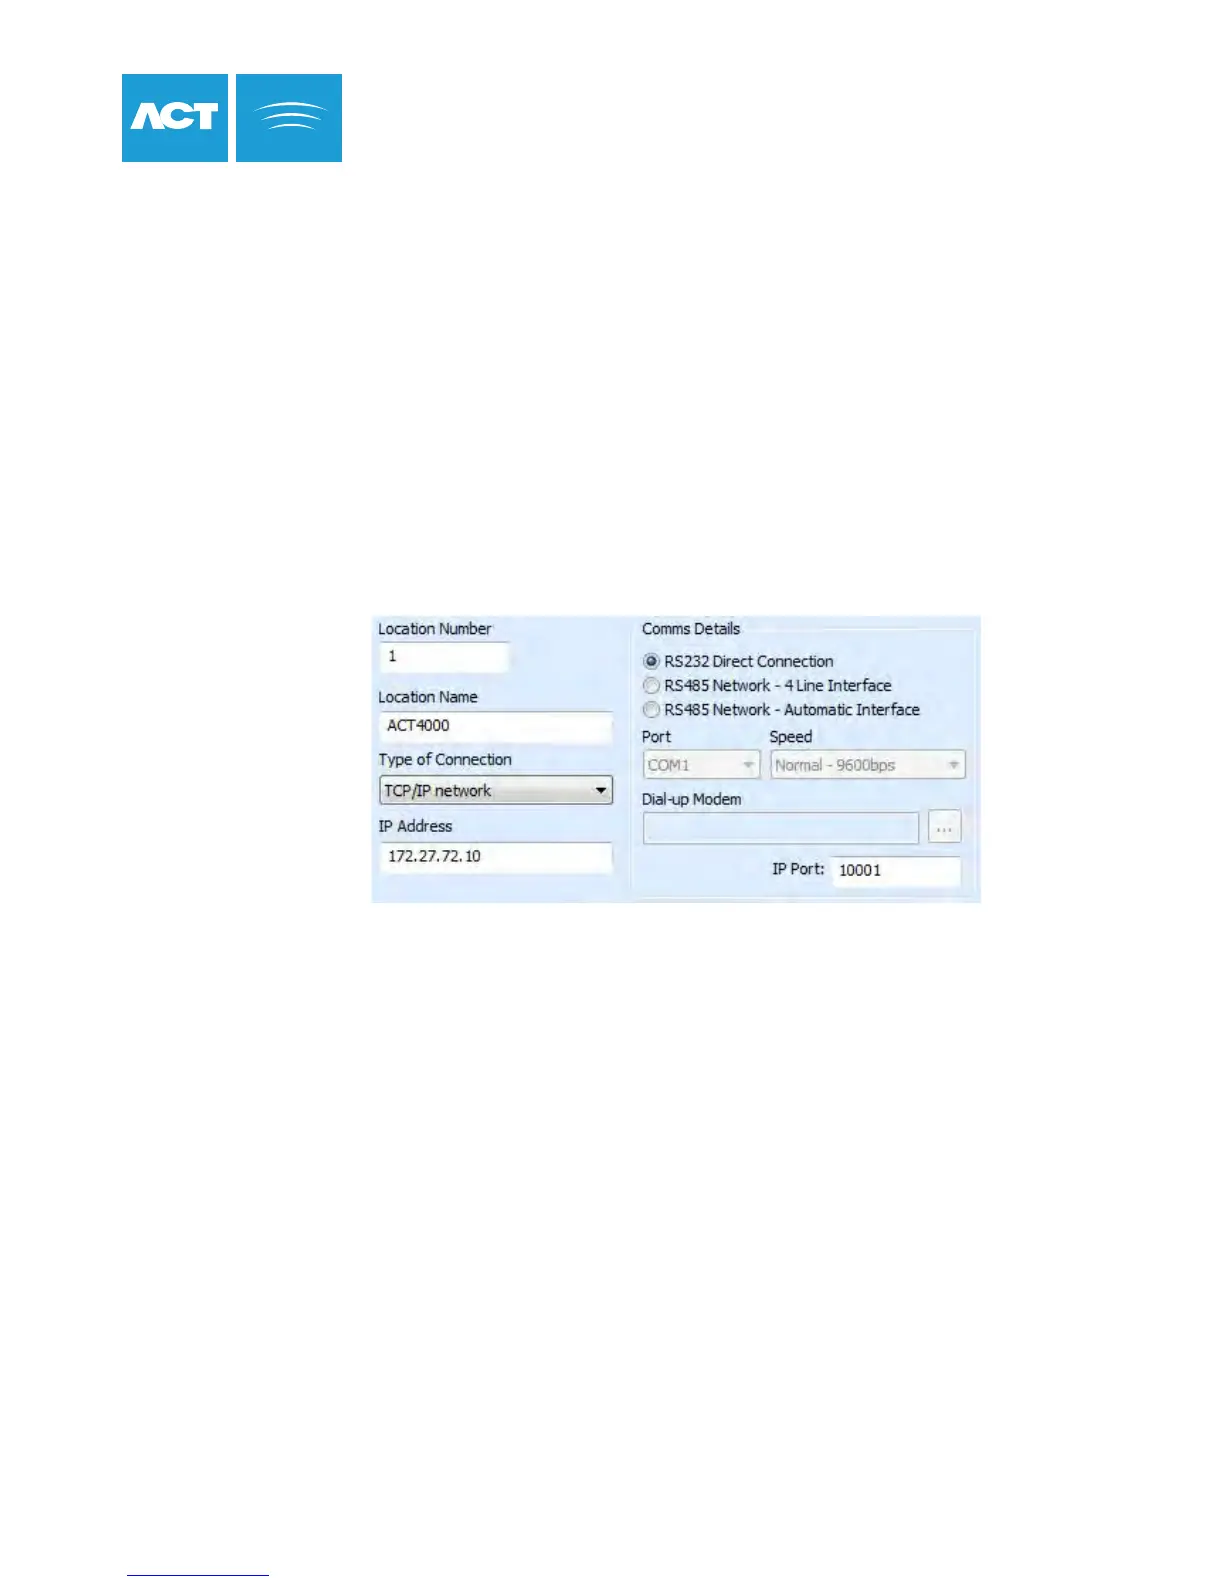
1. Enter the IP address, Network Mask, Default Gateway and Port Number from Installer Menu->TCP/IP Settings.
2. Connect the ACTpro 4000 to the Local Area Network and power on the ACTpro 4000.
The green LINK LED should illuminate.
3. From ACTWin, enter the IP address of the ACTpro 4000 or the NetBIOS name.
4. Connect to the ACTpro 4000.
Static IP Address
When using static IP address, ask the Network Administrator for the following:
• Static IP Address
• Network Mask
• Default Gateway
• TCP Port Number
1. Ask the Network Administrator to confirm that a DHCP server is available.
If there is no DHCP server then a static IP address must be used.
2. Insert Ethernet cable and power on the ACTpro 4000.
3. The ACTpro 4000 IP address will be automatically assigned by the DHCP server.
The IP address assigned can be viewed from the Installer Menu->TCP/IP Settings-> IP Address.
4. From ACTWin, enter the IP address or the NetBIOS name of the
ACTpro 4000 into the IP Address box.
5. Connect to the ACTpro 4000.
DHCP IP Settings
Before installing ACTpro 4000, confirm with the
Network Administrator that a DHCP server is available.
35