3.11 Enabling
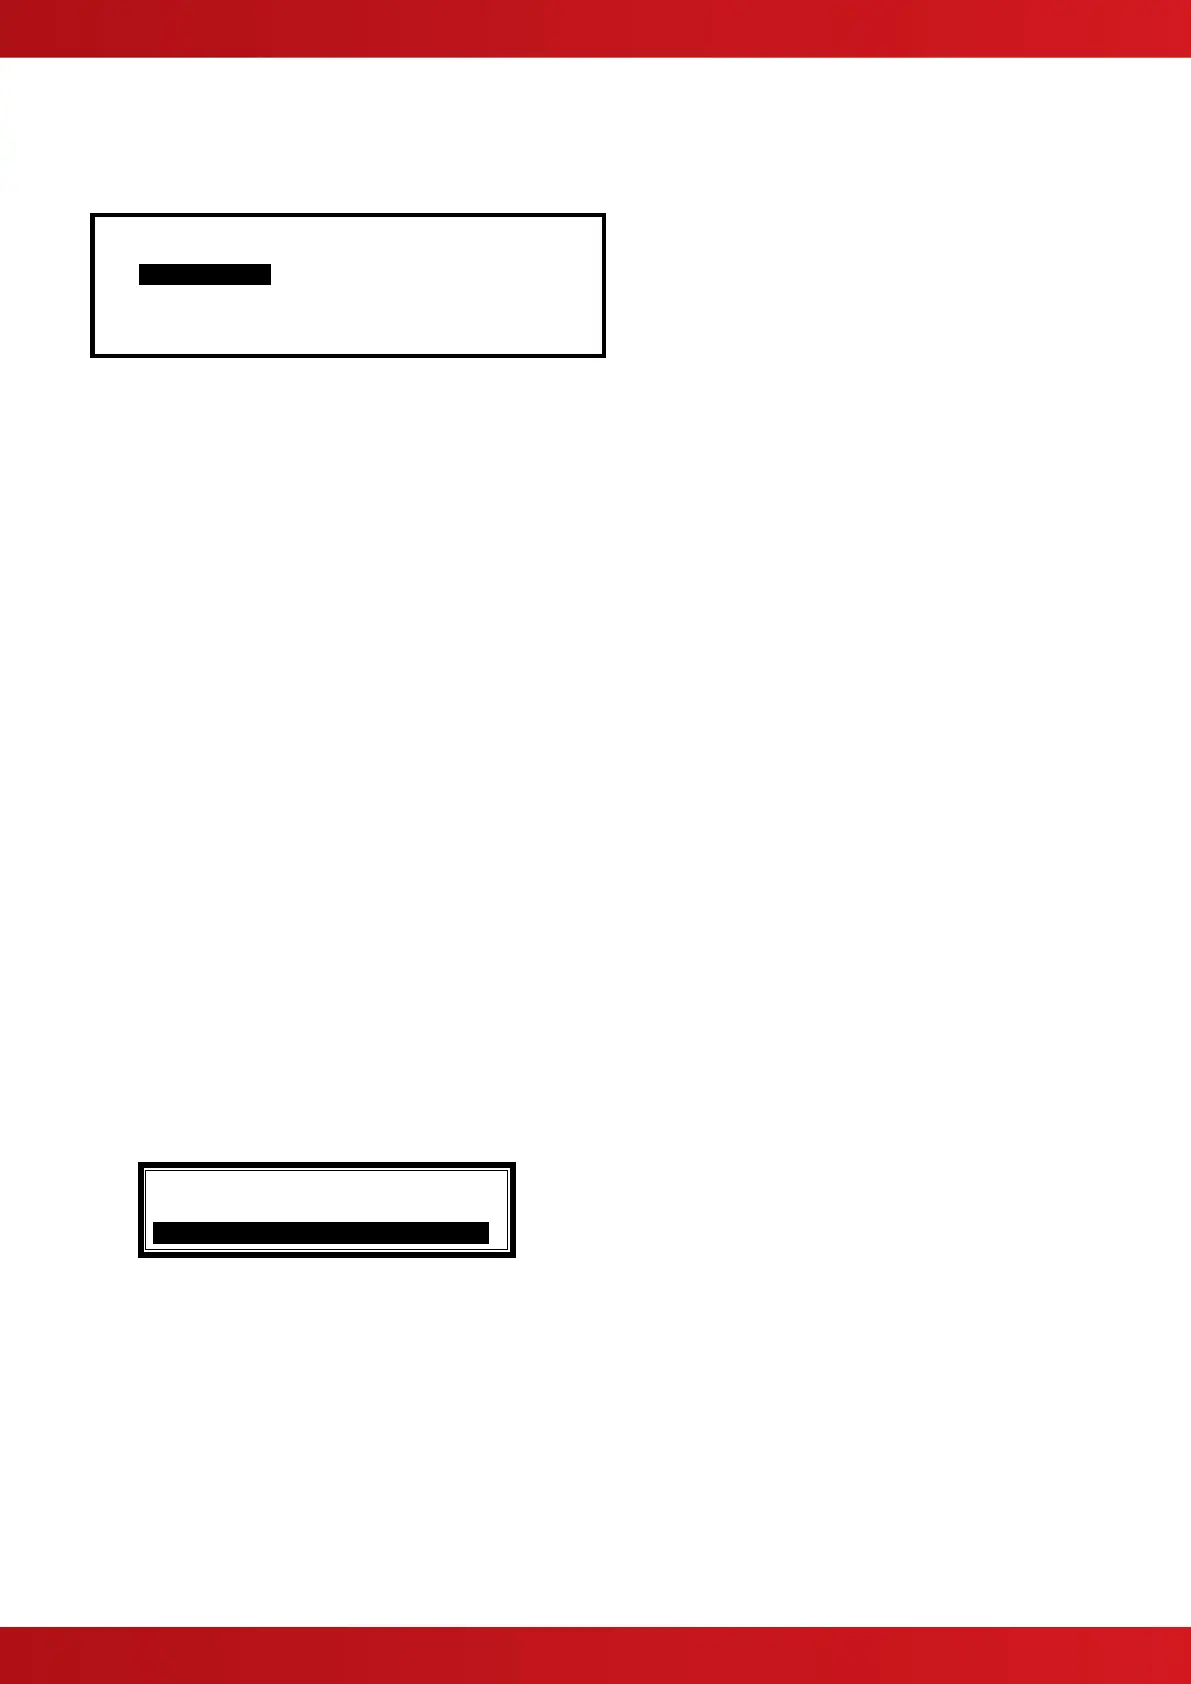
On selection of the Enable Menu Option, the display shows the available Enable Functions.
[Enable] User 1 Node 1
ZONE/INPUTS OUTPUTS GROUPS
REMOTE
Press the buttons to highlight the required menu option and then press the ✔ button to select it.
3.11.1 Enable - Zones and Inputs
Selecting this option will show a list of zones containing disabled input devices. The complete zone, individual
devices and other options within the zone can then be enabled (The display format is virtually identical to the
equivalent Disable menu).
3.11.2 Enable - Outputs
When this option is selected, a pop-up menu appears asking if you want to enable ALL SOUNDERS, ALL
BEACONS, FIRE ROUTING OUTPUTS, FIRE PROTECTION OUTPUTS, FAULT ROUTING OUTPUTS, ALL
OTHER RELAY OUTPUTS, ONLY SELECTED OUTPUTS or the PAGER OUTPUT. If ONLY SELECTED
OUTPUTS is selected, the display will list only zones containing outputs that have been disabled. The individual
outputs within the zone can then be enabled.
(The display format is virtually identical to the equivalent Disable Menu).
3.11.3 Enable - Groups
This option allows the re-enabling of User-defined Disablement Groups. The display is identical to the disable
option.
3.11.4 Enable - Remote
Information on the detectors connected to the panel and on the condition of all zones can be obtained with an
ipGateway interface.
In addition, the user can be assisted with operations such as disabling / enabling a detector from external
commands over a TCP/IP system. In order to ensure this only happens with the consent of the user the
REMOTE option must be enabled by the user.
If the current User ID does not have the necessary permission, the display prompts for entry of a password to
guard against inadvertent changes.
After selecting the option, a selection list is presented on the display as follows:
Use the buttons to highlight the required option and then press the ✔ button to confirm.
www.acornfiresecurity.com
www.acornfiresecurity.com