AM Series Boiler Heat Exchanger Maintenance & Replacement
Technical Instruction Document
Installing of the Heat Exchanger - Continued
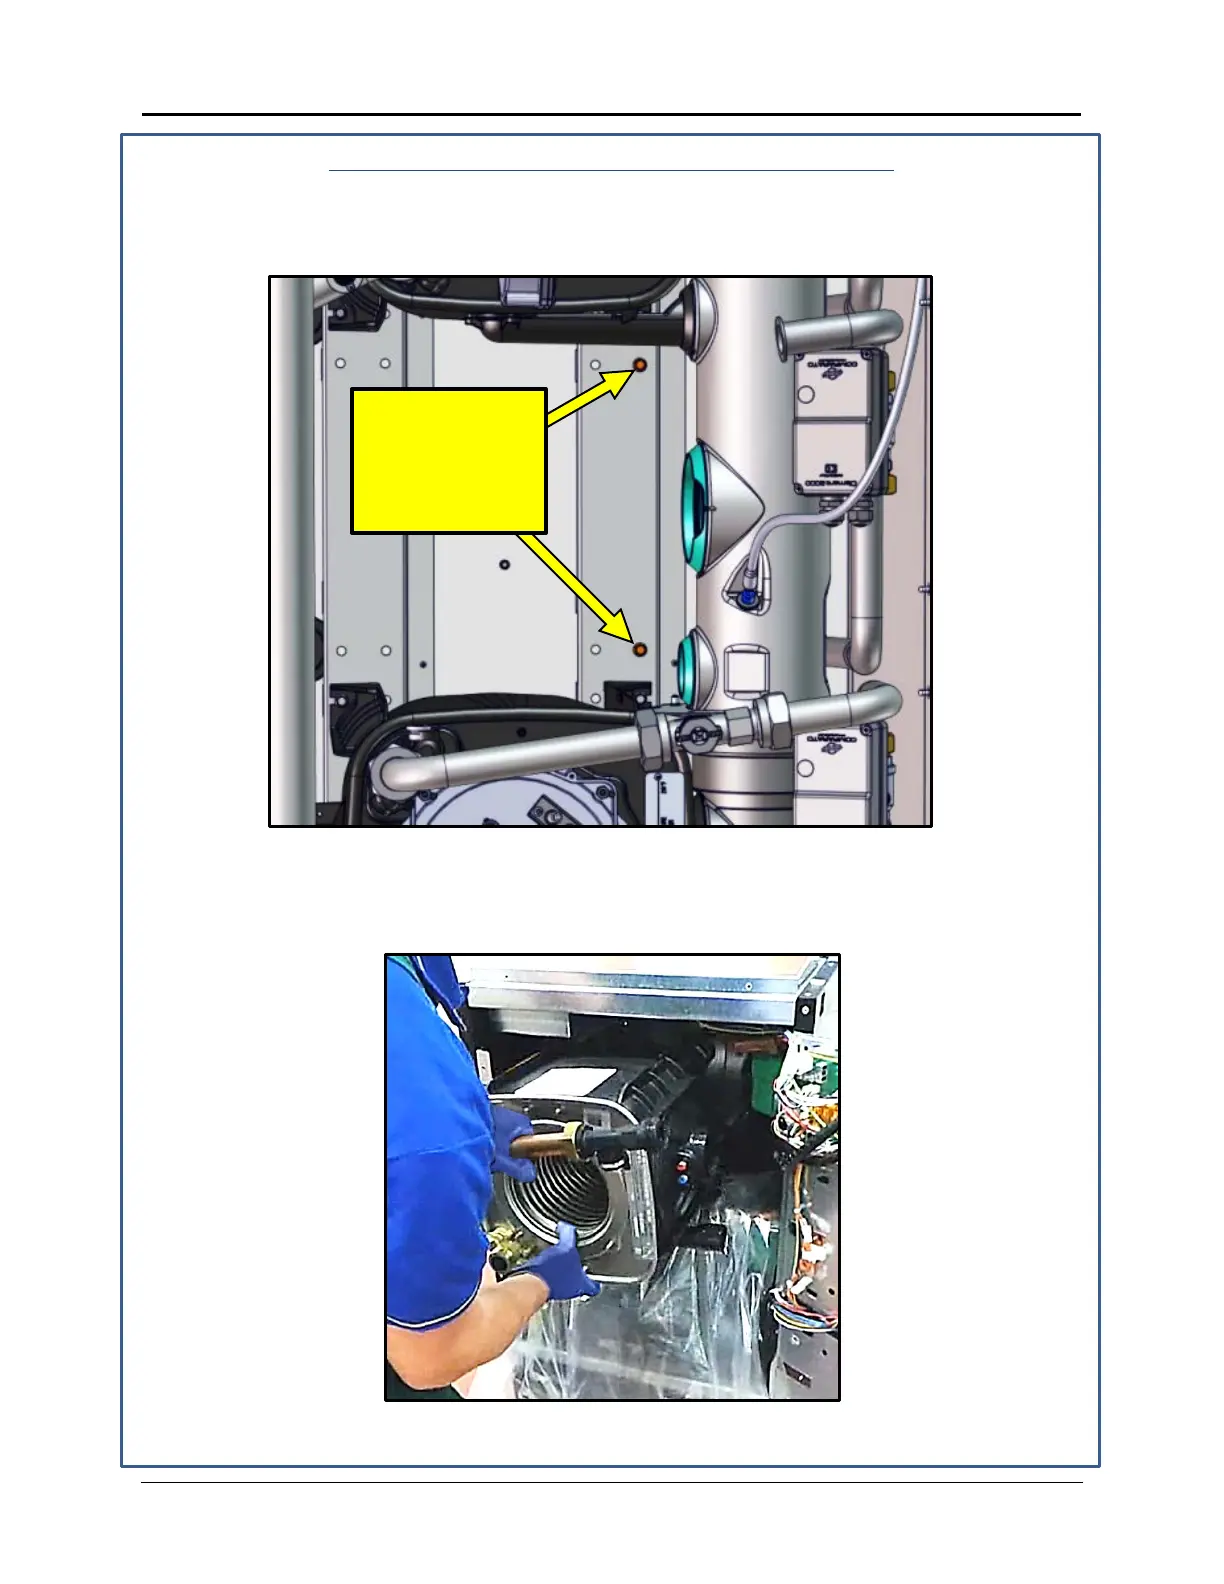
8. Ensure the upper and lower 10mm bolts on the right side at the rear of the unit (Figure 4-7)
are installed but loose so that the slots on the heat exchanger right-side mounts can easily
slip under.
Figure 4-7: Heat Exchanger Bolts at Rear of Unit
9. Insert the new heat exchanger into the unit, as shown in Figure 4-8, ensuring that the piece
of wood underneath retains its position.
Figure 4-8: Installing the Heat Exchanger into the Unit
BOLTS ON RIGHT
SIDE AT REAR
SHOULD BE
INSTALLED BUT
TID-0132_99 AERCO International, Inc. • 100 Oritani Dr. • Blauvelt, NY 10913 Page 22 of 36
Ph.: 800-526-0288 01/18/2015
 Loading...