EasyManuals Logo

Agilent Technologies 7697A Maintenance

Agilent Technologies 7697A
72 pages
To Next Page IconTo Next Page
To Previous Page IconTo Previous Page
Page #40 background imageLoading...
Page #40 background image
40 Maintenance
3 Maintenance
14
With the sample loop in front of the 6 port valve, connect
both ends of the new sample loop to positions 1 and 4 as
shown in Figure 29.
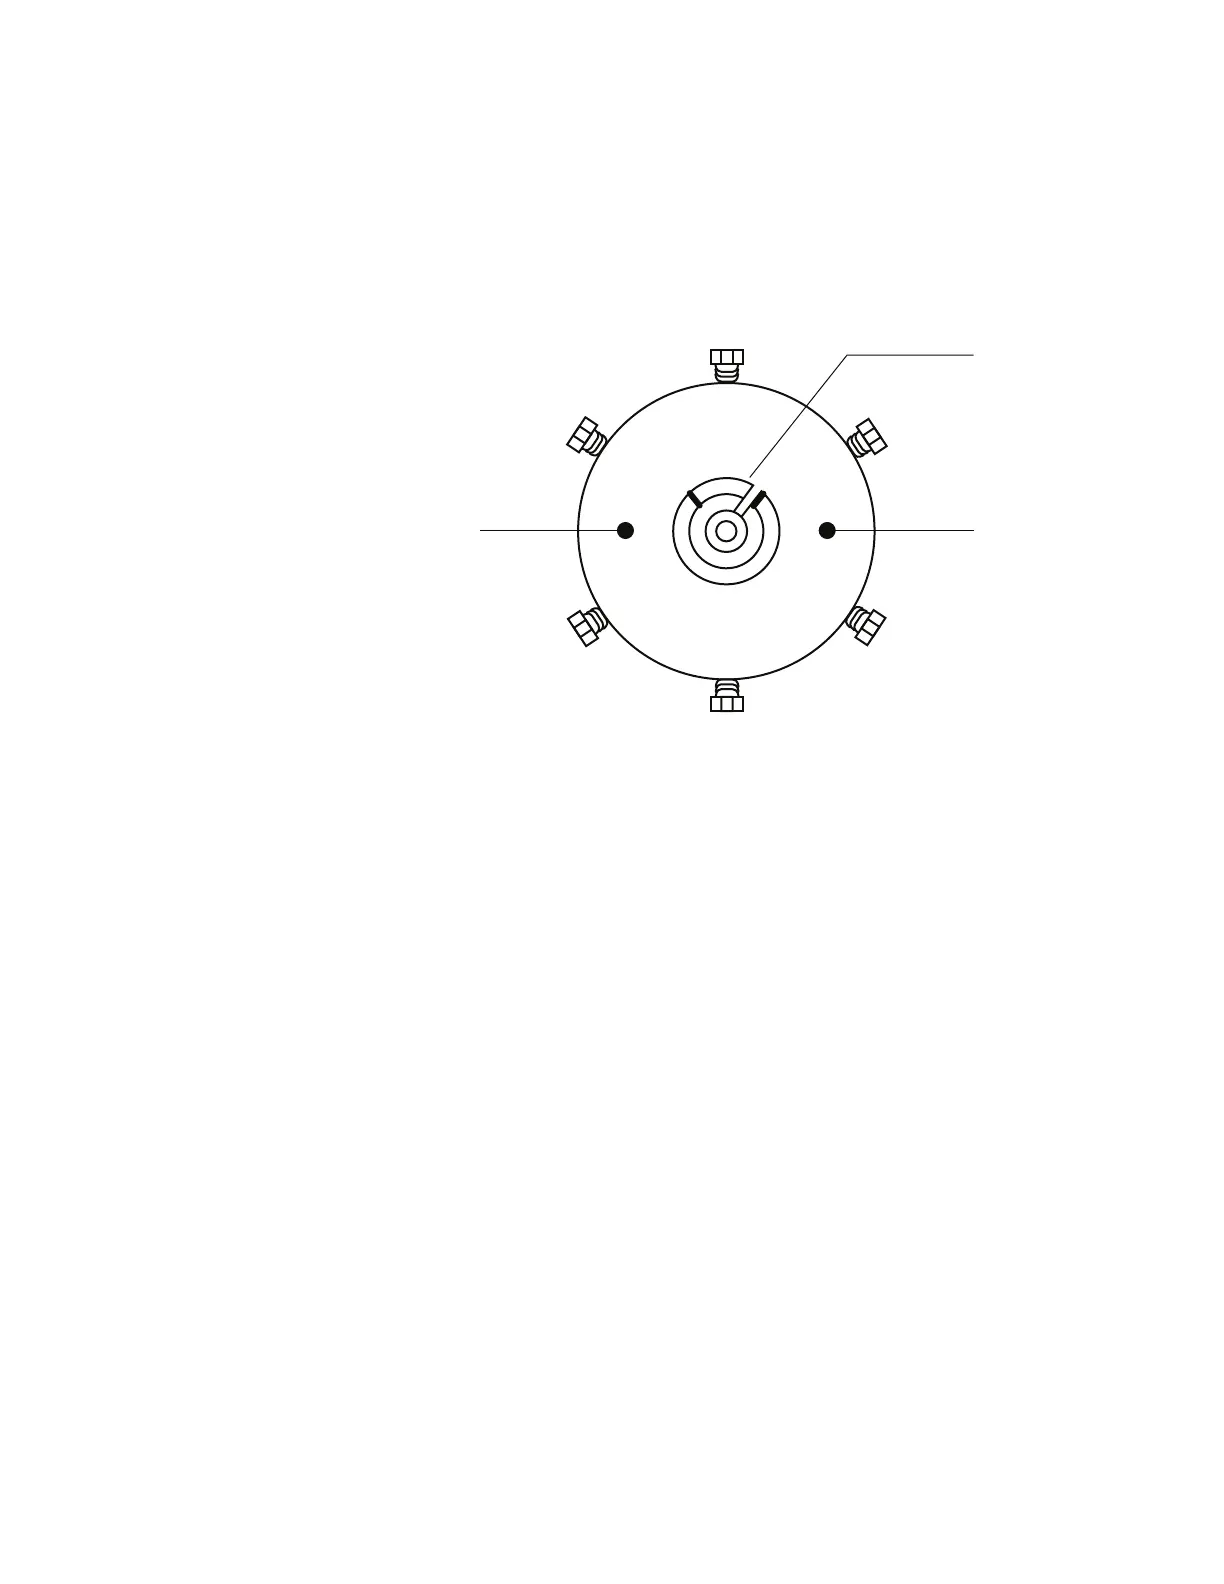
Figure 28 6 port valve position numbers
15 Finger tighten the nuts. Once both nuts are well- engaged,
loosen them by one rotation.
Port 4
Port 1
Port 2
Port 3
Port 6
Port 5
Mounting hole
Valve rotor
Mounting hole

Other manuals for Agilent Technologies 7697A

Questions and Answers:

Question and Answer IconNeed help?

Do you have a question about the Agilent Technologies 7697A and is the answer not in the manual?

Agilent Technologies 7697A Specifications

General IconGeneral
BrandAgilent Technologies
Model7697A
CategoryMedical Equipment
LanguageEnglish

Related product manuals