48 Maintenance
3 Maintenance
10
Using a small pencil magnet, set the new rotor in place
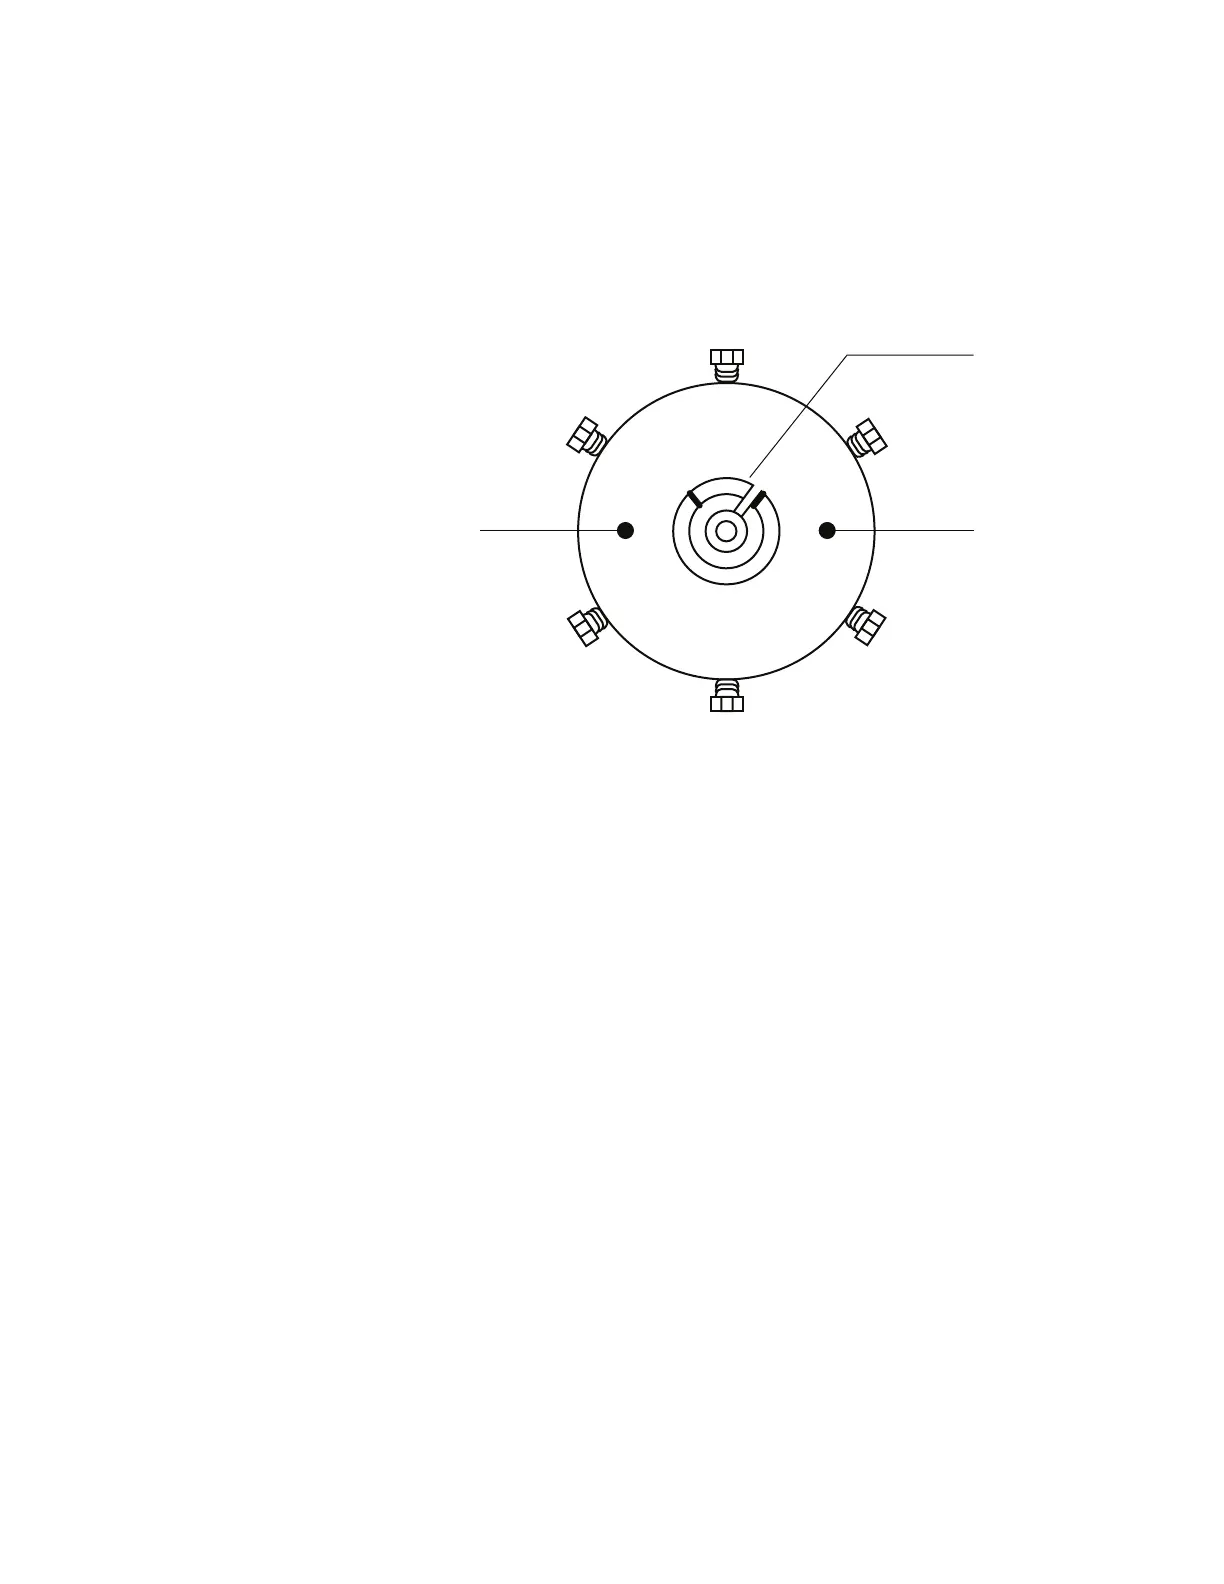
on the 6 port valve with the rotor ID letter facing port 4
(Figure 33).
Figure 33 The 6 port valve and valve rotor
11 Completely insert the rotor into the valve body. Make sure
the rotor tab does not touch the interior of the valve
body.
12 Using a small, narrow object such as a pencil, hold the
rotor in place while pulling the pencil magnet from the
rotor.
13 Replace the preload assembly on the front of the valve.
Finger- tighten it one turn beyond the point where it first
touches the rotor. Cycle the valve 10 times to seat the
seal.
Reassemble.
Port 4
Port 1
Port 2
Port 3
Port 6
Port 5
Mounting hole
Valve rotor
Mounting hole

 Loading...


