4- 9
Printing, Plotting, and Saving Measurement Results
Configuring a Plot Function
Configuring a Plot Function
All copy configuration settings are stored in non-volatile memory. Therefore, they are not affected if you
press
or switch off the analyzer power.
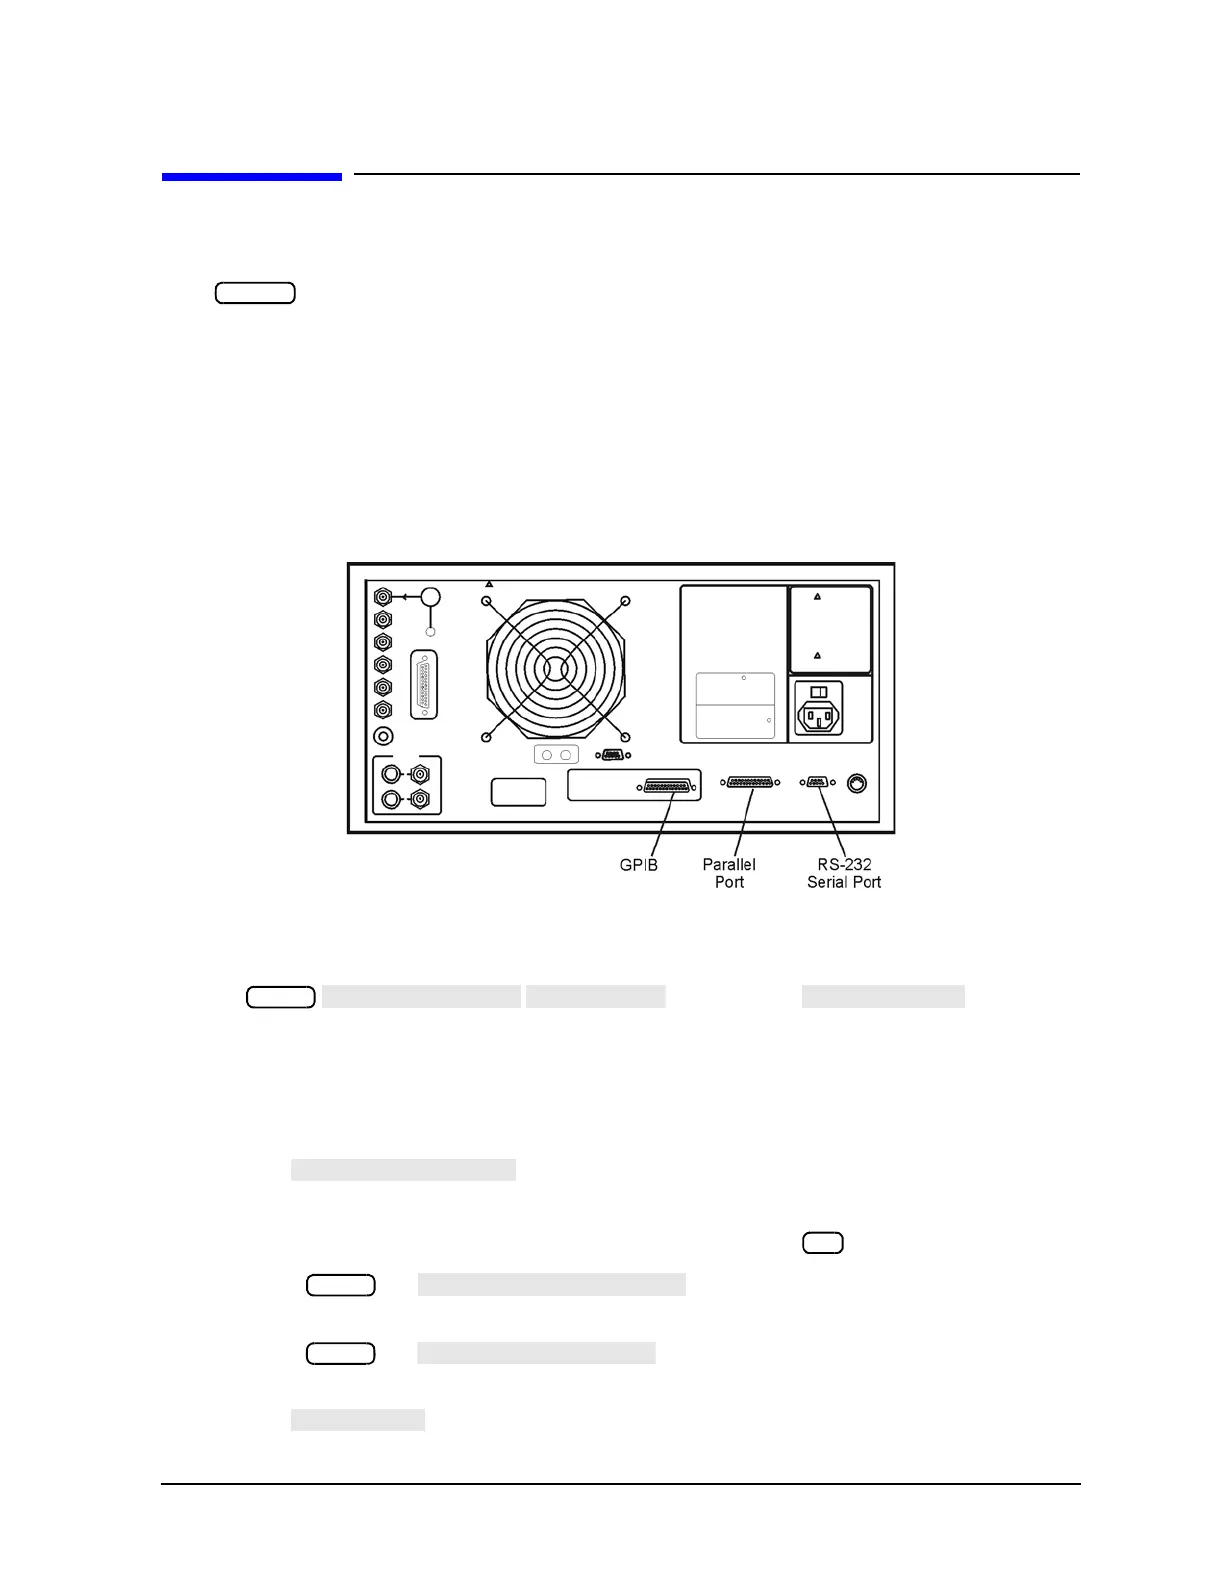
Peripheral Interface Recommended Cables
Parallel 92284A
GPIB 10833A/33B/33D
Serial 24542G
1. Connect the peripheral to the interface port using the recommended cable from the following list.
Figure 4-3 Peripheral Connections to the Analyzer
If You Are Plotting to an HPGL/2 Compatible Printer
2. Press and then press until HPGL
PRT appears.
Information regarding a printer compatibility guide (an up-to-date list of printers that are compatible with
the network analyzer) is available in
"Printing or Plotting Your Measurement Results" on page 4-3.
3. Configure the analyzer for one of the following printer interfaces:
• Choose if your printer has an GPIB interface, and then configure the print
function as follows:
a. Enter the GPIB address of the printer (default is 01), followed by .
b. Press and if there is no external controller connected to
the GPIB bus.
c. Press and if there is an external controller connected to the
GPIB bus.
• Choose if your printer has a parallel (Centronics) interface, and then configure the
print function as follows: