104
7 Maintenance
Simple Repairs
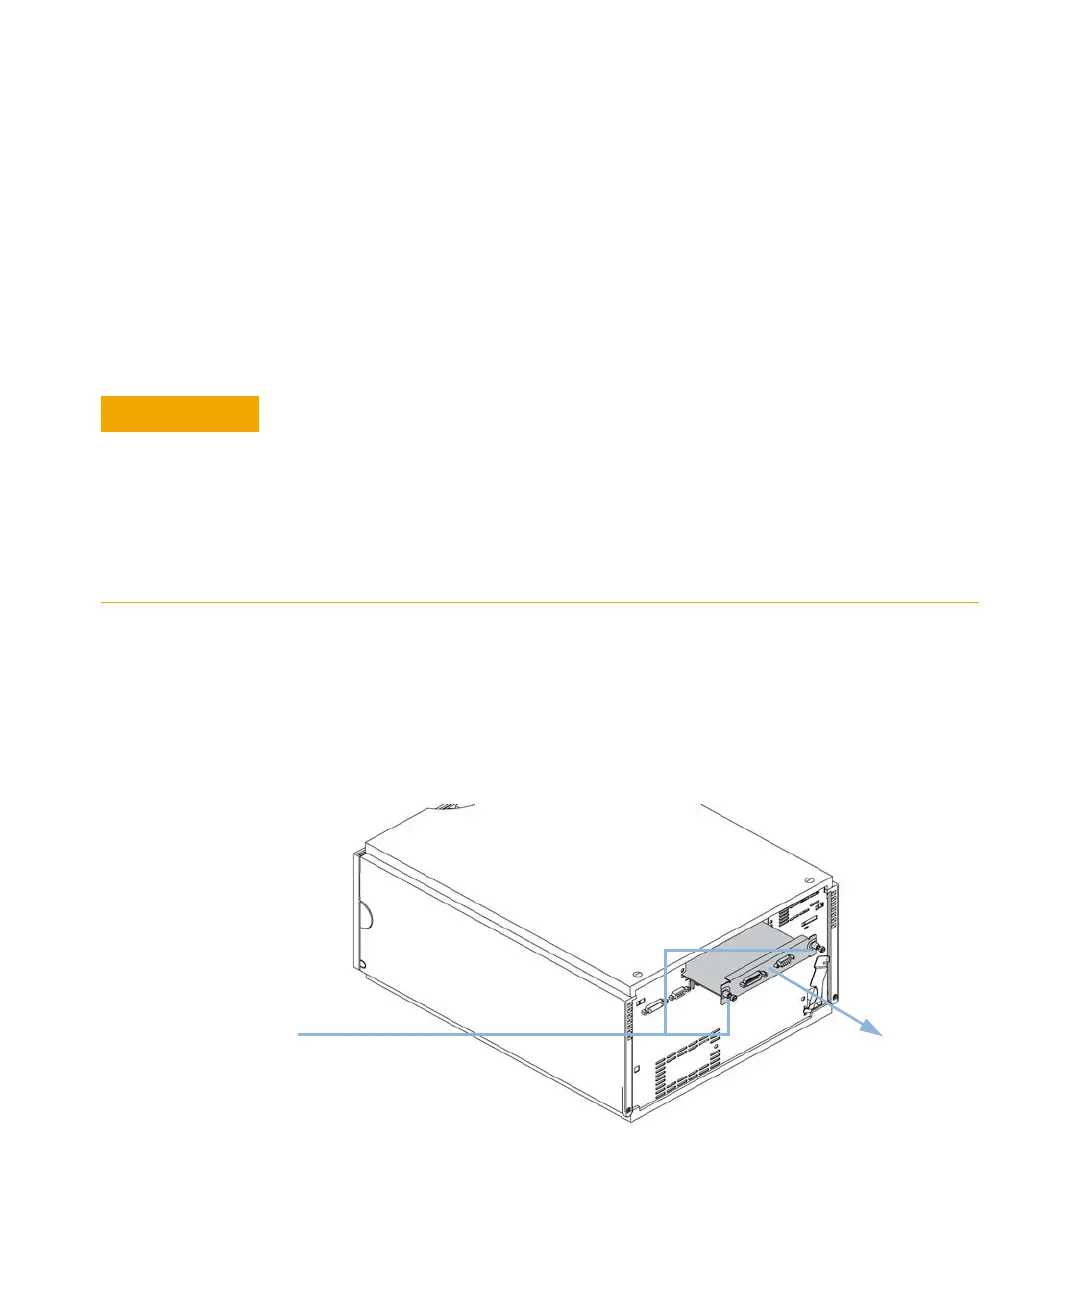
Interface Board
1 Switch OFF the autosampler at the main power switch.
2 Disconnect cables from the interface board connectors.
3 Loosen the screws. Slide out the interface board from the autosampler.
4 Install the interface board. Secure the screws.
5 Reconnect the cables to the board connectors
Figure 22 Exchanging the Interface Board
When At installation or when defective.
Tools required • Flat-head screwdriver.
Parts required # Description
1 Interface board.
CAUTION
Electronic boards are static sensitive and should be handled with care so as not to
damage them. Touching electronic boards and components can cause electrostatic
discharge (ESD).
ESD can damage electronic boards and components.
➔ Be sure to hold the board by the edges and do not touch the electrical components.
Always use an ESD protection (for example, an ESD wrist strap) when handling
electronic boards and components.
HXgZlh

 Loading...


