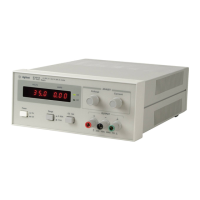
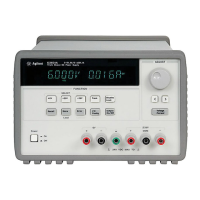
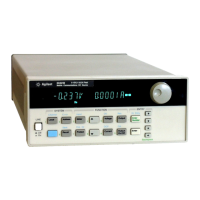
Quick Start 1
U8001A/U8002A User’s and Service Guide 3
Output Checkout
The following procedures check to ensure that the power supply
develops its rated outputs and properly responds to operation
from the front panel. For complete performance and
verification tests, refer to the “Service Guide”.
Voltage Output Checkout
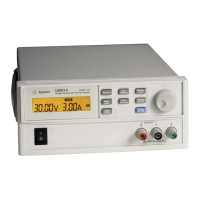
The following steps verify basic voltage functions with no load.
1 Turn on the power supply.
The power supply is in a power- on / reset state; the output is
disabled (the OFF annunciator turns on).
2 Enable the outputs.
The OFF annunciator turns off. Notice that the display is in
the meter mode. ''Meter mode'' means that the display shows
the output voltage and current limit.
3 Check that the front- panel voltmeter properly responds to
knob control.
4 Turn the knob clockwise or counter clockwise to check that
the voltmeter responds to knob control and the ammeter
indicates nearly zero.
5 Ensure that the voltage can be adjusted from zero to the full
rated value by adjusting the knob.
If an error has been detected during the output checkout procedures, the ERROR
annunciator will be turned on. See “Appendix A: List of Error Codes” for more
information.

 Loading...
