Mounting OS6250 Switches Mounting OS6250 Switches
page 3-14 OmniSwitch 6250 Series Hardware Users Guide September 2009
Preliminary
9/28/09
Mounting OS6250 Switches
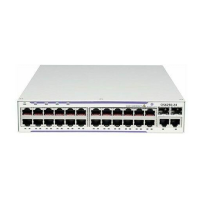
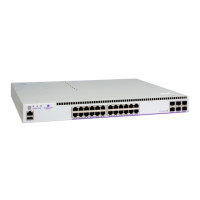
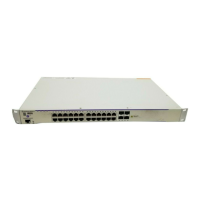
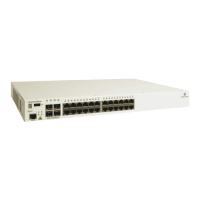
Once the OS6250 is assembled it can now be mounted either in a rack, on a wall, or on a table.
Note. Only the OS6250-8M supports wall-mounting.
Rack-Mounting OS6250 Switches
General Rack-Mounting Guidelines
If you will be rack-mounting your OS6250 switch(es), refer to the important guidelines below before
installing.
• It is recommended that two people install the switch assembly on the rack—one person to hold the
chassis and position it on the rack, and a second person to secure the chassis to the rack using
attachment screws. (Please note that Alcatel-Lucent does not provide rack-mount screws. Use the
screws supplied by the rack vendor.)
• To prevent a rack from becoming top heavy, it is recommended that you install heavier equipment at
the bottom of the rack, whenever possible.
• Review page 3-3 for recommended chassis clearances before installing.
• If you are installing the switch on a relay rack, be sure to install and secure the rack per the rack
manufacturer’s specifications.
Rack-Mounting Installation
1 Follow the proper assembly instructions based on the configuration of the chassis and power supply
trays described in “Assembling OS6250 Switches” on page 3-5.
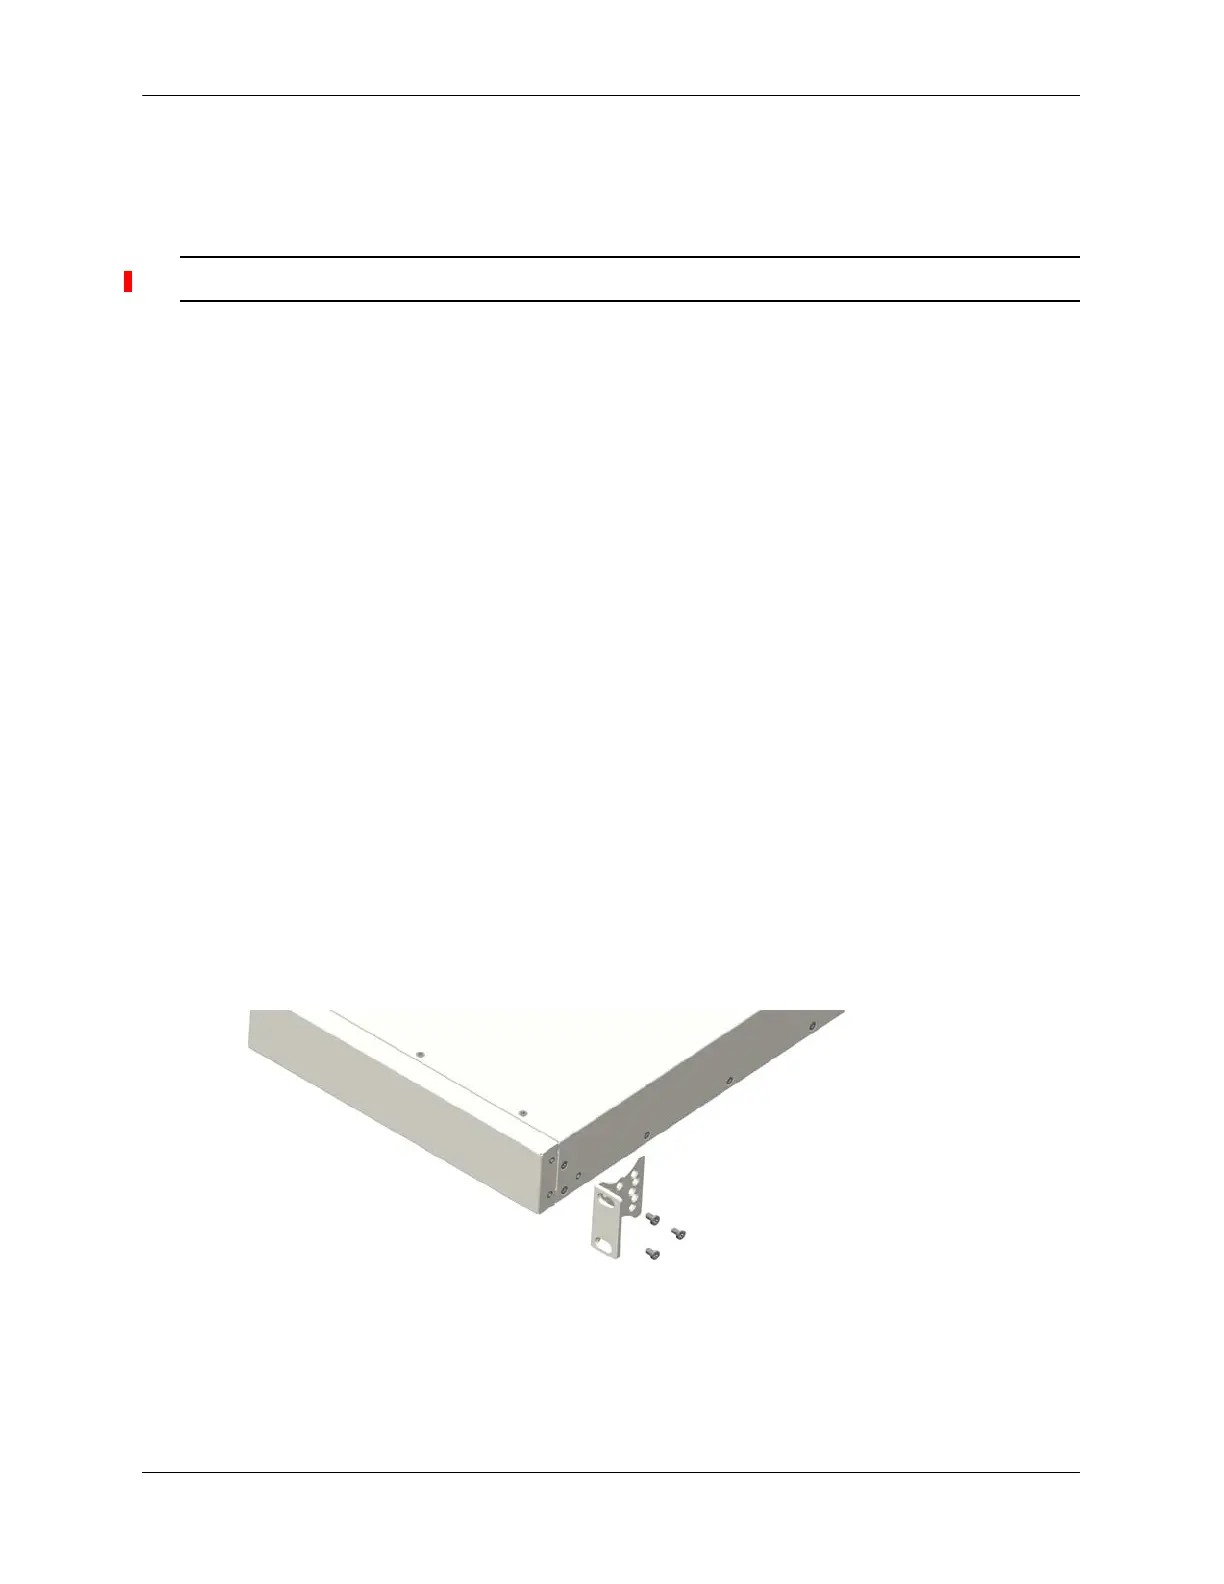
2 Attach rack mount ears to both sides of the front of the chassis.
Attach Rack Mount Brackets
3 Using one additional person, lift and position the assembly on the rack until the rack-mount flanges are
flush with the rack post.
4 Align the holes in the flanges with the rack holes.
 Loading...