21
21
AFTER SALES SUPPORT
1300 889 028 (toll free)
e-mail:
info.aldi@positecgroup.com
CDT218XA.9 • 2323 • 05/2019
MODEL No.:
CDT218XA.9 • 2323 • 05/2019
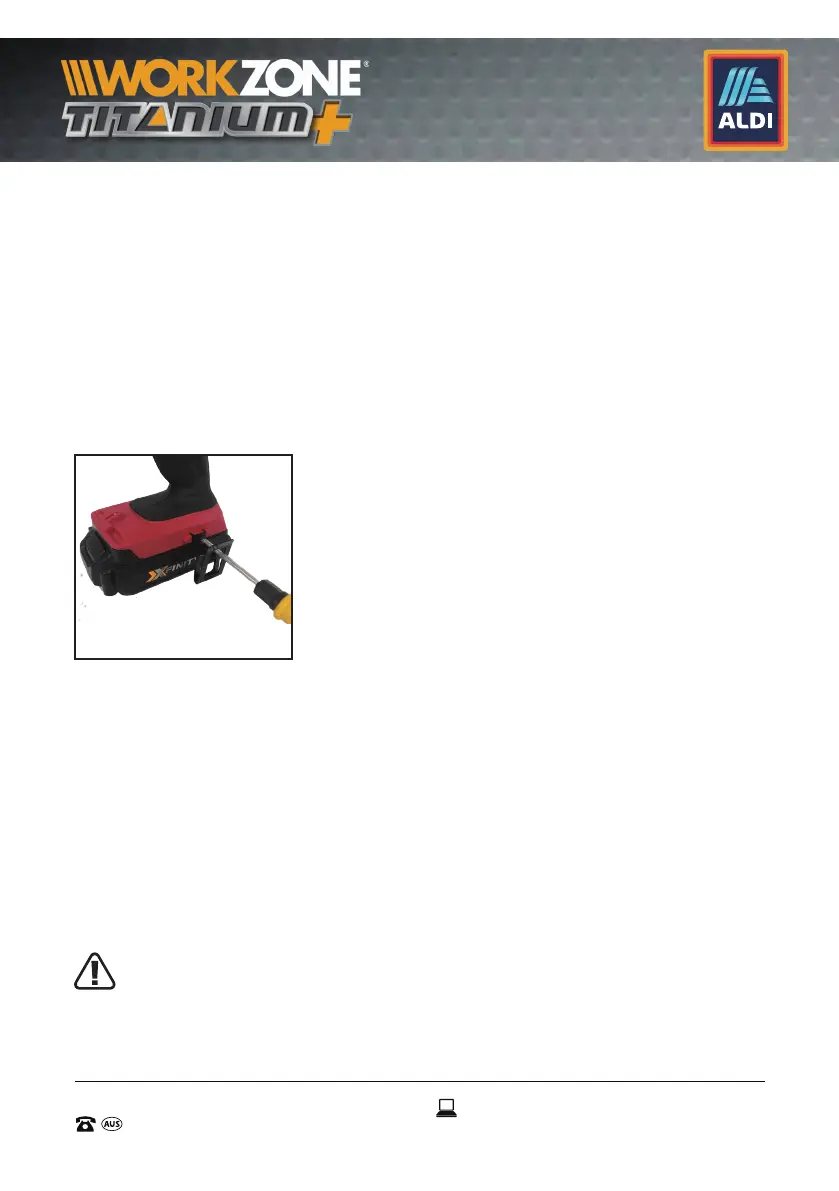
8.9 Belt Clip (6) (See Fig. I)
The side belt clip (6) is used to assist to clip the drill / driver to your
waist belt while working. To install, insert the assembly screw
through the belt clip screw hole into the retaining hole on the drill
/ driver, and using a philips head screwdriver (not supplied), tighten
the screw by turning in a clockwise direction.
NOTE: The belt clip (6) can be assembled onto either side of the drill.
IMPORTANT: When attaching or replacing the belt clip (6), use only
the assembly screw that is provided. Be sure to securely tighten screw.
8.10 Drilling
When drilling into a hard smooth surface, use a center punch to
mark the desired hole location. This will prevent the drill bit from
slipping off center as the hole is started.
Hold the drill / driver firmly and place the tip of the bit at the point
to be drilled.
Depress the trigger switch (10) to start the drill / driver.
Move the drill bit into the workpiece, applying only enough
pressure to keep the bit cutting. Do not force or apply side pressure
to elongate a hole.
When drilling in metal, only use HSS drill bits in good
condition. Always use a magnetic bit holder when using
short screwdriver bits (These bits not included).
I