AT-MMC6000 Series Installation Guide
39
Installing the Subscriber Unit
The Subscriber unit will be used as a stand-alone device, and can be
installed on a desktop, or mounted onto a wall, using wall-mounting
brackets that are provided separately.
The Subscriber unit and the Provider unit must be the same model of the
AT-MMC6000 Series.
If you plan to install the AT-MMC6000 Series Media Converter on a
wall, you must use the AT-MMCWLMT Kit which is provided
separately from the AT-MMC6000 Series Media Converter. Refer to
“AT-MMCWLMT Kit Installation” on page 55 for the wall mounting
installation instructions.
Using the
Subscriber Unit
on a Desktop
To use the Subscriber unit on a desktop, perform the following procedure:
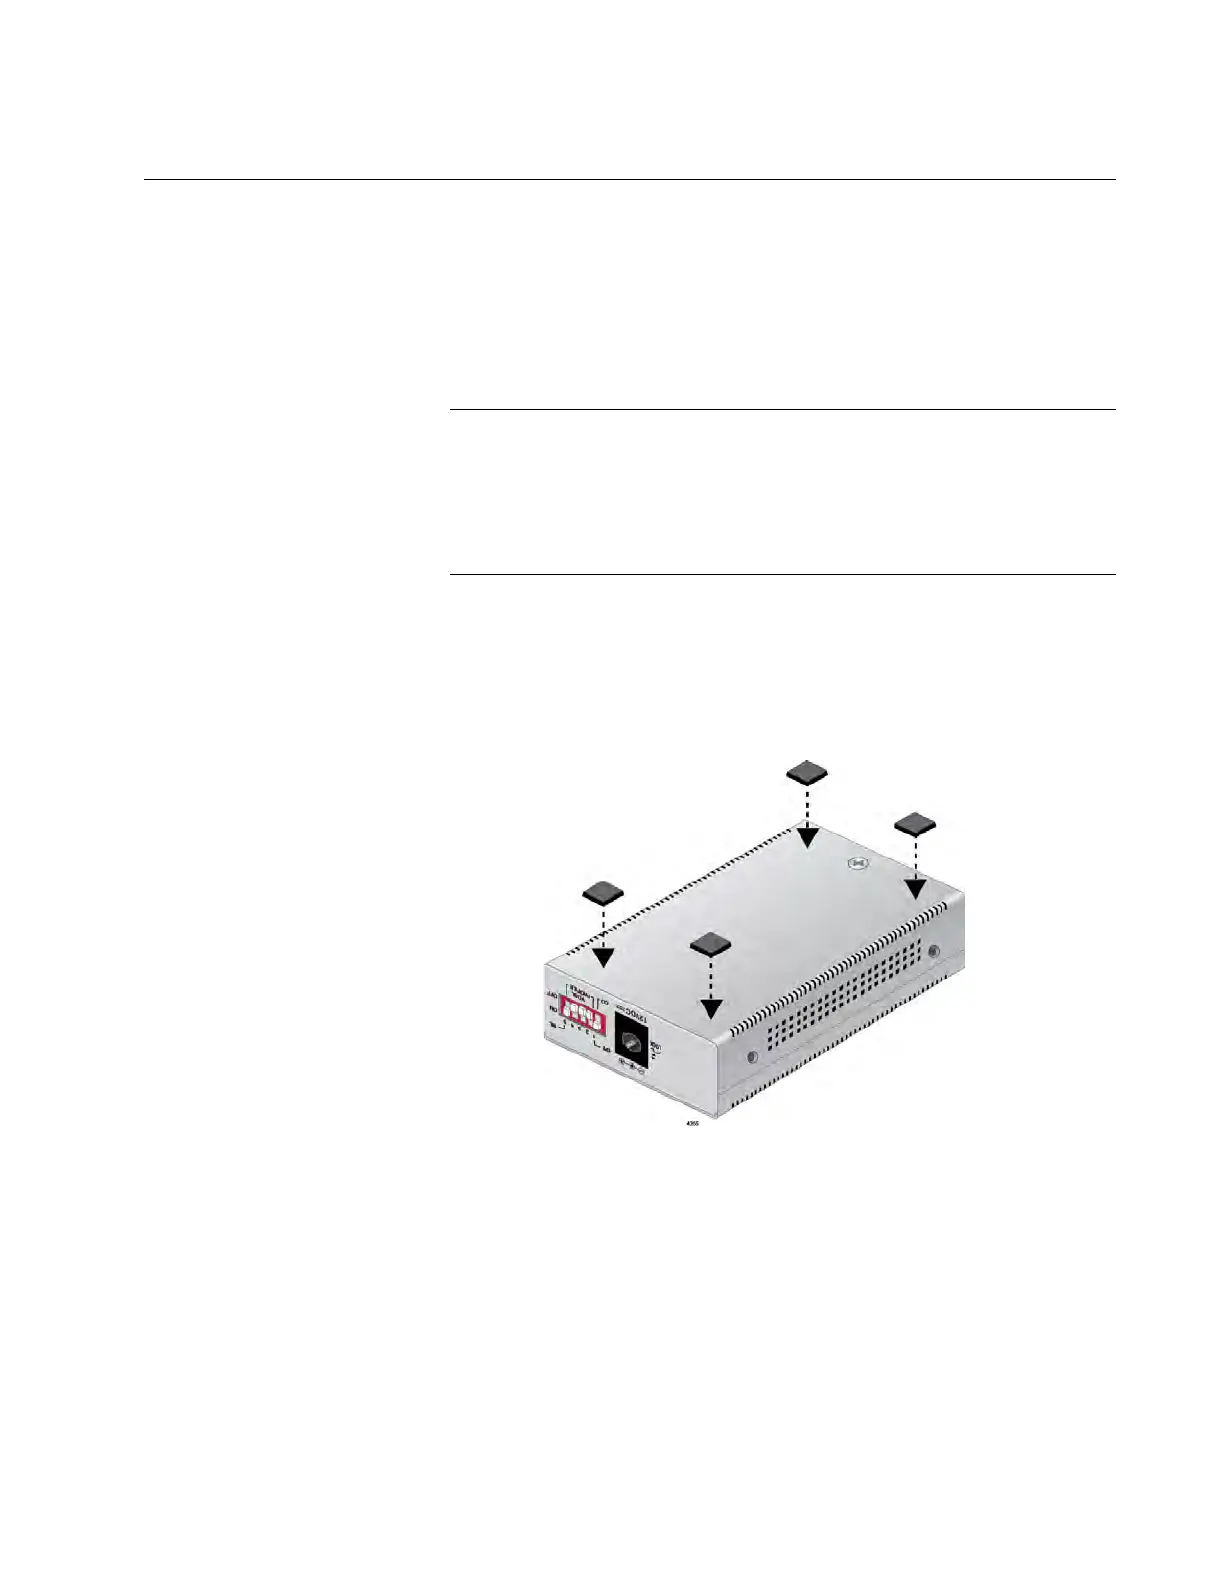
1. Position the Subscriber unit upside down and attach the rubber feet
provided to the bottom of the unit as shown in Figure 10.
Figure 10. Subscriber Unit - Installing Feet
2. Place the Subscriber unit right side up on a flat, secure surface
leaving 1 to 2 inches of space around the unit for ventilation.
3. Go to “Setting the Subscriber Unit DIP Switches” on page 40.
Wall-Mounting
the Subscriber
Unit
Refer to Appendix B, ”AT-MMCWLMT Kit Installation” on page 55 for
instructions to wall mount the AT-MMC6000 Series Media Converter.
 Loading...