Installation instructions
Amatron+ BAG0082.2 10.10 9
3 Installation instructions
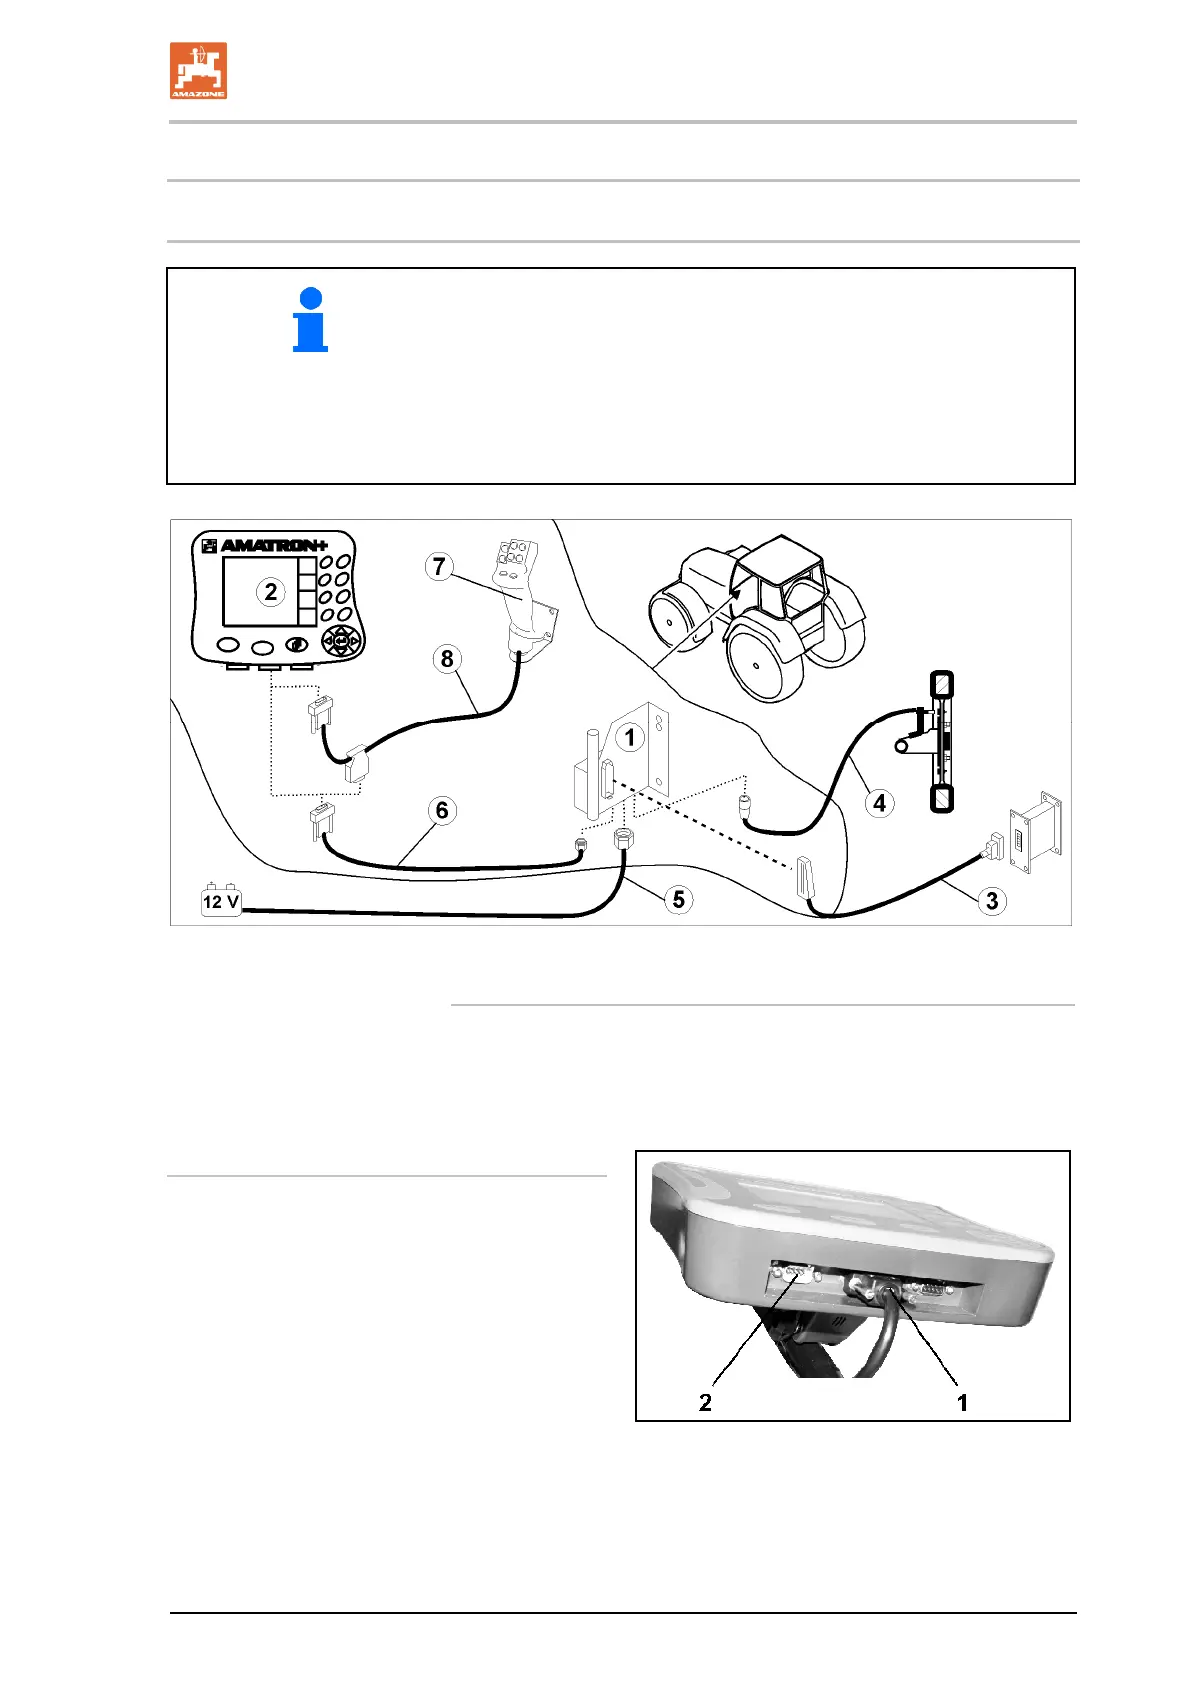
3.1 Anschluss
The tractor basic equipment (Fig. 1/1, Konsole mit Verteiler)
console with distributor) must be installed to the right of the
driver in the cabin, within visual range and easy to access, vibra-
tion-free and electrically connected.
For the installation, the paint must be removed from the installa-
tion points in order to prevent electrostatic charge.
The distance from the radio unit or aerial must be at least 1 m.
Fig. 1
Connections to tractor's basic equipment:
The battery cable (Fig. 1/5).
Signal cable from the tractor signal socket or distance sensor
(Fig. 1/4).
Connecting cable to AMATRON
+
(Fig. 1/6).
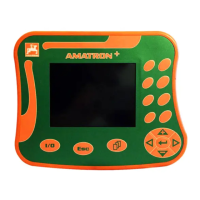
To operate
Plug the AMATRON
+
(Fig. 1/2) into the
tractor's basic equipment.
Insert the connector of the connecting cable
(Fig. 1/6) into the middle 9-pin Sub-D-
bushing (Fig. 2/1).
Connect the machine via the connector
(Fig. 1/3) to the AM
ATRON
+
verbinden.
The multifunction stick (Fig. 1/7) is con-
necte
d using a Y-cable (Fig. 1/8).
The serial interface (Fig. 2/2) allows a PDA
to be con
nected.
Fig. 2