SECTION 2.0
Operation & Adjustment
400-088-011 Page 2-3 Rev. Date 10/04
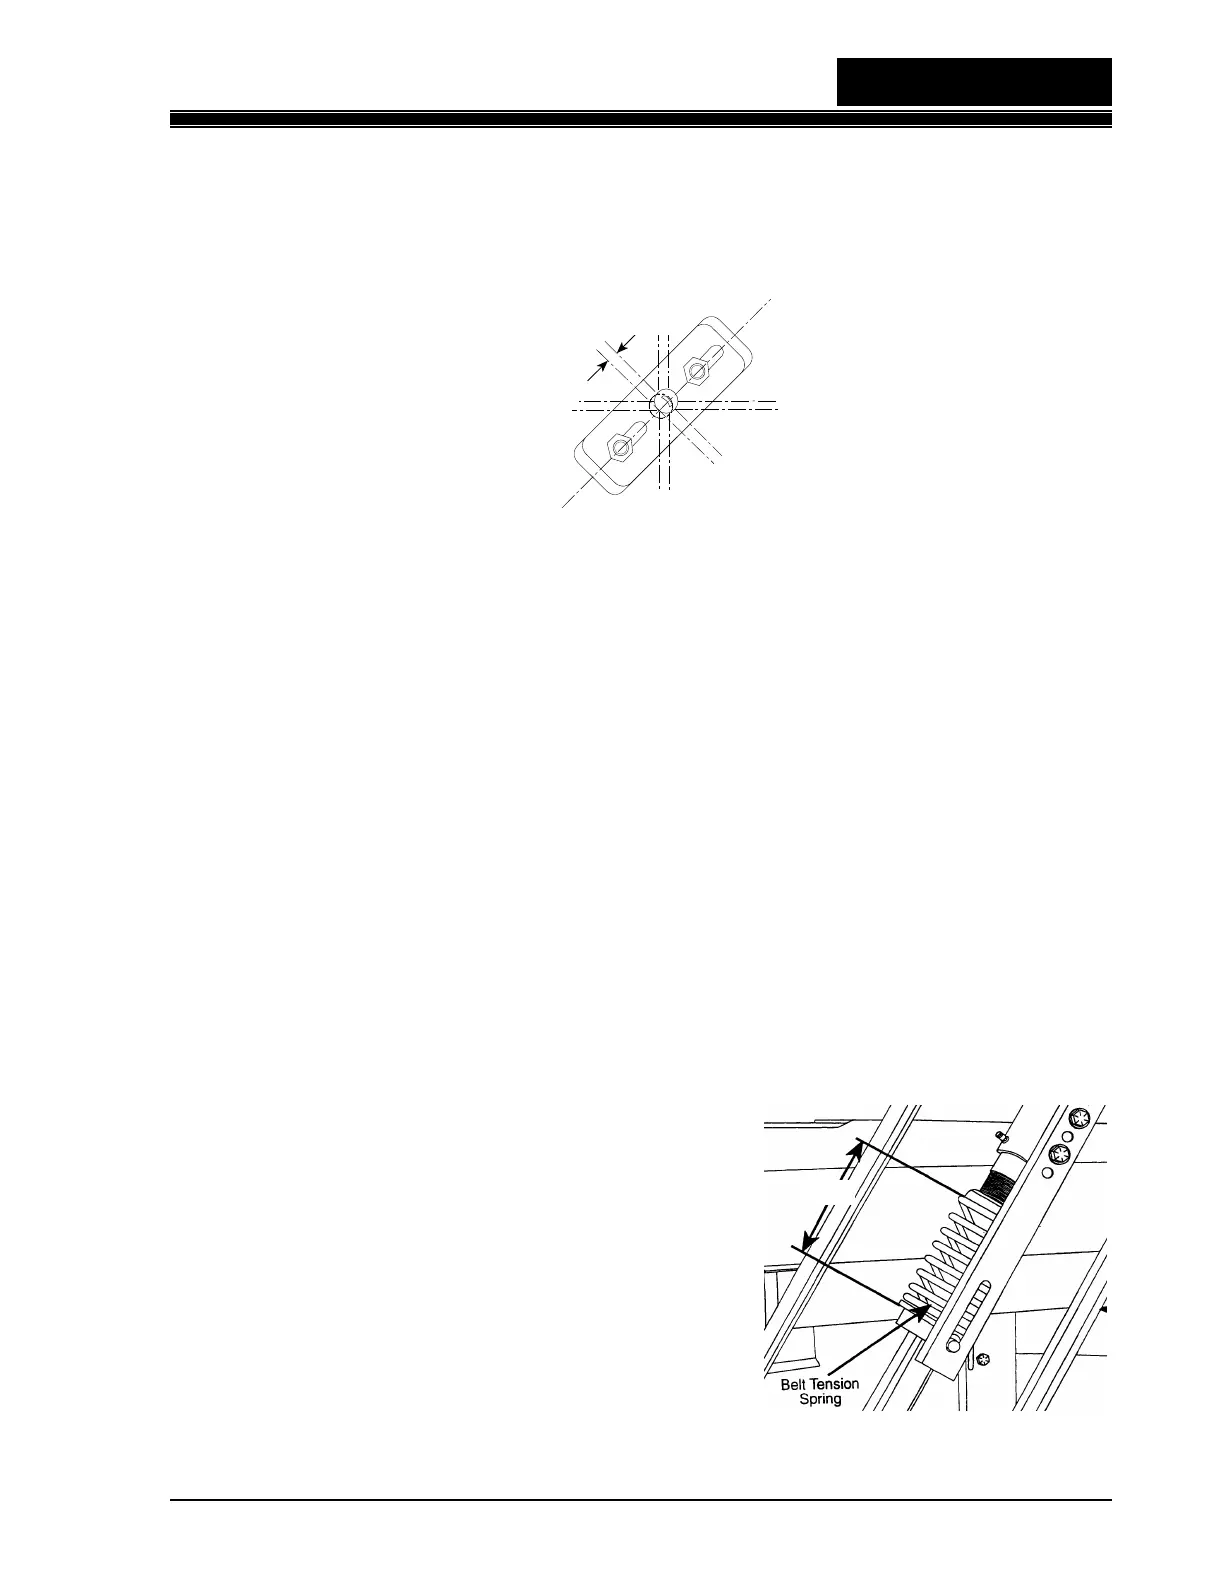
7. If the ball lift is not aligned with the track rails:
a. Rotate the ball lift support shafts so that the slots in the adjustable plates are in
line with the direction of offset between the support brackets on the kickback
plates (see Figure 2-2).
Figure 2-2
b. Tighten the nuts on the clamp studs.
c. Loosen the nuts on the upper and lower adjustable shaft assemblies, and
adjust the ball lift support shafts within the slots of the adjustable plates until
the ball lift and track rails are in alignment.
d. Tighten the nuts on the upper and lower adjustable support shaft plates.
8. If an offset adjustment was made, or if a different ball lift is being installed, verify
correct bumper height adjustment in accordance with Section 2.13.
9. Install all drive belts, springs, and spring extensions.
10. Reinstall the upper and rear guards.
11. Test the ball lift by running several balls through it to verify smooth operation, that
the belt does not slip, and that the unit remains properly aligned.
2.4 Positive Ball Lift Belt Adjustment
1. If the lift belt rubs against the tube assembly
when a ball is being elevated, adjustment is
necessary. Use a spanner wrench and
rotate the upper spring retainer until the
length of the spring between the lower
retainer and the upper washer is 4-1/8
inches (see Figure 2-3). This should result
in the correct belt tension.
Figure 2-3
PBL SHAFT ASSEMBLY
Offset
4-1/8”