10
Setting Up
1.
Loosen the head lock screw and adjust the
microscope head so that it is in a comfortable
position for observation. Lock the head-lock
screw.
Fig. 4
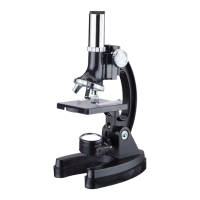
2. Adjusting the Diopter
1)
After the image is clear in the right eyepiece, observe
the left eyepiece with the left eye. Rotate the diopter
adjustment ring
①
until the image is clear (See Fig.
4).
2)
There are ±5 diopters on the diopter adjustment ring,
and the value aligned with the scale is your eye’s
diopter.
★
Remember your eye’s diopter so that you can use it
next time.
Fig. 5
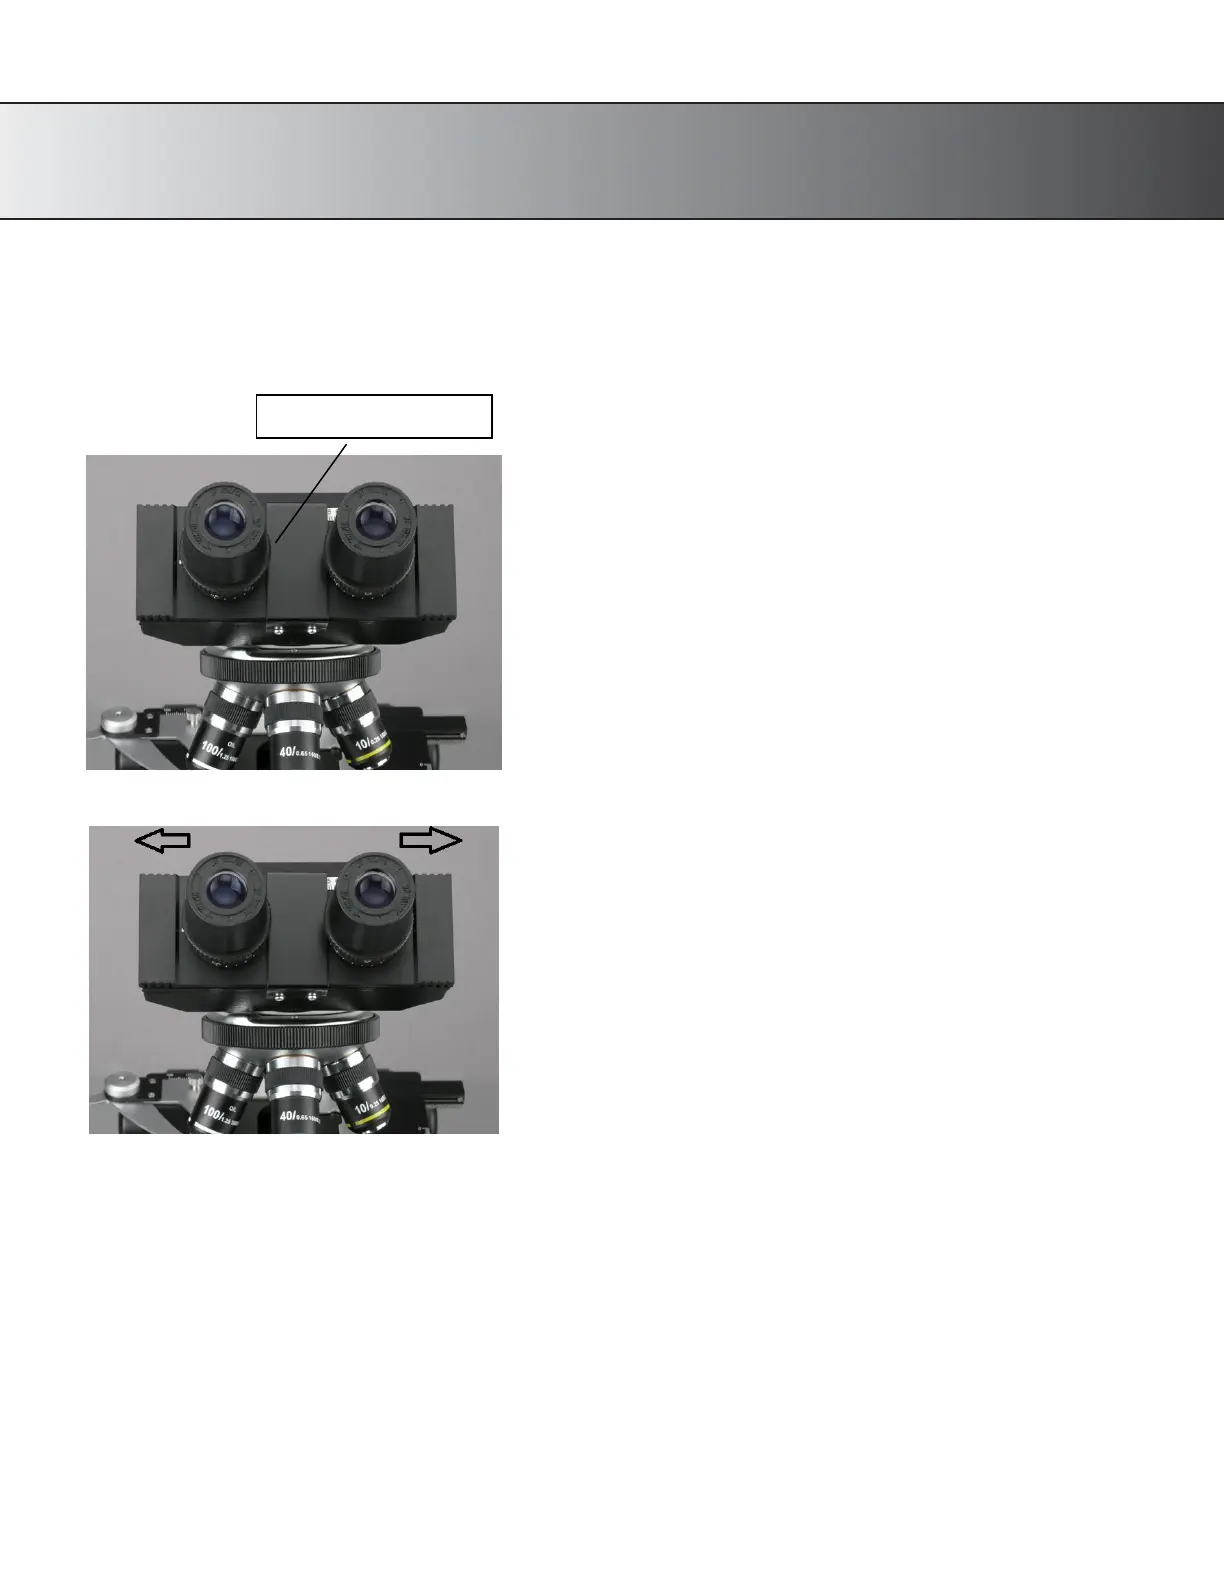
3. Adjust the Interpupillary Distance
1)
When using both eyes to observe, hold the bases of the
prism and pull or push them to adjust the interpupillary
distance until there is only one field of view. (See Fig. 5)
2)
Adjustable range: 52~75mm.
3)
The number is the interpupillary distance.
★
Remember your eye’s interpupillary distance so that you
can use it next time.
4.
Place the specimen to be studied on a glass slide (or use a prepared slide). Place it on the stage,
holding it snugly
in place with the metal slide holders (clips) of the mechanical stage.
5.
Using the mechanical stage’s slide controls, center the specimen over the stage opening, lining it
up with the light
and the objective lens.