8
Assembly
1.
First, take the styrofoam container out of the cardboard carton and lay it on its side, paying attention to which
side is labeled up. Remove the tape and open the container carefully so as to avoid dropping and damaging the
optical items. Check carefully to ensure that all parts and accessories are intact.
2.
Check the packing list to ensure that you’re received all items:
-
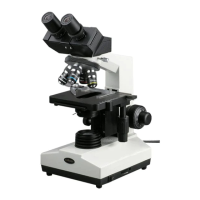
One Microscope Body
-
One Binocular (B330) or One Trinocular (T330) Head
-
One Trinocular Photo Port (for T330 only)
-
Four Infinity Objectives (4x, 10x, 40x, 100x)
-
10x Widefield Eyepieces
-
16x Widefield Eyepieces (for -A models only)
-
20x Widefield Eyepieces (for -B models only)
-
25x Widefield Eyepieces (for -C models only)
-
Blue, Green Color Filters
-
One Mirror for Power Outage
-
One Bottle of Immersion Oil
-
One Spare Fuse
-
One Spare 6V/20W Halogen Bulb
-
One Dust Cover
3.
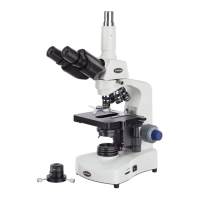
Remove the microscope body from the box and remove the plastic protective covering. The body of the micro-
scope is composed of the base, the stage, the arm, and the nosepiece.
Fig. 1
4.
Assembling the Head
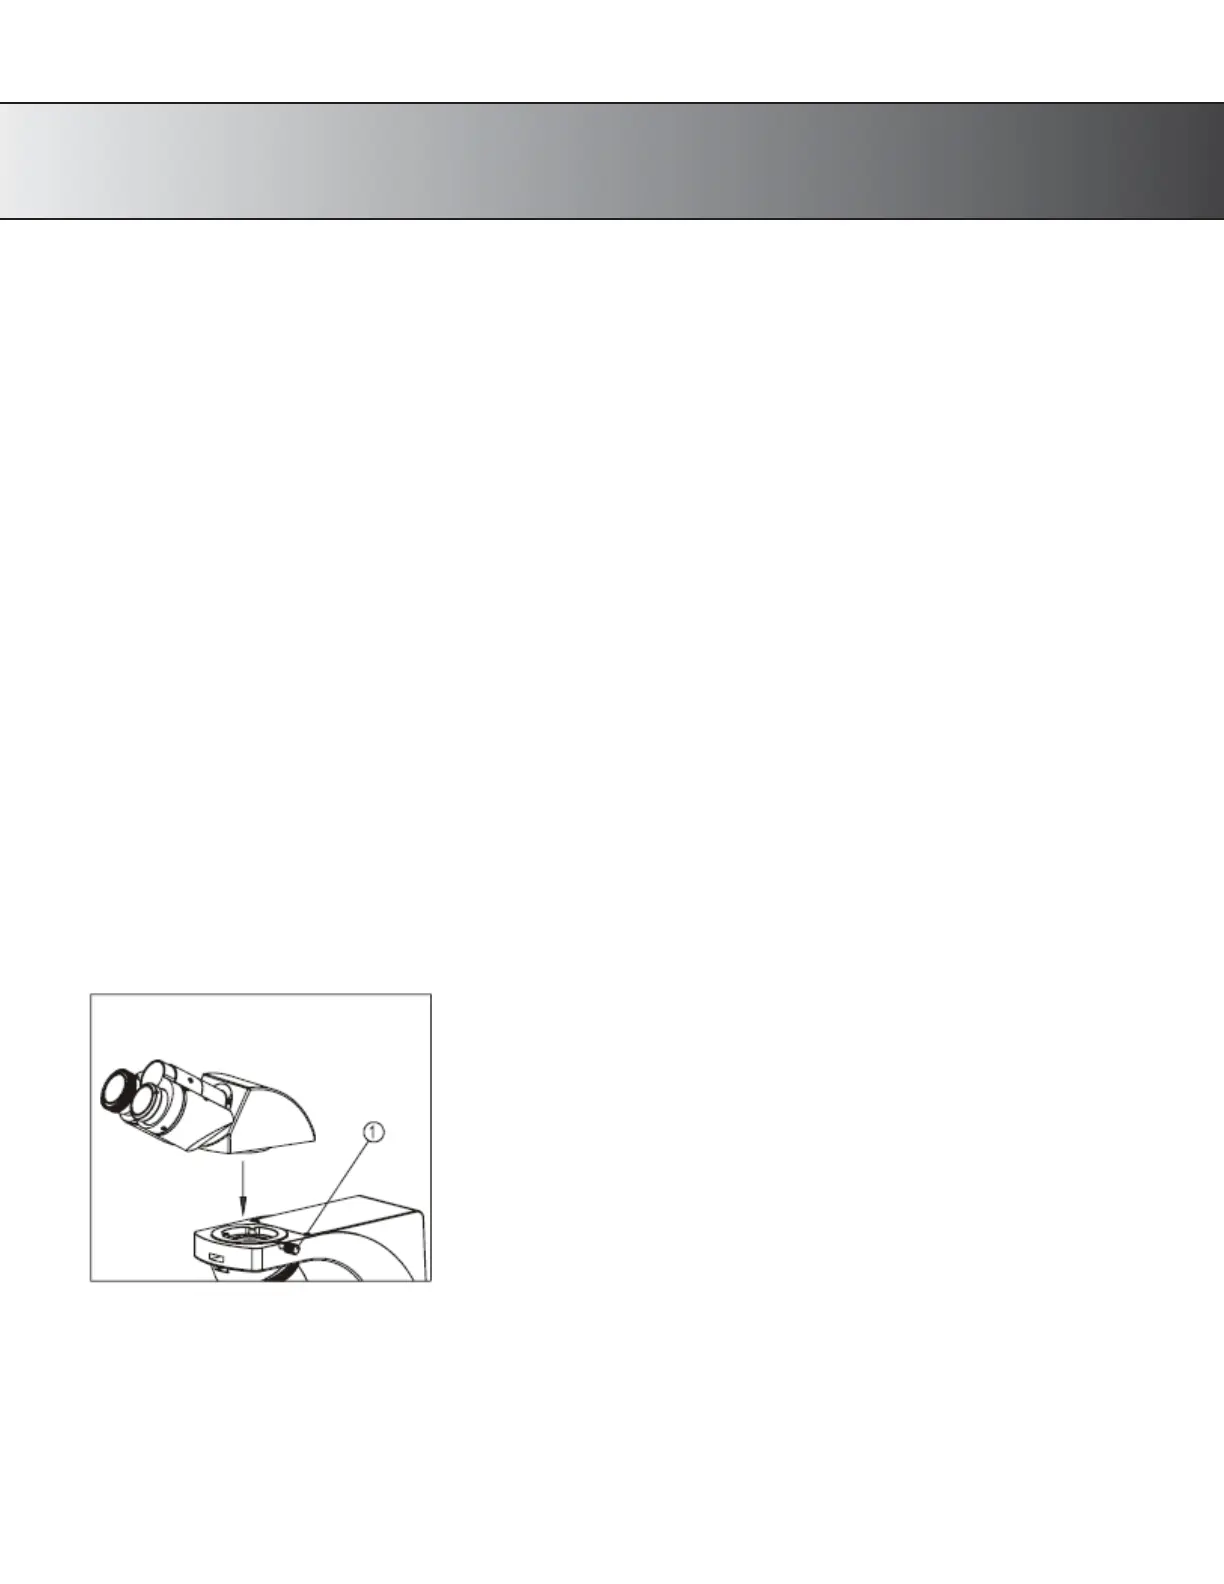
1)
Loosen the head lock-screw
fully.
2)
From a little right position, insert the coattail interface on
the bottom of head into the hole of middle head with a
little left inclined. Keep the two eyepiece tubes forward,
and then tighten the lock screw.
For the T330 model, screw the photo port onto the top of
the microscope head (trinocular C-mount port