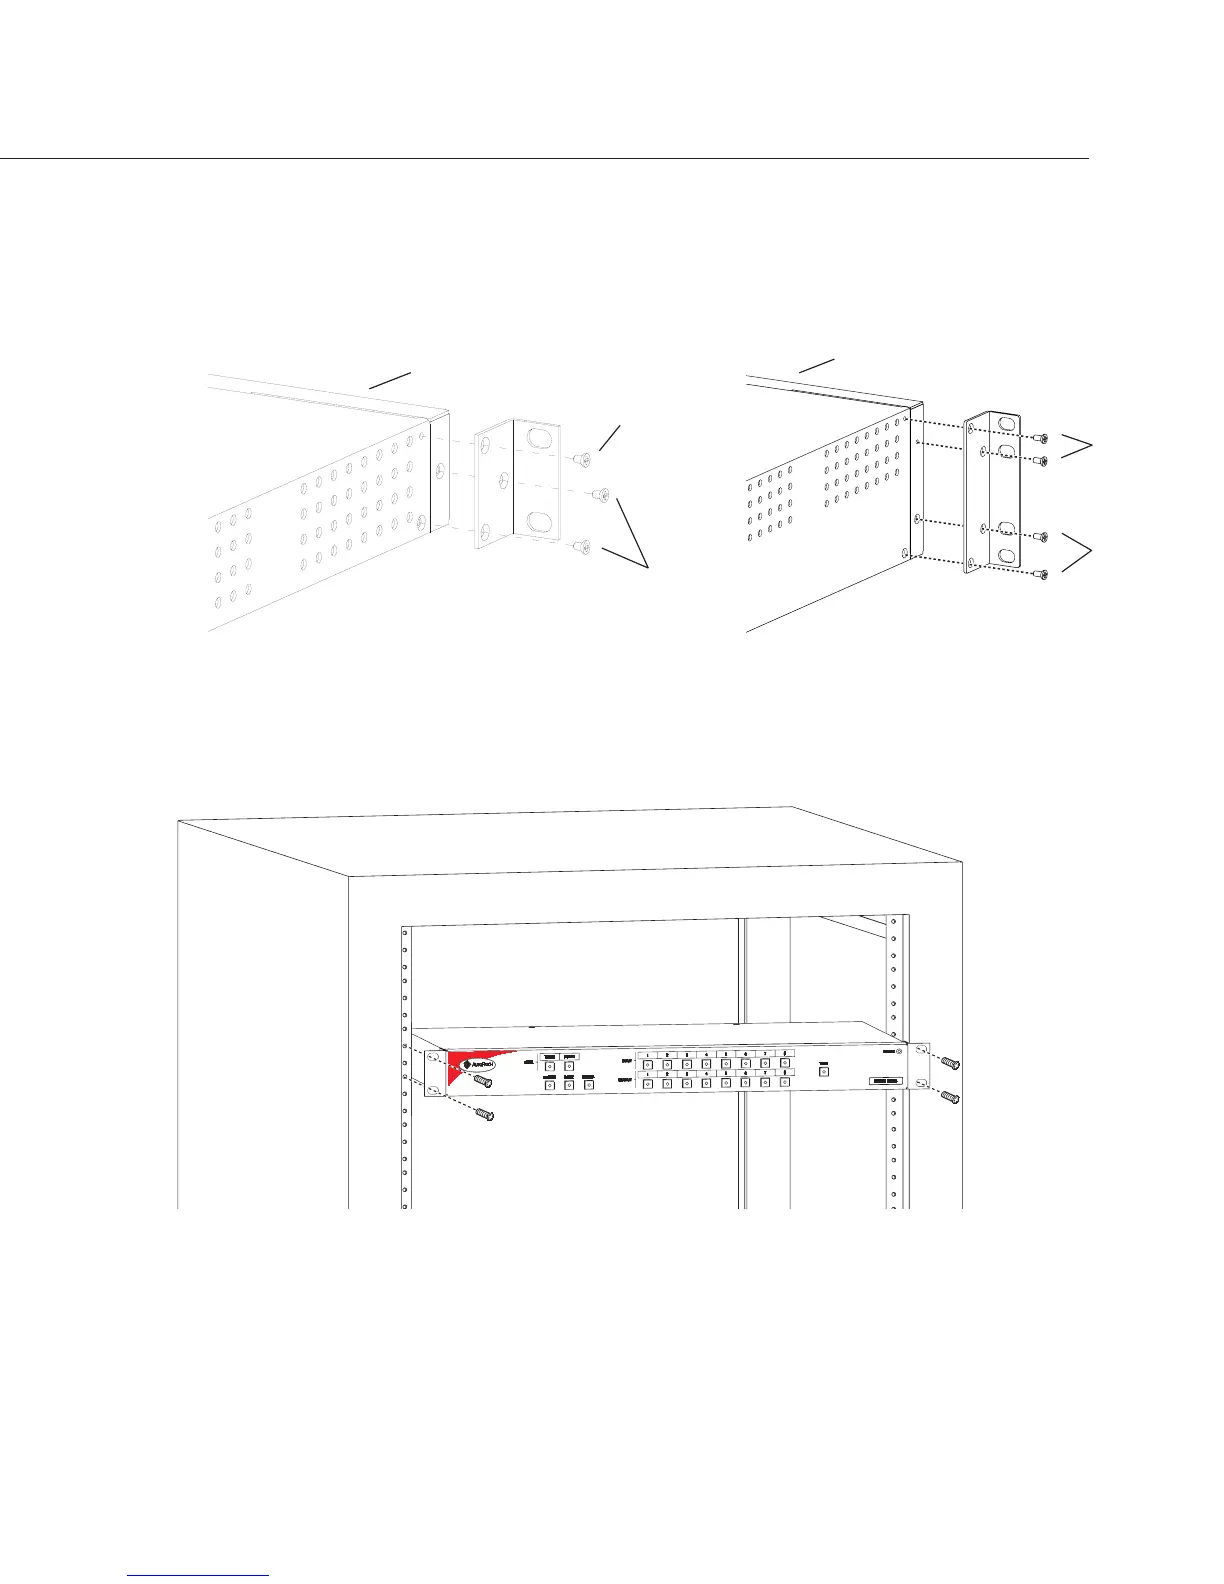
Or Rack installation – On the side of the Precis
LT
, remove the bottom two screws
closest to the front panel (see Figure 3). Align the holes on one of the rack ears
with the empty holes on the side of the Precis
LT
and replace the screws (three
screws for the 1 RU; four screws for the 2 RU). Repeat for the other rack ear.
4. Place the enclosure in the rack and attach front-mounting screws to hold it firmly
in place (see Figure 4).
5. Attach the source and destination devices. For information on attaching cables
and wires, see pages 8-13.
Installing the Precis
LT
7
Remove/
Replace
Insert
Front Panel
Figure 3: Attach rack ears to the sides of the Precis
LT
Insert
Front Panel
Remove/Replace
Figure 4: Place in rack and fasten with mounting screws