14
P/N 1011550 Rev. D 03/21
Replacing the Belt Wraps
(9210922 ONLY)
The frequency of Belt Wrap replacement
depends on usage and daily mainte-
nance.
NOTE: Belt Wraps should feel sticky/
tacky not slick/slippery.
1. Turn the unit o, unplug the power
cord, and allow the unit to cool down.
2. Put on heat resistant gloves.
Remove the Bun Feeder and Bun
Chute (Figure 21). Set these item
aside.
3. Next, open both Conveyor Covers
(Figure 22).
4. Remove both Belt wraps - lift the ap
on the Belt Wrap (Figure 18). Dis-
connect the Belt Wrap hooks from
the Conveyor Chain and remove the
Belt Wraps from the toaster (Figure
23).
5. Install the new Belt Wraps onto the
toaster under the support rods and
making sure the ap is pointing
down.
6. Attach the Belt Wrap hooks to the
Conveyor Chain.
NOTE: Verify both hooks are attached
by pulling belt wrap away from
chain and reattach if needed.
7. Close the Conveyor Covers.
8. Reinstall the Bun Chute and Bun
Feeder and return the toaster to
operation.
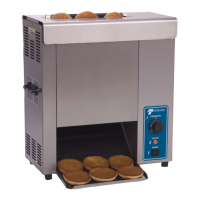
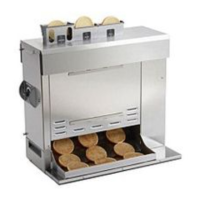
Figure 21. Remove accessories
Bun Feeder
Bun
Chute
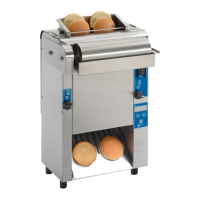
Figure 22. Open conveyor covers
Figure 23. Remove belt wraps
Fan
Figure 24. Pull bae pin
Fan Bae
Bae
Pin
Cleaning the Rear Fan
1. Turn the unit o, unplug the power
cord, and allow the unit to cool for 15
minutes before proceeding.
2. Refer to Figure 24. Pull the pin on
the lower part of the bae and rotate
upwards to remove.
3. Refer to Figure 25. Remove the four
Rear Panel screws circled and set
aside.
4. Carefully remove the Rear Panel and
lay it down so the fan is accessible.
5. Wipe inner surface of the Rear Panel
and rear compartment with a clean,
dry cloth to remove all debris and
residue.
6. Use a clean, dry towel or Hi-
Temp Detail Brush (Ecolab item#
92212765) to remove all debris and
residue from the Fan.
7. Reattach the Rear Panel and secure
with the screws removed in Step 2.
Figure 25. Rear fan