User Manual
49
[Late error allowance] means how many minutes after [On duty] are treated as ―late‖,
[Early error allowance] means how many minutes before [End Clock-in Time] are
treated as ―early‖; [Count as work day] and [Count as work time XXX minutes] are used
in calculating business leave, leave, absence and overtime.
Checking [Must C-In] and [Must C-out] or not will affect the result of calculation. If [Must
C-In] is checked and the timetable is included of Employee A‘s shift, he will be either
considered absence or treated according to [Not clock in count as late XXX minutes] in
[Parameter Settings] If he didn‘t clock in or ask for leave. Otherwise, even if there is off
duty record for him only, his attendance will be treated as normal.
The timetable Modification
Select the timetable name you want to revise, and click [Modify], then input the new
information, clicks [Save] when finished.
The timetable Deletion
Select the timetable you want to delete, click [Delete], and click [OK] to make sure.
Note: Begin Clock-in Time and End Clock-in Time makes the valid time range for Clock
in. Clock in out of this time range will be treated as invalid records. It is the same with
Clock-out time. Please setup in accordance with practical situations.
Example——Add a timetable:
Complete process for adding four timetables:
Day shift 08:00 - 17:00 Morning shift 04:00 - 12:00
Noon shift 12:00 - 20:00 Night shift 20:00 - 04:00
(Other information can be setup according to practical situations. Please note there
should be no blank left.)
Shift Maintenance
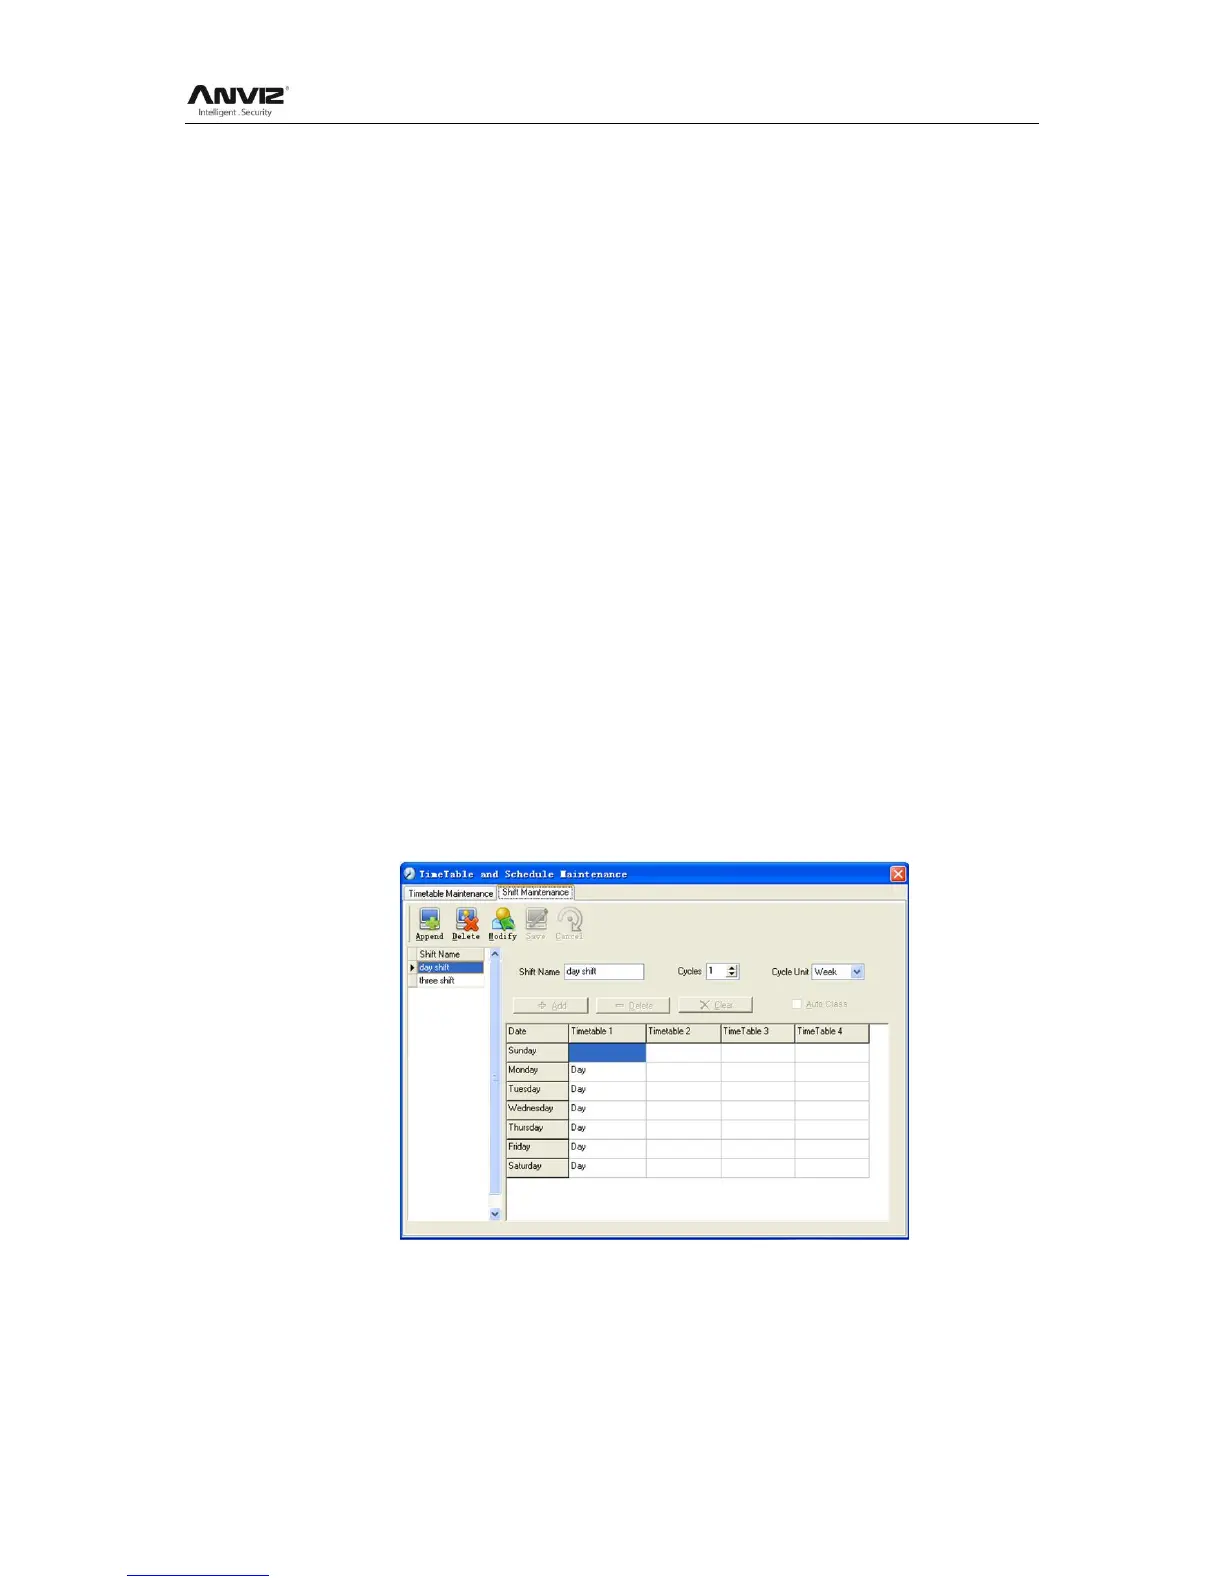
Click [Shift Maintenance] and the following window pops up:
Add a shift:
Click [Append] and enter corresponding shit information in [Shift Name] such as: normal
shift [Cycle] (1), [Cycle Unit] (week), and click [Add], select the timetables and time
range required in this shift in the springing window. For instance, select the timetable –
Day shift and select from Monday to Friday and then click [OK], back to this window and
click [Save] to complete. (Please refer to the example for details.).
 Loading...