Fitting instructions# 3789528
Copyright © 2005 by ARB Corporation Limited. All rights reserved, this document must not be reproduced without the express authority of ARB Corporation Ltd
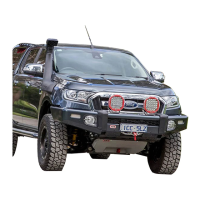
185. Using multitool, cut a 15mmx30mm section
out of the plastic inner guards to allow them to
be pushed into the end of the wing. (RH
Shown).
186. Push inner guards inside the end of the wing.
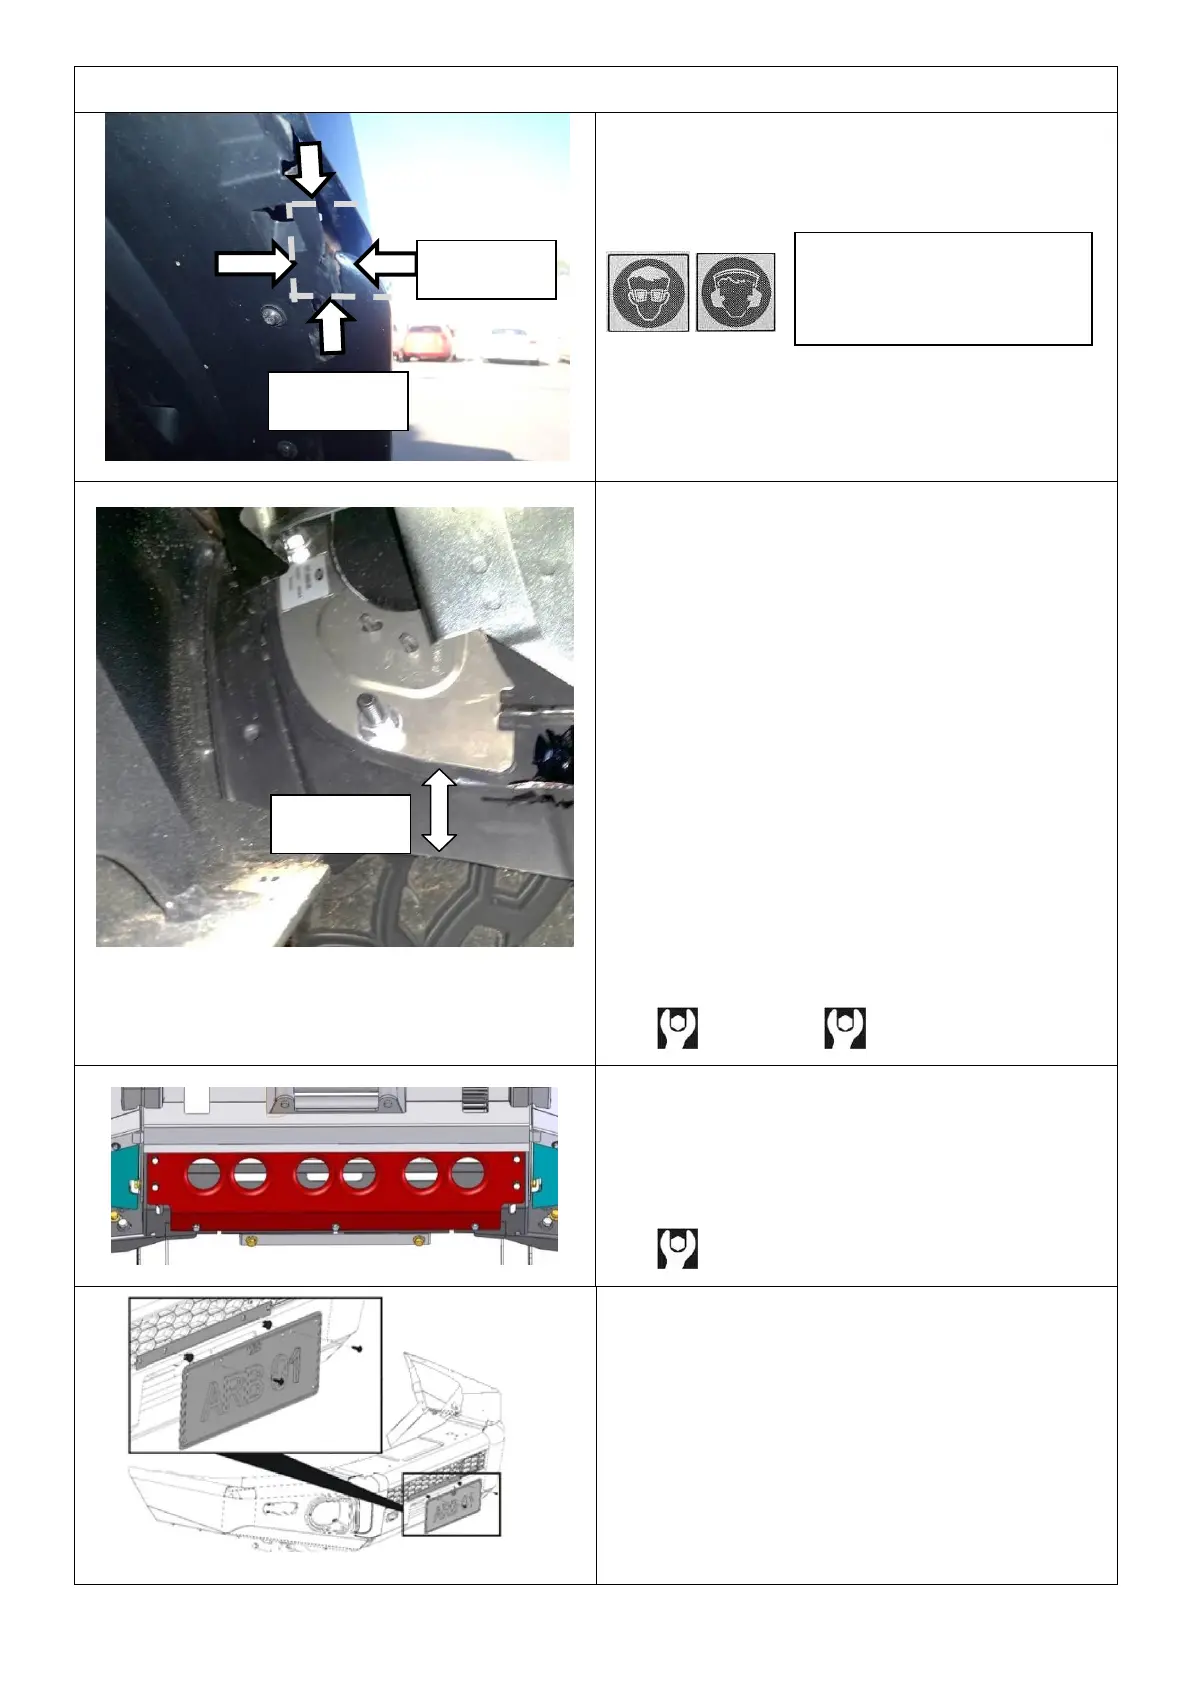
187. Remove wing under panel.
188. Position digital antenna removed in step 81
30mm above cut performed on wheel arch
guard as shown.
189. Mark and drill two 10mm holes
corresponding to existing holes in digital
antenna.
190. Fasten digital antenna to new location using
2x M8 x 1.25 x 25 BTN HD bolts, 2x M8
spring washers, 2x M8 flat washers and 2x
M8x1.25 flange nuts.
191. Plug digital antenna lead back in and check
its function by turning radio on.
192. Re-fit wing under panel and tighten
fasteners.
193. Push the inner guards inside the under wing
panels.
M6 – 9Nm M8 – 22Nm
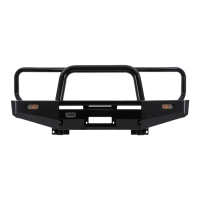
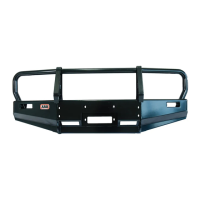
194. Attach the centre stone shield to the mount
bracket using 7 x M8 x 25 hex bolts, 7 x M8
spring washers and 7 x M8 flat washers into
the cage nuts fitted in step 115.
M8 - 22 Nm.
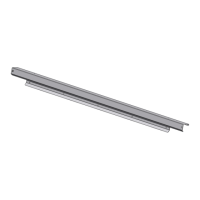
195. Fit the plastic plugs into the square holes in
the number plate bracket. Fit the number
plate to the bull bar using the black self-
tapping screws.
Note: Non-winch set up shown, for
vehicle‟s fitted with winch fit the plastic
plugs into the square holes in flip up panel
supplied with winch install kit.
Warning: Cutting
operations can result in
flying debris, safety glasses
should be worn.