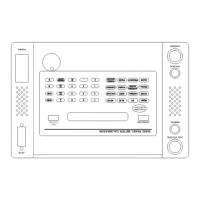
2-11
Table 2.2 - Power Factor/Phase Operating Procedure (continued)
______________________________________________________________________________
STEP OPERATOR ACTION RESULTS
______________________________________________________________________________
9. Press Current The VOLTAGE LED will turn off, the CURRENT LED will turn
on, the PMC displays CURRENT .1000A (.1 amps rms is the
lowest current available for Power Factor/Phase output mode).
10. Press 5 PMC displays ENTRY = 5
11. Press V/A Press the unit key V/A to complete the entry of the current
setting. The PMC displays CURRENT 5.000A (The current may
now be modified).
12. Press OPER The OPER LED will turn on, the HIGH VOLTAGE indicator
will flash on and off, and a <, =, or > will appear on the display
indicating the status of the output. Within the specified settling
time the display should show = and the meter should read a
power factor of 1.000.
13. Press PHASE The POWER FACTOR and CURRENT LED's will turn off, the
PHASE LED will turn on, and the PMC displays PHASE 00.00°.
14.
Adjust Phase to 30°
The PMC will display PHASE 30.00Ê (adjustments of the output
value is accomplished by either entering a new value from the
keypad, Sec. 2.4.2, or using the modify controls, Sec. 2.4.5). The
meter shows a lagging power factor of .8661.
15. Press POWER
FACTOR
The PHASE LED will turn off, the POWER FACTOR LED will
turn on, and the PMC displays POWER FACTOR .8661.
16. Adjust Power Factor
to .4999
The PMC display POWER FACTOR .4999 (Due to the minimum
phase increments some Power Factor values such as .5000 are not
allowed). The meter should show .5 lag.
17. Press PHASE The POWER FACTOR LED will turn off, PHASE LED will turn
on, and the PMC displays PHASE 60.00°.