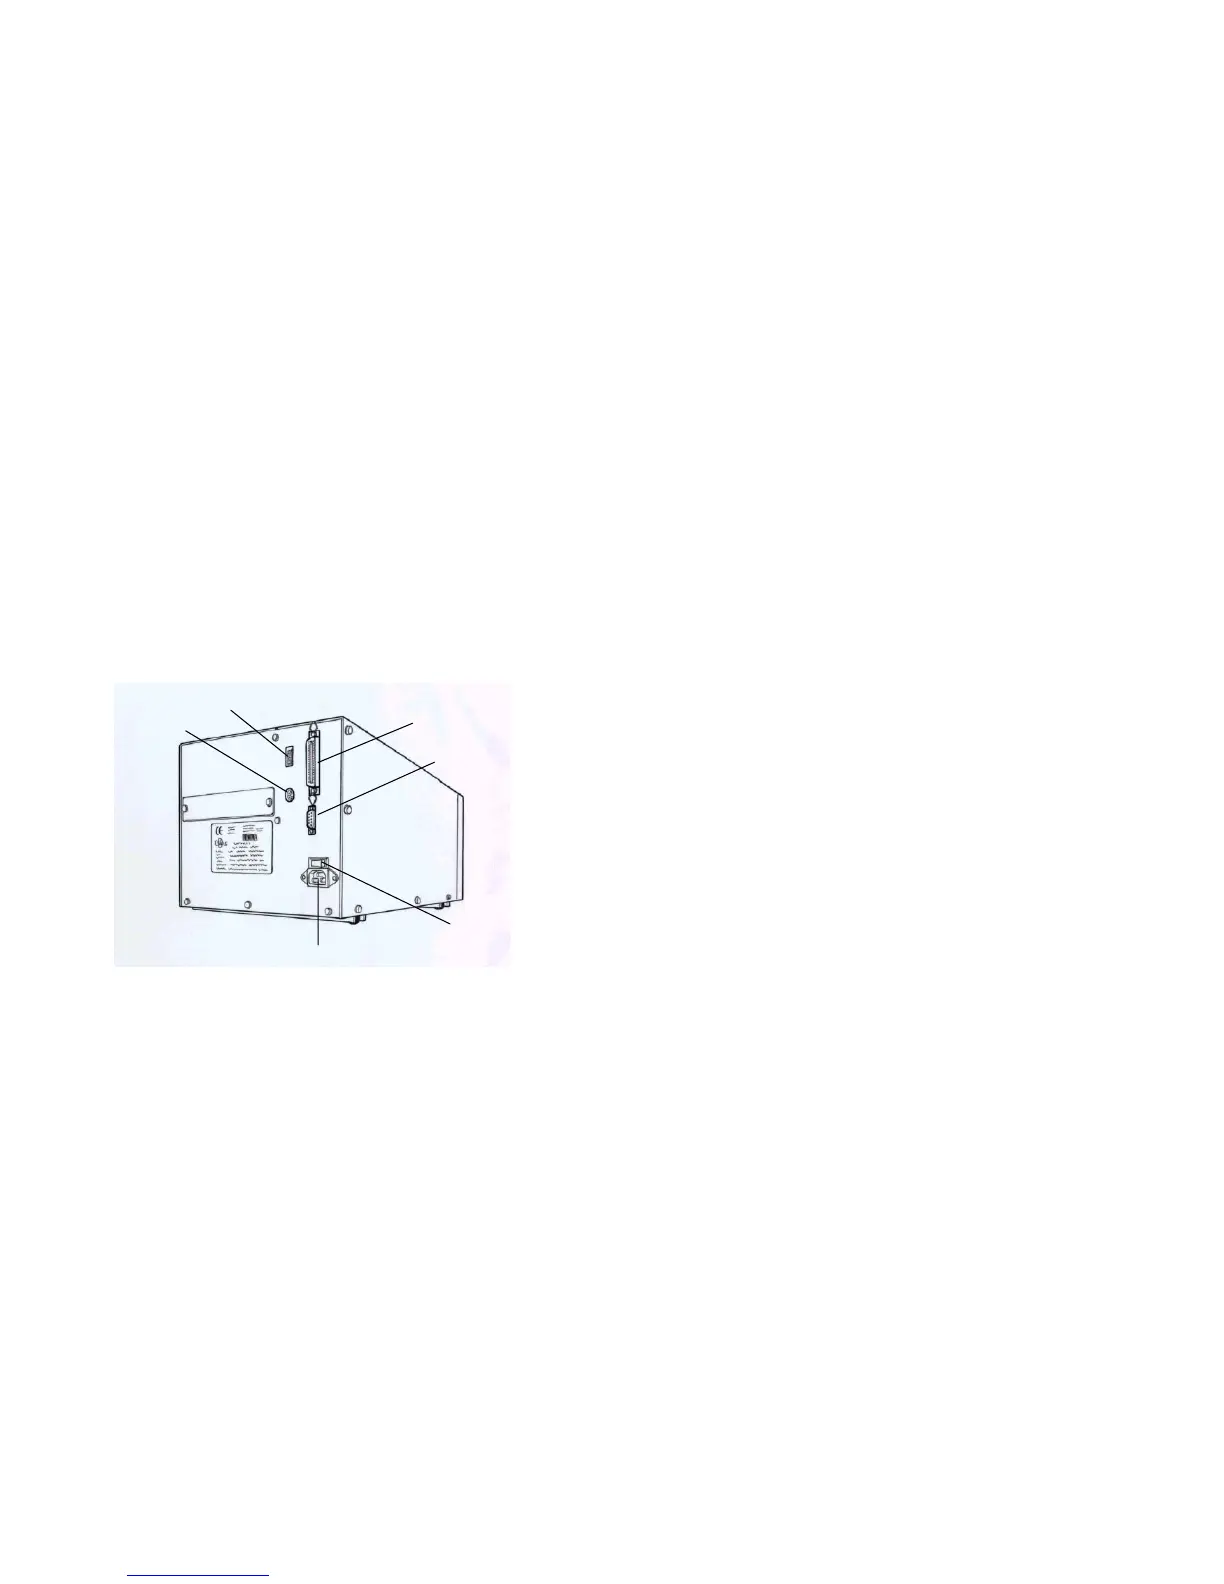
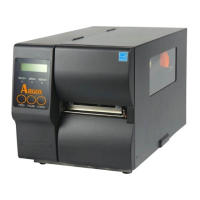
Rear Panel
Performing Calibration
The rear panel includes
After the media and label are loaded, it is necessary to do the
calibration for the label sensor.
- An 8-bit DIP switch
- A 36-pin parallel port
1. Press and hold the PAUSE button.
- A 9-pin RS-232 serial port
2. Turn on the power.
- A PS/2 keyboard connector
3. When the message “CALIBRATION …” is displayed on the LCD, both
READY and MEDIA indicators will blink, at this point release the
button.
- A power switch and power connector
4. The printer will feed the labels for 12 inches.
DIP Switch
Centronics
5. Finally the “READY” message is displayed, the READY and MEDIA
indicators stop blinking and remain illuminated.
PS/2 KB I/F
RS-232
Serial Port
Note:
This procedure is very important and must always be carried out after
installation and every time the media type is changed. Failure to do so
will result in the gap and label-empty detection being incorrect.
Power Switch
Power Connecto