AZI Sales/Customer Service 800-528-7411 or 602-470-1414 or support@azic.com Page 70 of 105
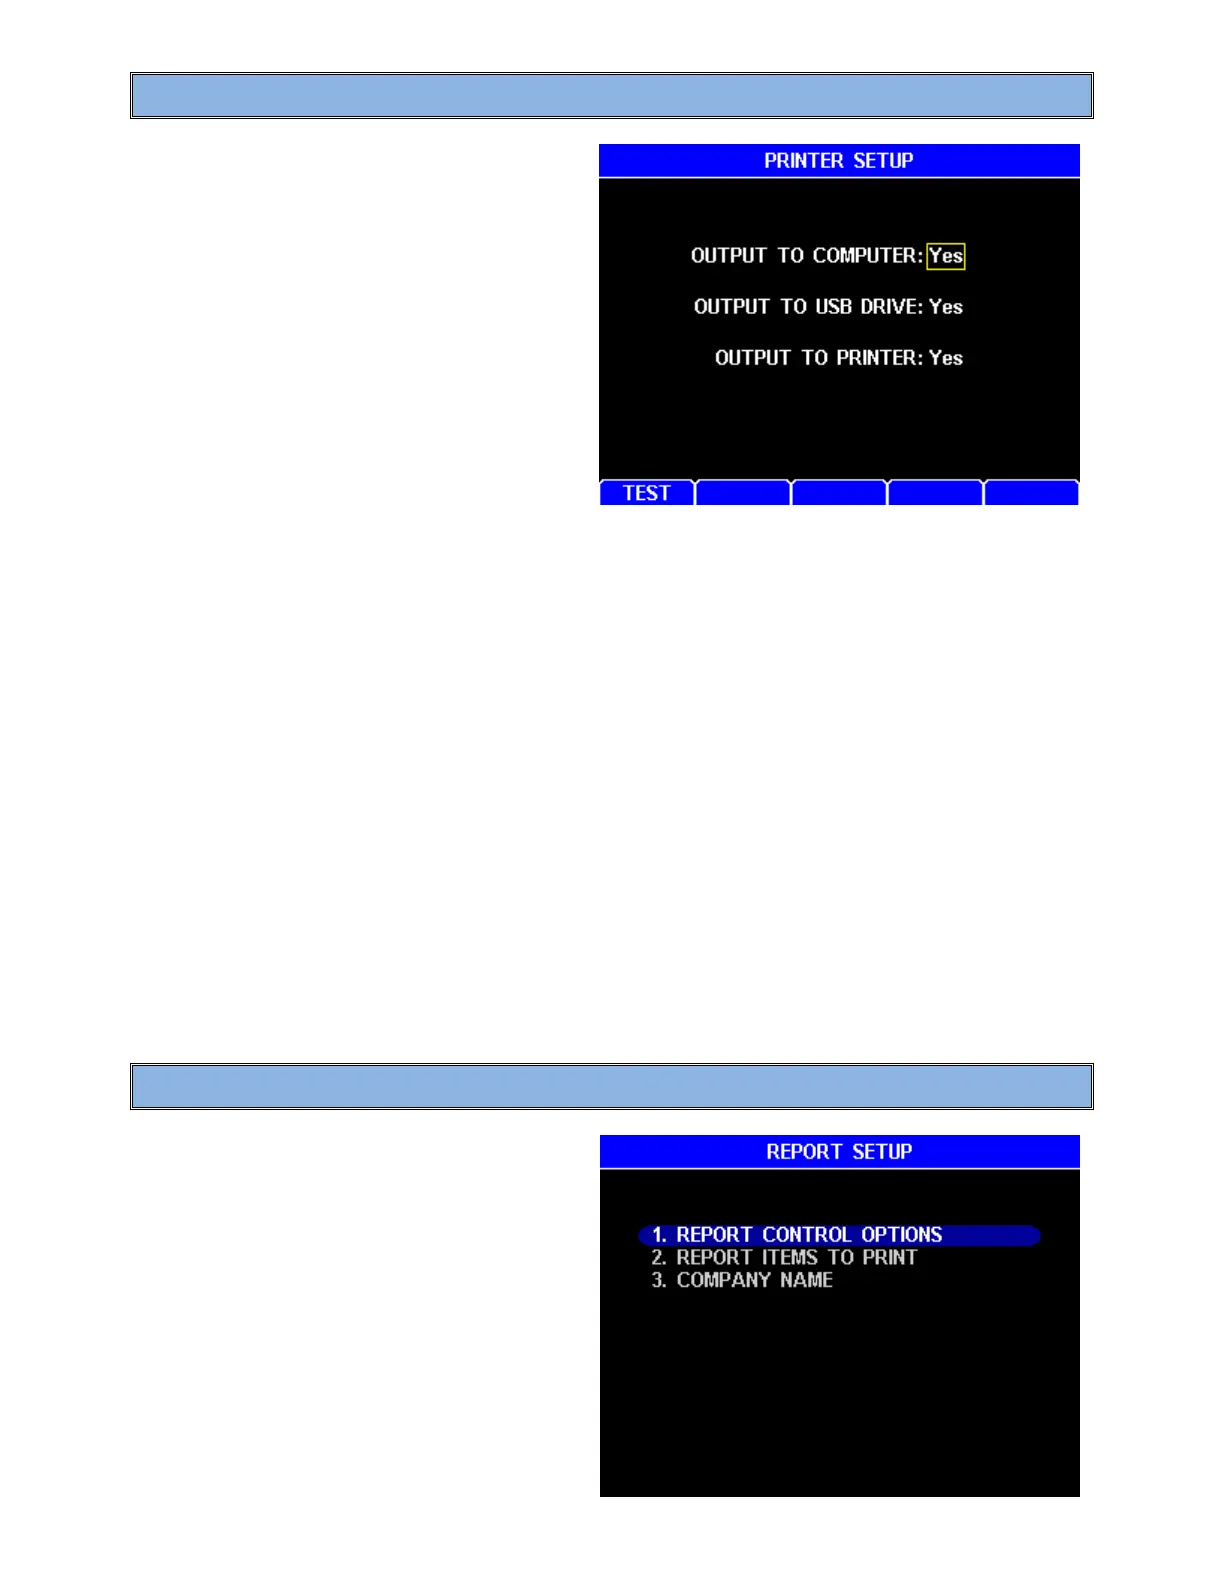
8.4.1 Printer Setup
To get here, navigate:
[MENU]SETUP MENUPRINTER
SETUP
PRINTER SETUP allows the
configuration of data output to a
computer, printer or USB drive. Graphics
are not sent to the computer or USB
drive, only to the printer.
The following options are available:
• OUTPUT TO COMPUTER enables reporting to both the RS232 and the USB
computer ports. Reports sent to a PC include a footer with the date and time.
NOTE: This must be set to No prior to Temperature Calibration.
• OUTPUT TO USB DRIVE enables reporting to a USB drive. Make sure to insert the
drive in the USB Type A / Host port (marked USB) before printing the report. When
the desired report is printed, a file name is constructed from the instrument’s serial
number with a “.TXT” extension (for example “4000005.TXT”) and saved to the drive.
As reports are printed, they are appended to this file along with a footer listing the date
and time. Always wait 5 seconds after a report finishes prior to removing the drive to
allow the instrument to close the file. Otherwise, drive corruption can occur.
• OUTPUT TO PRINTER enables reporting to the printer.
• If using the standard printer (Y990-0212), the [TEST] soft key can be used to send a
test pattern to the printer. If the test pattern prints, then the printer and the MAX
®
4000
are communicating properly. The [TEST] soft key does not send the test pattern to a
connected computer, USB drive or a mini-printer.
See section 6.7 Connecting a USB Printer on page 21 and section 6.9 Connecting a
Computer on page 22 to connect the MAX
®
4000 to a printer and/or a computer.
8.4.2 Report Setup
To get here, navigate:
[MENU]SETUP MENUREPORT
SETUP
This menu allows the reports to be
enabled and customized to your needs.
 Loading...