7.4 !
PID Quick Setup!
NOTE Start with a solid camera setup
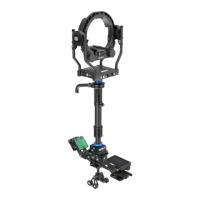
1.0 Set Ramp to ZERO on the Joystick (Pan & Tilt) (K4, K5, K6)
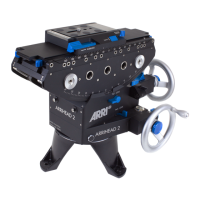
2.0 Physical testing of the head motor power:
2.1 Touch the Tilt axis and try move the camera
down and check if the camera slipping. !
!
2.2 If the tilt axis is slipping, you need to
increase motor power for the tilt axis.
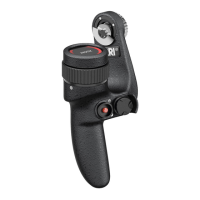
2.3 Use the resulting Tilt value as !
starting value for the Pan axis.!
2.4 Press Save
3.0 Adjusting the PID values:
NOTE First you will need a camera picture
3.1 Select a point in the set.
3.2 Use the joystick to pan and stop the head !
at the selected point in the set.
4.0 Check if the camera: !
4.1 stops at the selected point!
4.2 or if the camera is over driving the point!
4.3 or if the camera is bouncing left and right
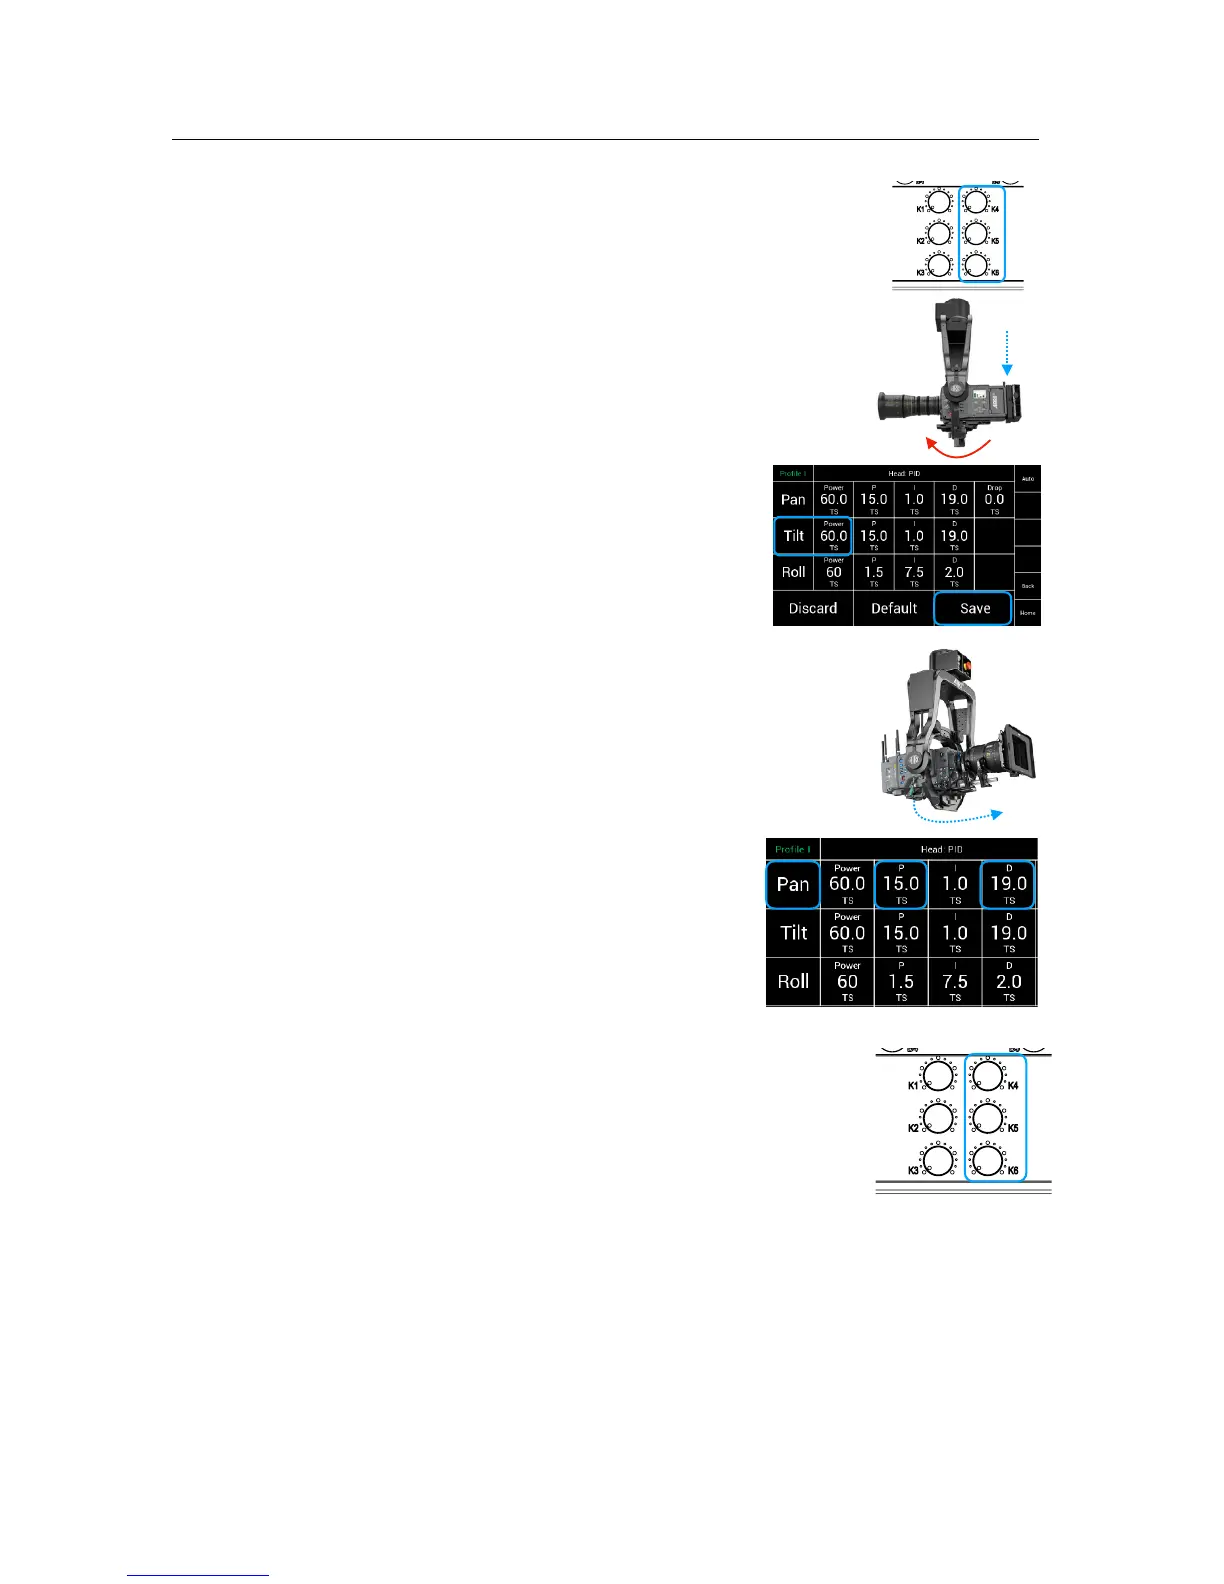
5.0 If the camera is over driving or bouncing,
you need to work on the P and D value !
of the Pan axis.
Adjust the P and D values by steps of five !
up or down.
5.1 If the head is still bouncing because a too soft damper
in between the Head and Crane, increase the Ramp
on the Joystick to slow down the mass before the targeted
end position.
5.2 Same procedure for Tilt
Conclusion:!
It is important to understand that the entire system, such as camera setup, the attachment
of the SRH-3 head to the crane and the overall quality of the crane itself must be
considered.
!
For example:!
If a too soft Iso Damper is used and the whole system becomes too elastic and therefore it
the head may begin to shake. But if a suitable Iso Damper with the right dimensions and
hardness is used, the maximum performance of the SRH-3 can be used.
!
 Loading...