Installation
IPC1100 Advanced IP Client Video Set-top • Installation and Operations Manual
365-095-24769 x.1 10/13
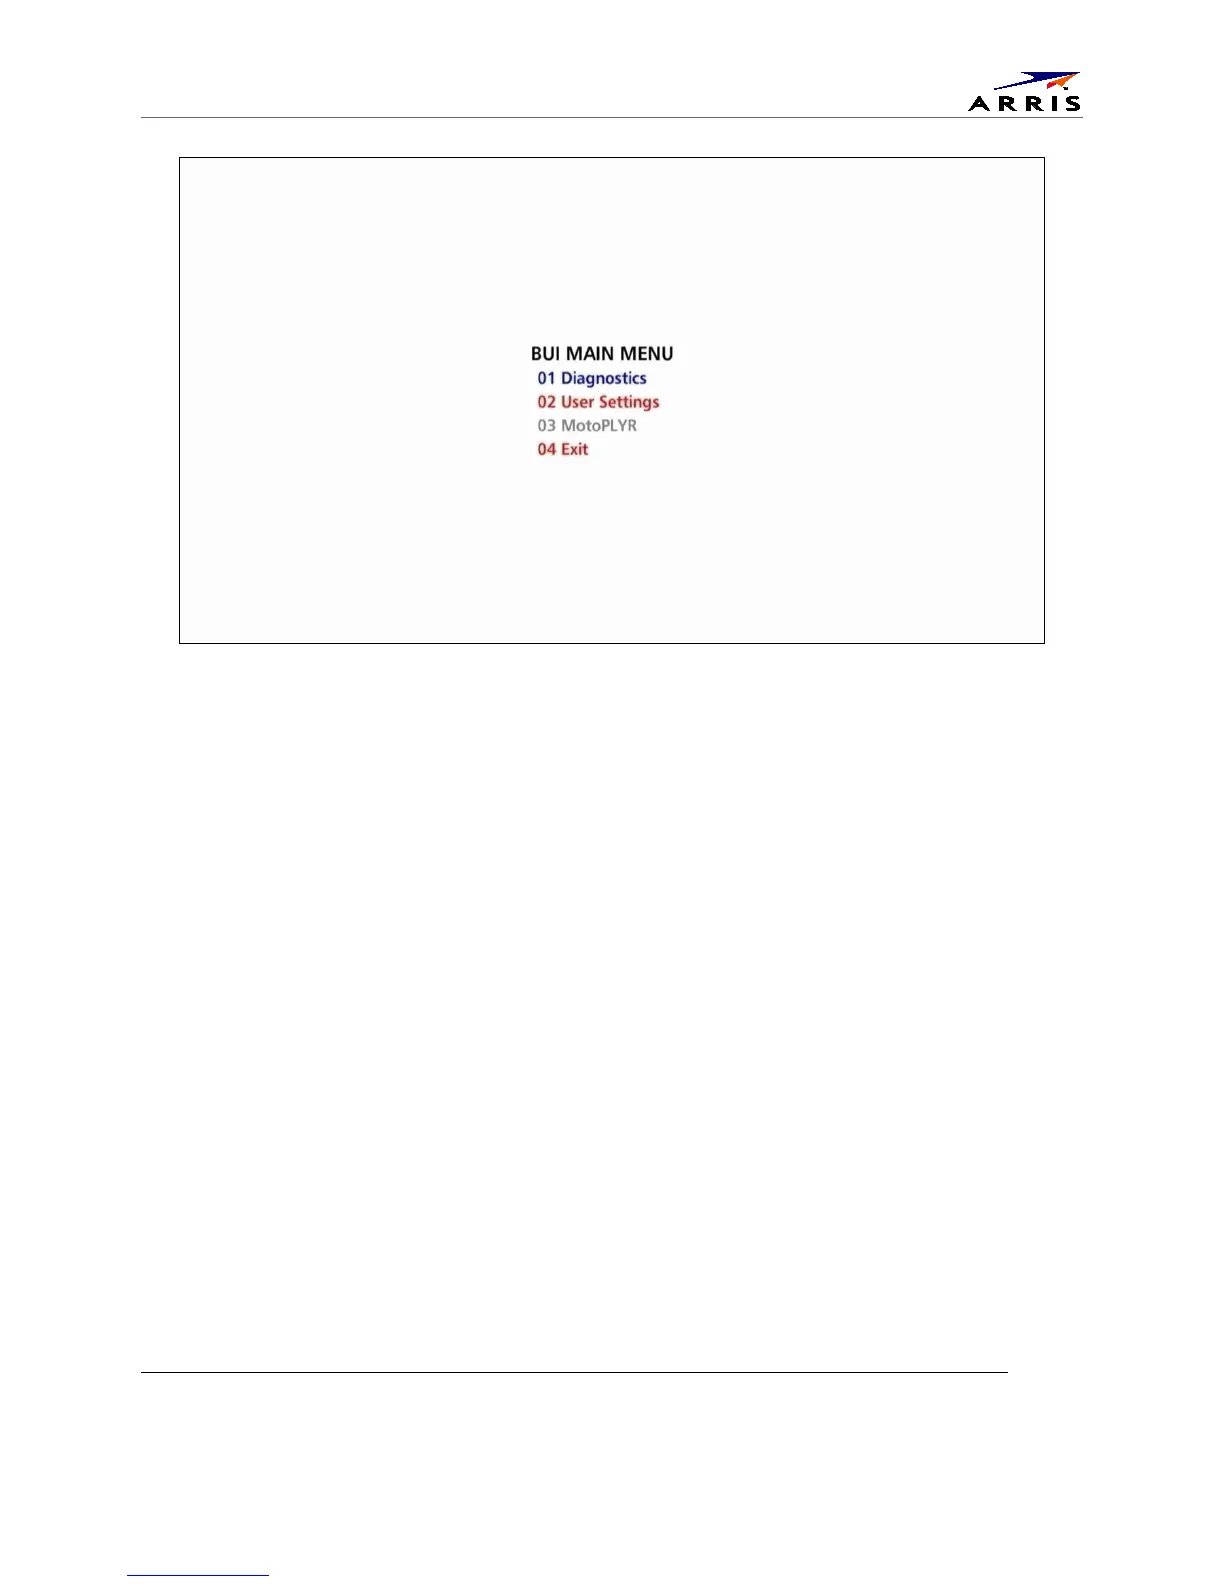
Figure 23 – Basic User Interface Main Menu
Optimizing the High-Definition Settings
This subsection describes how to optimize SD and HD video settings and closed captioning based on
subscriber preferences.
Before you optimize the output settings:
1. Connect the IPC1100 set-top to other home entertainment devices.
2. Plug the IPC1100 set-top into a power outlet.
3. Ensure that the IPC1100 has completed the auto provisioning process and has connectivity to a
VMS through the home network.
4. Turn the TV on.
Note: For an HDMI connection, be sure the TV is on and the HDMI is selected as its input before adjusting the
settings. ARRIS recommends certified Standard (or "category 1") HDMI cables for 1080i or 720p resolutions. A
certified High Speed (or "category 2") HDMI cable is recommended for resolutions of 1080p.
There are two methods to Access User Setting to optimize the output settings:
1. See BUI Access Section (Press and Hold ‘D’ Key on IR Remote for 5 seconds, then Release Key)
and select User Setting from BUI Main Menu
2. The traditional method of configuring User Settings is also supported
a. Power off the IPC1100 and then immediately press the select key and then the menu
key on the remote control.
b. If the TV is on, the on-screen menu lists the settings you can configure as shown in
Figure 24: