IMPORTANT:
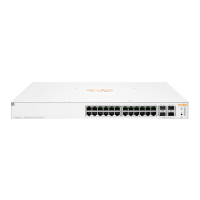
• All Aruba Instant On 1930 Switches support table-top mounting.
• All Aruba Instant On 1930 Switches except JL680A support rack-mounting.
• All Aruba Instant On 1930 Switches support wall-mounting with ports facing either up or
down.
• All Aruba Instant On 1930 Switches support under-table mounting.
◦ JL682A and JL685A must be mounted top surface up.
◦ JL683A, JL684A, and JL686A can be mounted either top surface up or upside down.
◦ JL680A and JL681A must be mounted upside down.
IMPORTANT: Use only supported Aruba transceivers. For more information, see the latest
version of the ArubaOS-Switch and ArubaOS-CX Transceiver Guide.
CAUTION:
• Ensure that the power source circuits are properly grounded. Then connect the switch to the
AC power source by using the power cord supplied with the switch.
• Ensure that the power cord and network cables at the switch mounting location do not
create a tripping hazard.
• When installing the switch, the AC outlet must be near the switch and easily accessible in
case the switch must be powered o.
• Ensure that the switch does not overload the power circuits, wiring, and over-current
protection. To determine the possibility of overloading the supply circuits:
1. Add the ampere ratings of all devices installed on the same circuit as the switch.
2. Compare the total with the rating limit for the circuit.
The maximum ampere ratings are usually printed on the devices near the AC power
connectors.
• Avoid blocking any ventilation openings on the top, sides, rear, or front of the switch.
• Ensure that the air ow around the switch is not restricted. Leave at least 7.6 cm (3 inches)
for cooling.
• Do not install the switch in an environment where the operating ambient temperature
exceeds its specication. See environmental and physical specications for more
information.
Chapter 3 Site preparation and switch installation precautions 19

 Loading...