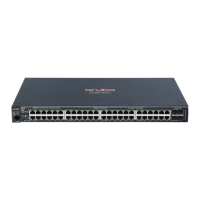
Removing the SFPs
NOTE: You should disconnect the network cable from the SFP before removing it from the
switch.
To remove the SFPs that have the plastic tab or plastic collar, push the tab or collar toward the switch until
you see the SFP release from the switch (you can see it move outward slightly), and then pull it from the slot.
To remove the SFPs that have the wire bail, lower the bail until it is approximately horizontal, and then using
the bail, pull the SFP from the slot.
Replace the protective plastic cover on the SFP.
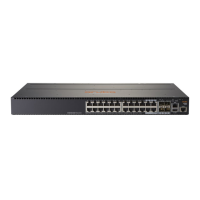
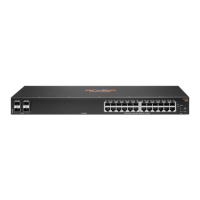
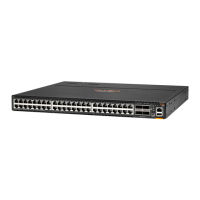
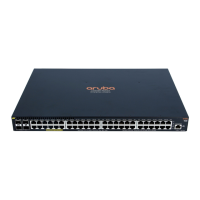
Connecting cables to SFPs
If you have any SFPs installed in the switch, the type of network connections you will need to use depends
on the type of SFPs you have installed. See the table in
Network ports, and appendix A, Cabling and
Technology Information Specications, for the SFP cabling information.
For SFP ports, and in general for all the switch ports, when a network cable from an active network device is
connected to the port, the port Link LED for that port should go on. If the port Link LED does not go on when
the network cable is connected to the port, see Diagnosing with the LEDs.
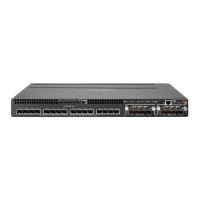
SFP installation notes
NOTE: When selecting a ber SFP device, make sure it can function at a maximum temperature
that is not less than the recommended maximum operational temperature of the product. Use
only an approved Laser Class 1 SFP transceiver.
NOTE: To ensure proper operation of your switch, use only the Aruba SFP transceivers
supported by your switch.
Use only supported Aruba SFP transceivers. Non-Aruba SFP transceivers are not supported. Use of
supported Aruba products ensures that your network maintains optimal performance and reliability. If you
require additional transceivers, contact an HPE Aruba sales representative or an authorized reseller.
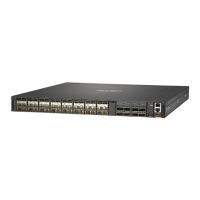
Hot Swapping SFP transceivers. Disconnect the network cables from the SFP transceivers before hot-
swapping them.
When you replace an SFP transceiver with another of a dierent type, the switch may retain selected port-
specic conguration settings that were congured for the replaced unit. Be sure to validate or recongure
port settings as required.
SFP Connections to Devices with Fixed Speed/Duplex Congurations. When connecting a device to your
switch port that contains an SFP transceiver, the speed and duplex settings of the switch port and the
connected device must match. If the settings do not match, the device may not link properly—you may not
get a link. For some older network devices, the default speed/duplex settings may be predened. There may
also be other settings that dier from the default conguration of your switch port. Because of these default
speed/duplex considerations, make sure that devices connected to your SFP ports are properly congured.
At a minimum, make sure the congurations match.
36 Aruba Instant On 1930 Installation and Getting Started
Guide
 Loading...