TD 92641EN
21 June 2012 / Ver. G
Configuration Manual
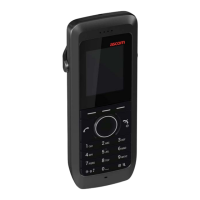
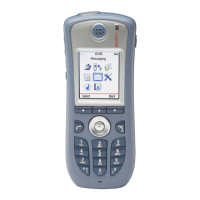
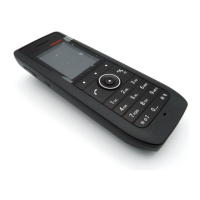
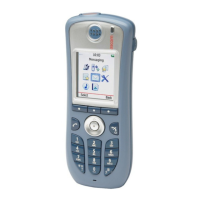
Ascom d41 DECT Handset
5
3 Installation of Handsets
This section describes the recommended procedure for installing and configuring
handsets. There are several ways to install a handset but the procedures described here
guarantees simple maintenance of the system.
It is recommended to use the IMS3 to install and maintain handsets in a large system. The
reason is that it enables to install, upgrade and configure a large amount of handsets
simultaneously. Another benefit is that the collection of the handsets from the user is not
needed. They can be maintained while placed in network connected desktop chargers
(DC4) on the users desks. Network connected rack chargers (CR3) can also be used, or
over the air in the case of IP-DECT.
The PDM Windows Version enables administration of handsets inserted in a Desktop
Charger (DC4) or Rack Charger (CR3) connected via USB to the administrator’s computer.
For PDM, see Installation and Operation Manual, Portable Device Manager (PDM),
Windows Version, TD 92325EN or Installation and Operation Manual, IMS3, TD 92762EN.
3.1 Preparing PDM Windows Version or IMS3 for handling of d41
If the parameter definition file (.def file) for the handset is not present in the PDM
Windows Version or IMS3, it can be added by following the procedure below. The
parameter definition file and software files are delivered as a package file with the
extension '.pkg'. Note that template files (.tpl) may also be included in a package file.
1 Open the PDM Windows Version or the IMS3.
2In the File menu, select Import > Packages.
3 Select the package and click "OK".
The package will imported and the files will be created; one definition file with the
extension .def and one software file with the extension .bin. Template files may also be
created.
File extensions are further explained in an appendix in Installation and Operation Manual,
Portable Device Manager (PDM), Windows Version, TD 92325EN and Installation and
Operation Manual, IMS3, TD 92762EN.
3.2 Installation of a new Handset
The installation basically contains three steps:
• Subscription towards the DECT-system – needed to be able to make calls and send
messages (Mandatory).
• Create an identity for the handset in the PDM – needed to be able to configure the
behaviour of the handset and take backups of the handset configuration
(Recommended).
• Configure the handset using PDM – customize the behaviour of the handset to suite
each user profile and the specific PBX used in the system (Recommended).
The installation is described in two different scenarios, see below. Before starting, check
which scenario that suits best.
• 3.2.1 Handset Installation in IP-DECT System (release 4.x or higher) on page 6
• 3.2.2 Handset Installation in DECT or IP-DECT System (release 3.1.x - 3.4.x) on page 6
• 3.2.3 Handset Installation in DECT or IP-DECT System (release 3.0.x or lower) on page 6