TD 92641EN
21 June 2012 / Ver. G
Configuration Manual
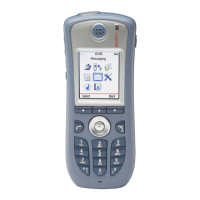
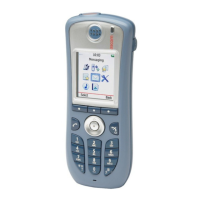
Ascom d41 DECT Handset
14
Note: If it would be impossible to save the old handset settings, stop this replacement
procedure. Instead register the new handset and follow the instructions for installing a
handset, see 3.2 Installation of a new Handset on page 5.
The following steps are described in two different scenarios, check which one suits the
best before proceeding.
4.8.1 Handset Replacement with WinPDM in DECT or IP-DECT System (release 3.1.x or
higher)
Note: The handset to be installed must not have any previous valid registrations. If it has a
valid registration, unsubscribe the handset or follow the instructions in 4.8.2 Handset
Replacement with WinPDM in DECT or IP-DECT System (release 3.0.x or lower) on page
14.
1 Unsubscribe the old handset. If the unsubscribtion cannot be performed in the
handset, unsubscribe the handset via the IP-DECT interface. See the corresponding
IP-DECT documentation.
2 Subscribe the new handset with the same extension number as the old handset.
The subscription procedure is described in User Manual, Ascom d41 DECT Handset,
TD 92582EN.
During the subscription procedure, the handset’s User ID will automatically be set to
the same as the extension number. The User ID is used to identify the handset when
it is connected to PDM and will be visible in the Number column.
Tip: The User ID can be viewed by navigating to the menu:
Admin menu > Device info > User ID.
3 Insert the new handset into a desktop charger or rack charger connected to the
PDM.
4 A dialogue window appears, asking the user to decide whether to use the Number
settings in PDM or the Number settings in the device. Select "PDM".
The handset will automatically be synchronized and all data and parameter settings
will be transferred to the new handset. The synchronization will take a while if the
Contacts in the original handset contains a large number of contacts.
4.8.2 Handset Replacement with WinPDM in DECT or IP-DECT System (release 3.0.x
or lower)
1 Insert the new handset into a desktop charger or rack charger connected to the
PDM.
2 A dialogue window will be displayed. Select the option "Associate with number".
Follow the instructions and select the number of the old handset, see Installation
and Operation Manual, Portable Device Manager (PDM), Windows Version,
TD 92325EN.
3 The handset will automatically be synchronized and all data and parameter settings
will be transferred to the new handset. The synchronization will take a while if the
Contacts in the original handset contains a large number of contacts.
4 Subscribe the new handset.
4.9 Brazil or other Latin America countries – DECT frequency configuration
Note: This chapter is only applicable if the handset is used in Brazil or other Latin
American countries.