1. Unscrew and remove the cover of the MCU enclosure.
2. Remove the jumper of the sensor connection.
3. Connect the wires of the cord to the sensor connection.
4. Use the available strain relief clamp to secure the cord.
5. Connect the wires of the cord to the window sensor in such a way the contact is open when the
window is closed (consult the instructions included with the window sensor).
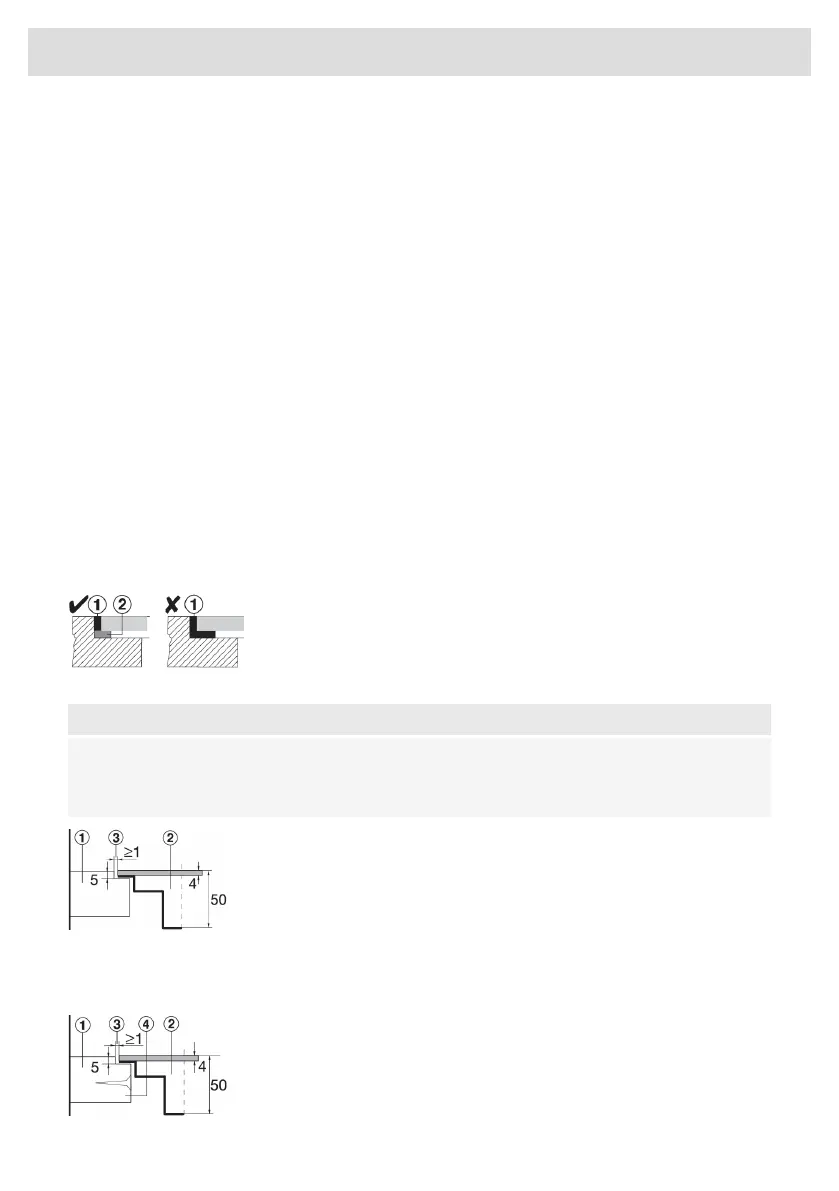
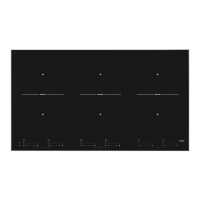
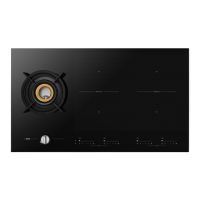
Installing the appliance
The appliance may only be installed into a temperature- and water-resistant countertop, such as a
countertop made of (natural) stone (marble, granite), or solid wood (the edges along the cut-out
have to be sealed). When installing into a countertop made of ceramics, wood, or glass, a wooden
sub-frame should be used. The frame is not supplied with the appliance. The appliance may only
be installed into a countertop made of other materials after you have consulted the countertop
manufacturer and obtained his express approval. Internal dimension of the basic unit should be at
least equal to the internal cutout for the appliance. This will allow simple removal of the appliance
from the countertop. Attach sealing tape along the perimeter of the bottom of the glass panel.
Install the appliance (see ‘Installation’) and connect the appliance to the mains power supply (see
instructions for connecting the appliance). Test the operation of the appliance before applying the
seal. Seal the groove between the appliance and the kitchen worktop with a silicone sealant.
The silicone sealant used to seal the appliance must be temperature-resistant (to at least 160 °C).
Smooth out the silicone sealant using suitable tools. Observe the instructions for use of the selected
silicone sealant. Do not switch on the appliance until the silicone sealant has dried completely.
1. Silicone sealant, 2. Sealing tape
NOTE!
Pay particular attention to built-in dimensions with (natural) stone countertops. When choosing
the silicone sealant, observe the countertop material and consult the countertop manufacturer.
Use of inappropriate silicone sealants can result in permanent discolouration of some parts.
Stone countertop
1. Countertop
2. Appliance
3. Slot
Given the margin of error (tolerance) for the glass ceramic plate of the appliance, and the cutout in
the countertop, the slot is adjustable (min. 2 mm).
Ceramic, wooden, or glass countertop
1. Countertop
2. Appliance
3. Slot
4. Wooden frame, thickness 16 mm
65
Installation