Chapter 2: Hardware Setup
2-4
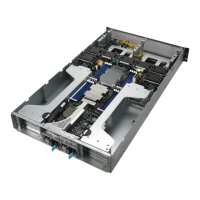
2.1.1 Air duct
The diagrams in this section are for reference only. The system layout may vary with
models, but the installation steps are the same for all models.
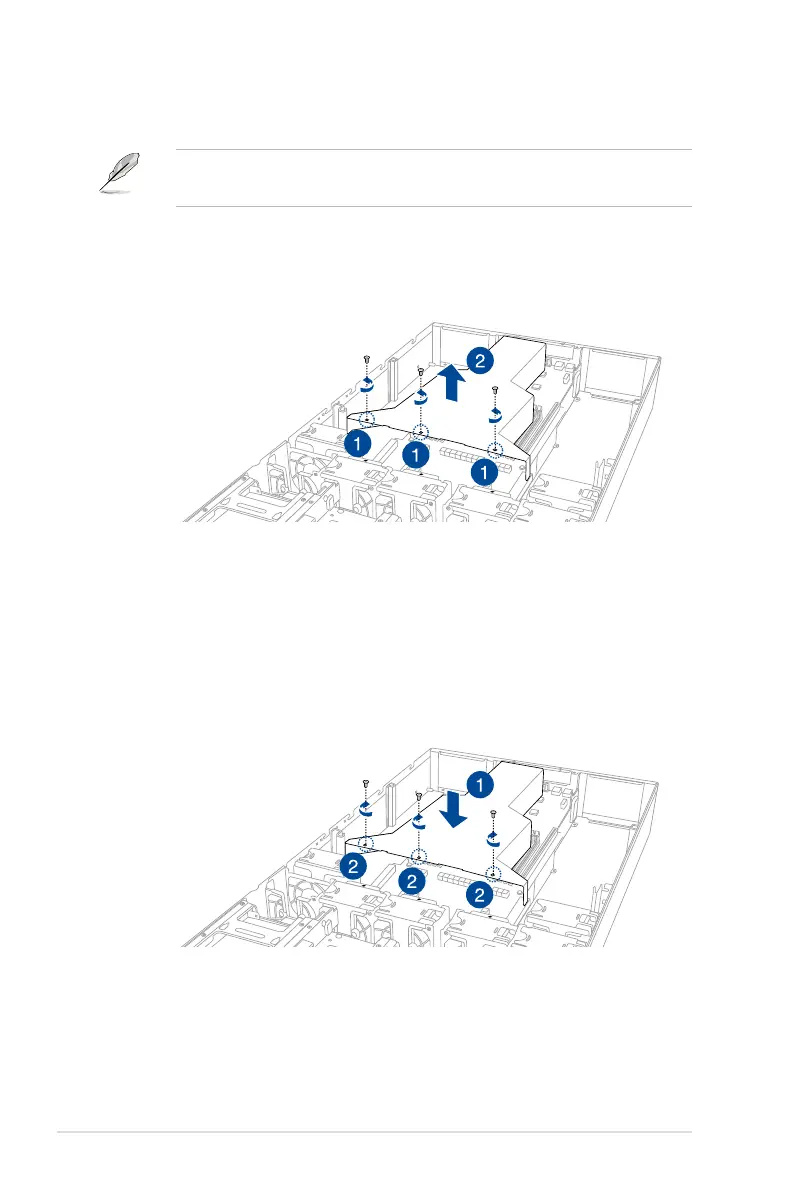
To remove the air duct:
1. Remove the three screws as shown.
2. Lift the air duct to remove it from the chassis.
To reinstall the air duct:
1. Align and replace the air duct to the chassis ensuring that the screw holes on the air
duct match the screw holes on chassis.
2. Secure the air duct to the chassis with three screws.