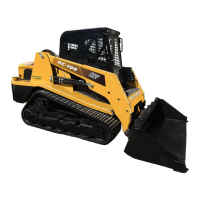
Rubber Track Loader
10. Undercarriage Disassembly and Assembly
10-2
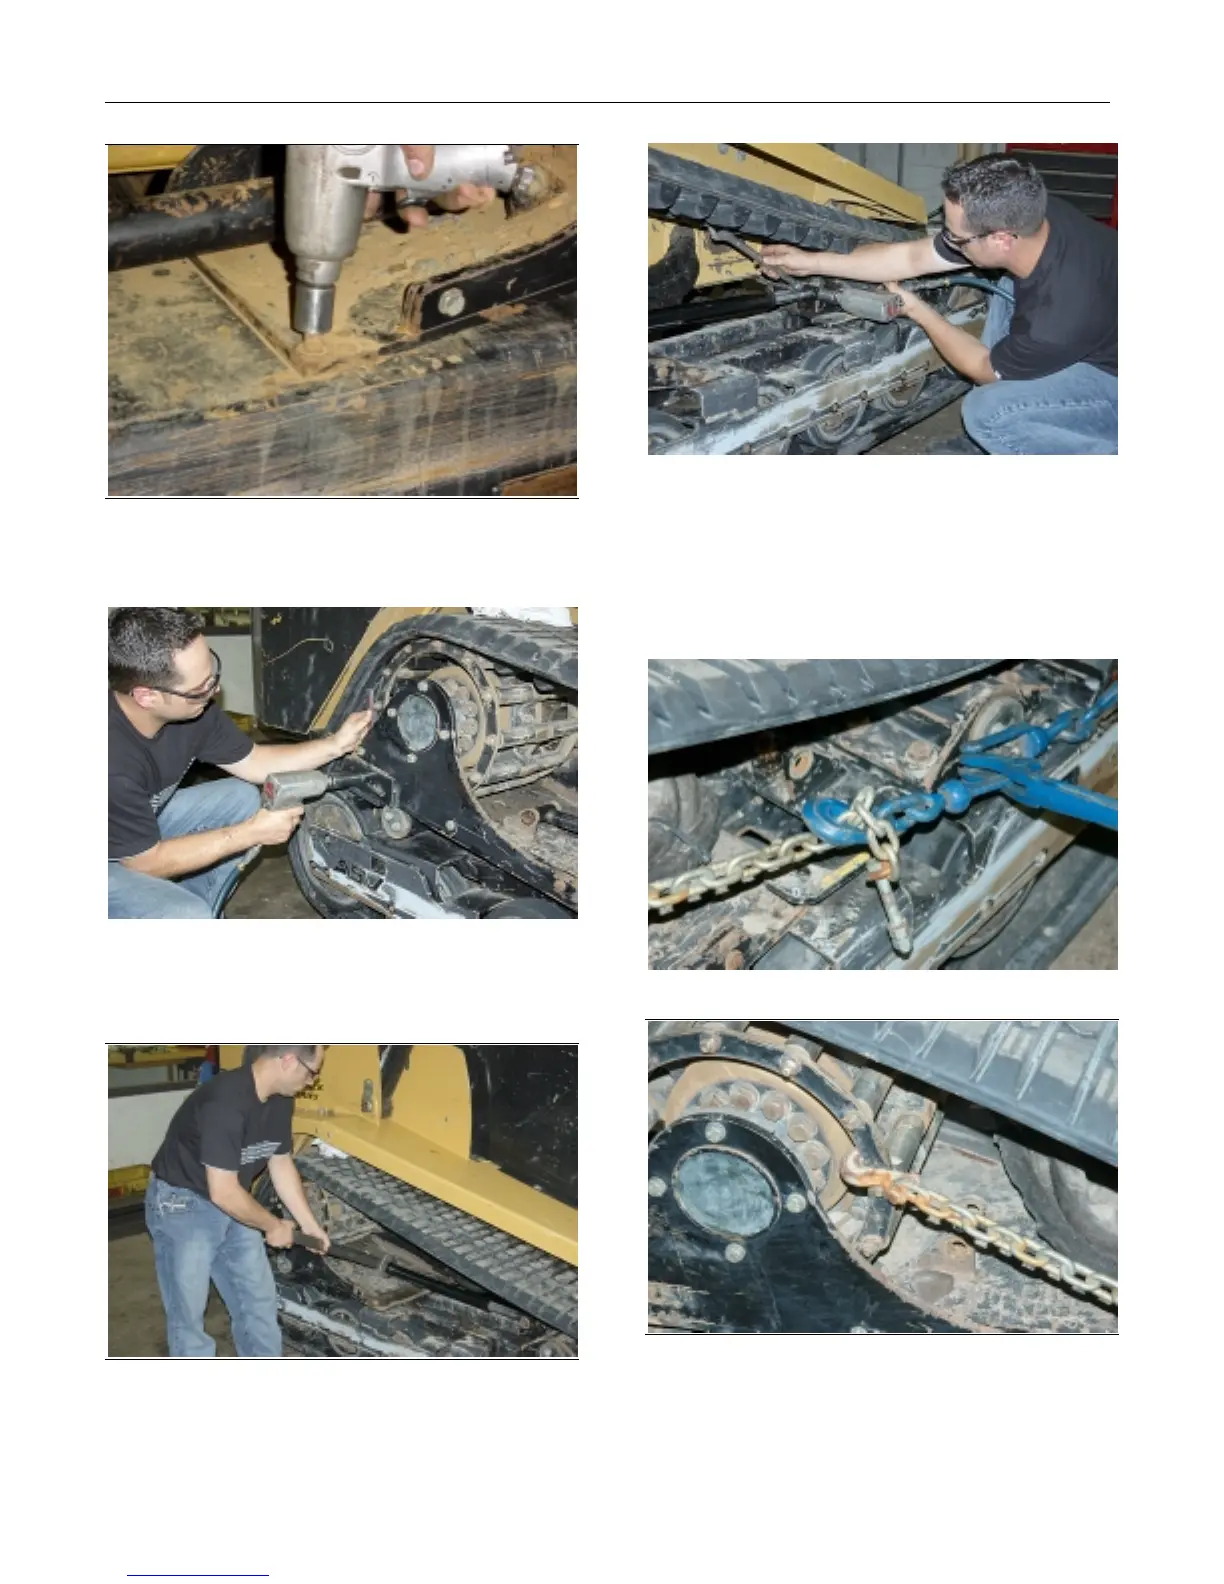
Figure 10-1
1. Remove the 2 bolts that fasten the drive
sprocket table to the frame rail, fig. 10-1.
Figure 10-2
Remove drive table alignment bolts, one from each
side, fig 10-2.
Figure 10-3
2. Loosen lock bolt and release tension from the
tension adjustment turnbuckle, fig 10-3.
Figure 10-4
2. Remove tensioning turnbuckle by removing front
and rear nuts and bolts, fig. 10-4.
3. Using a chain and chain binder, pull the drive
table forward until the hole in the front left corner
lines up with the drive table pivot bracket, fig 10-5,
10-6.
Figure 10-5
Figure 10-6
4. Insert a long bolt through the pivot bracket, drive
table, and frame rail, fig. 10-7.
 Loading...