10
(2) Unpacking
① Unpack the instrument and confirm that there is no external damage.
② Confirm that all parts of the main unit, accessories, and any optional units as described in
section "(1)Configuration" (C page 9) are included.
(3) Installation
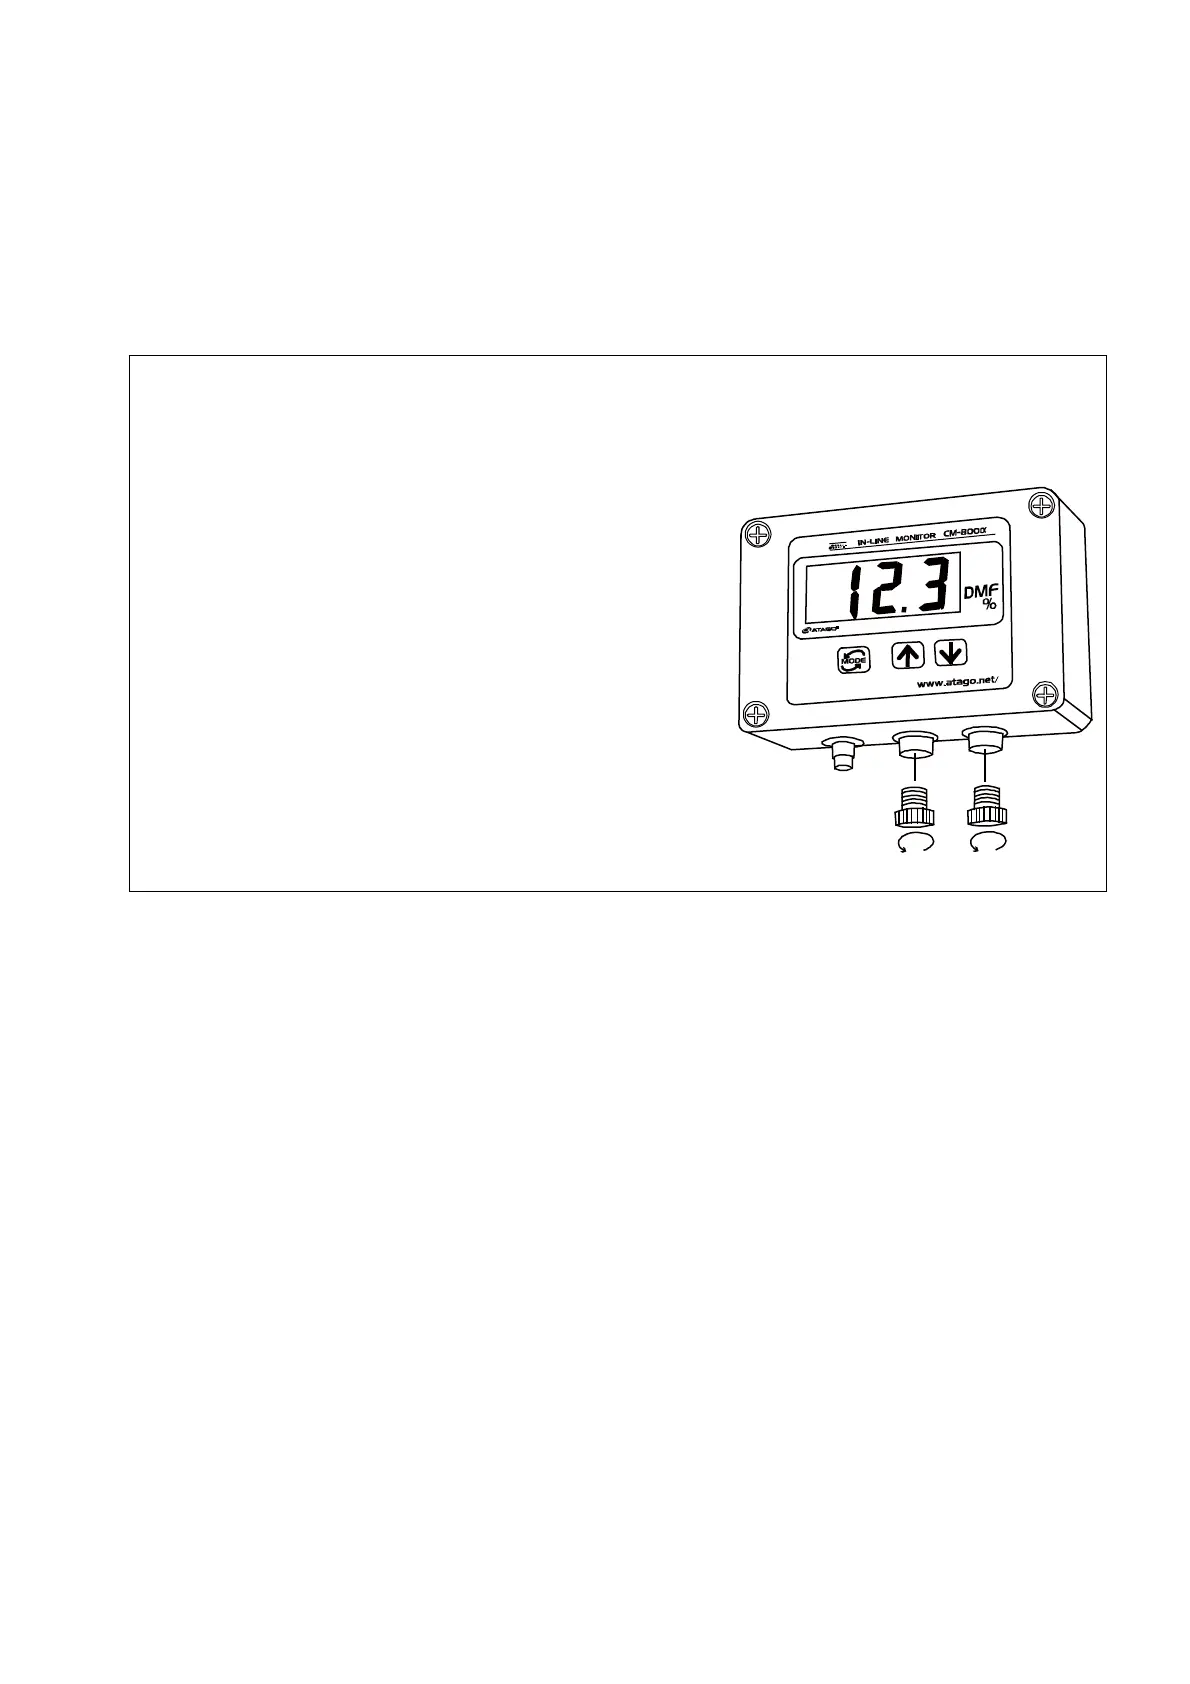
CAUTION
◇ Before using the recorder output terminal or the RS-232C output
terminal, remove the two metallic caps by turning them
counterclockwise.
Fig. 3-1
① Connect the instrument to an AC100-240V main outlet (voltage fluctuations not to exceed
10%), 50/60Hz with the power cable.
② The instrument should be supplied with DC24V (allowable fluctuation is ±10%).
The AC adapter AD-32, AD-33 or AD-34 (optional) should be connected to a power supply
of AC 100-240V, 50/60 Hz.
③ The instrument should be installed in a location with an ambient temperature of 5 to 40℃.
④ Because the instrument incorporates highly precise components, DO NOT install in
locations exposed to direct sunlight or near a heating source, or in an environment that is
dusty or exposed to corrosive gasses.
⑤ The instrument should be installed in a location that is free from vibration. When installing,
take special care to avoid any strong shock to the instrument.
⑥ Do not touch the prism surface with your hand. Finger-prints left on the prism surface may
cause sample to build up on the prism.
In the event of contact with the prism surface, clean carefully with a soft tissue soaked
with ethyl alcohol.
In order to prevent scratches, never clean the prism surface using abrasive materials.

 Loading...