13
5. Mounting the instrument and AC adapter AD-32 (AD-33
or AD-34) (Optional)
WARNING
◇ Turn off the power (DC24V) before mounting. If AD-32 (AD-33 or
AD-34) is used, disconnect the power cable's plug from the AC
100-240V outlet before beginning.
Electrical shock may occur if the unit is mounted with the power
connected.
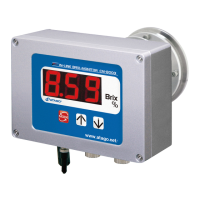
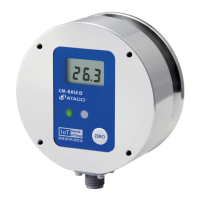
① Mounting screws(Fig. 5-1, Fig. 5-2)
The instrument and the AD-32 (AD-33 or
AD-34) each have four mounting screw
locations.
Use the screws supplied with the stand to
mount the instrument and AD-32 (AD-33 or
AD-34) on the stand or panel plate.
The depth of the screw locations is 10mm, M6.
Instrument
Fig. 5-1
AD-32, AD-33 or AD-34
Fig. 5-2
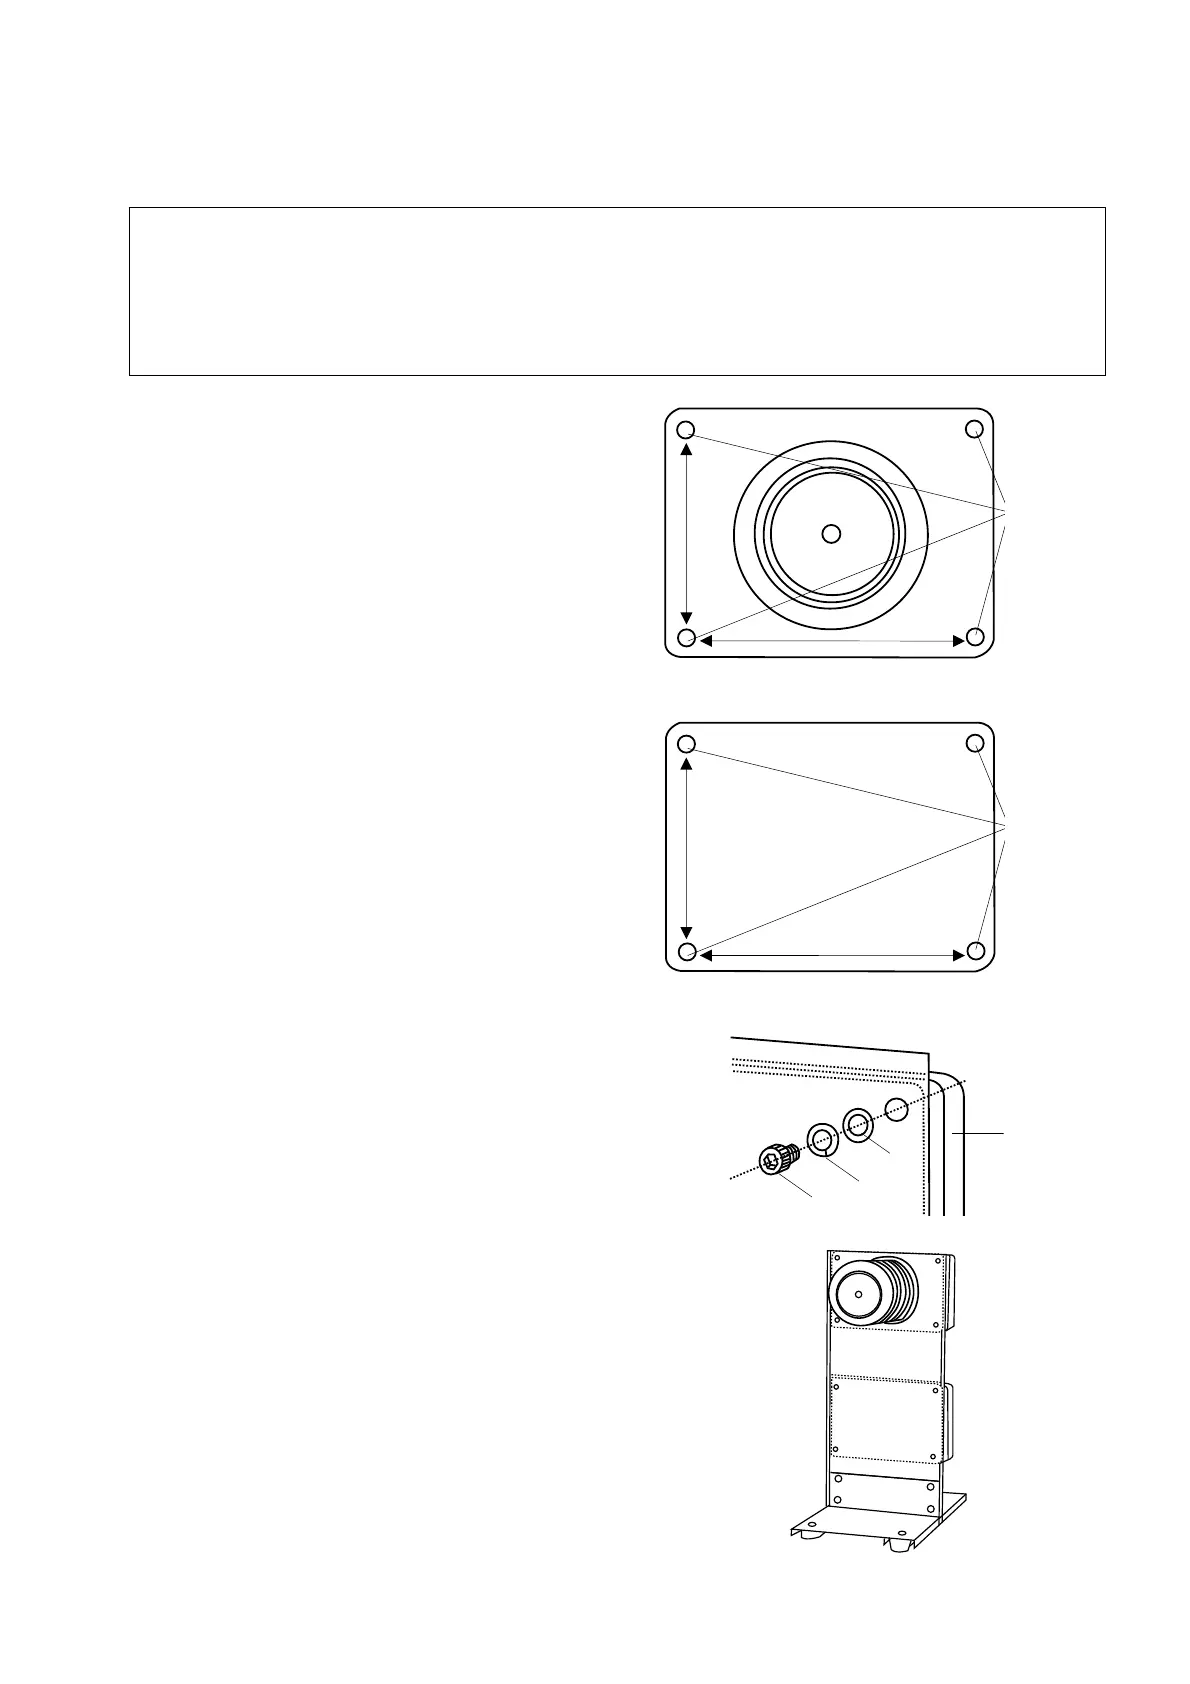
Example of screw configuration (Fig. 5-3)
① The instrument or AD-32 (AD-33 or AD-34)
② Washer (M6)
③ Spring washer (M6)
④ Hexagonal-head bolt M6×10
m Hexagonal-head bolts, spring washers and
washers are included as standard
accessories with the stand (optional).
N Length of the hexagonal-head bolt =
(Screw hole depth, 10mm) + (Panel plate
length)
Mounting on a stand (optional) (Fig. 5-4)
C For information on ordering a stand, see
page 34.
Fig. 5-3
Fig. 5-4
③
②
④
148mm
98mm
148mm
98mm

 Loading...