15
Mounting procedure
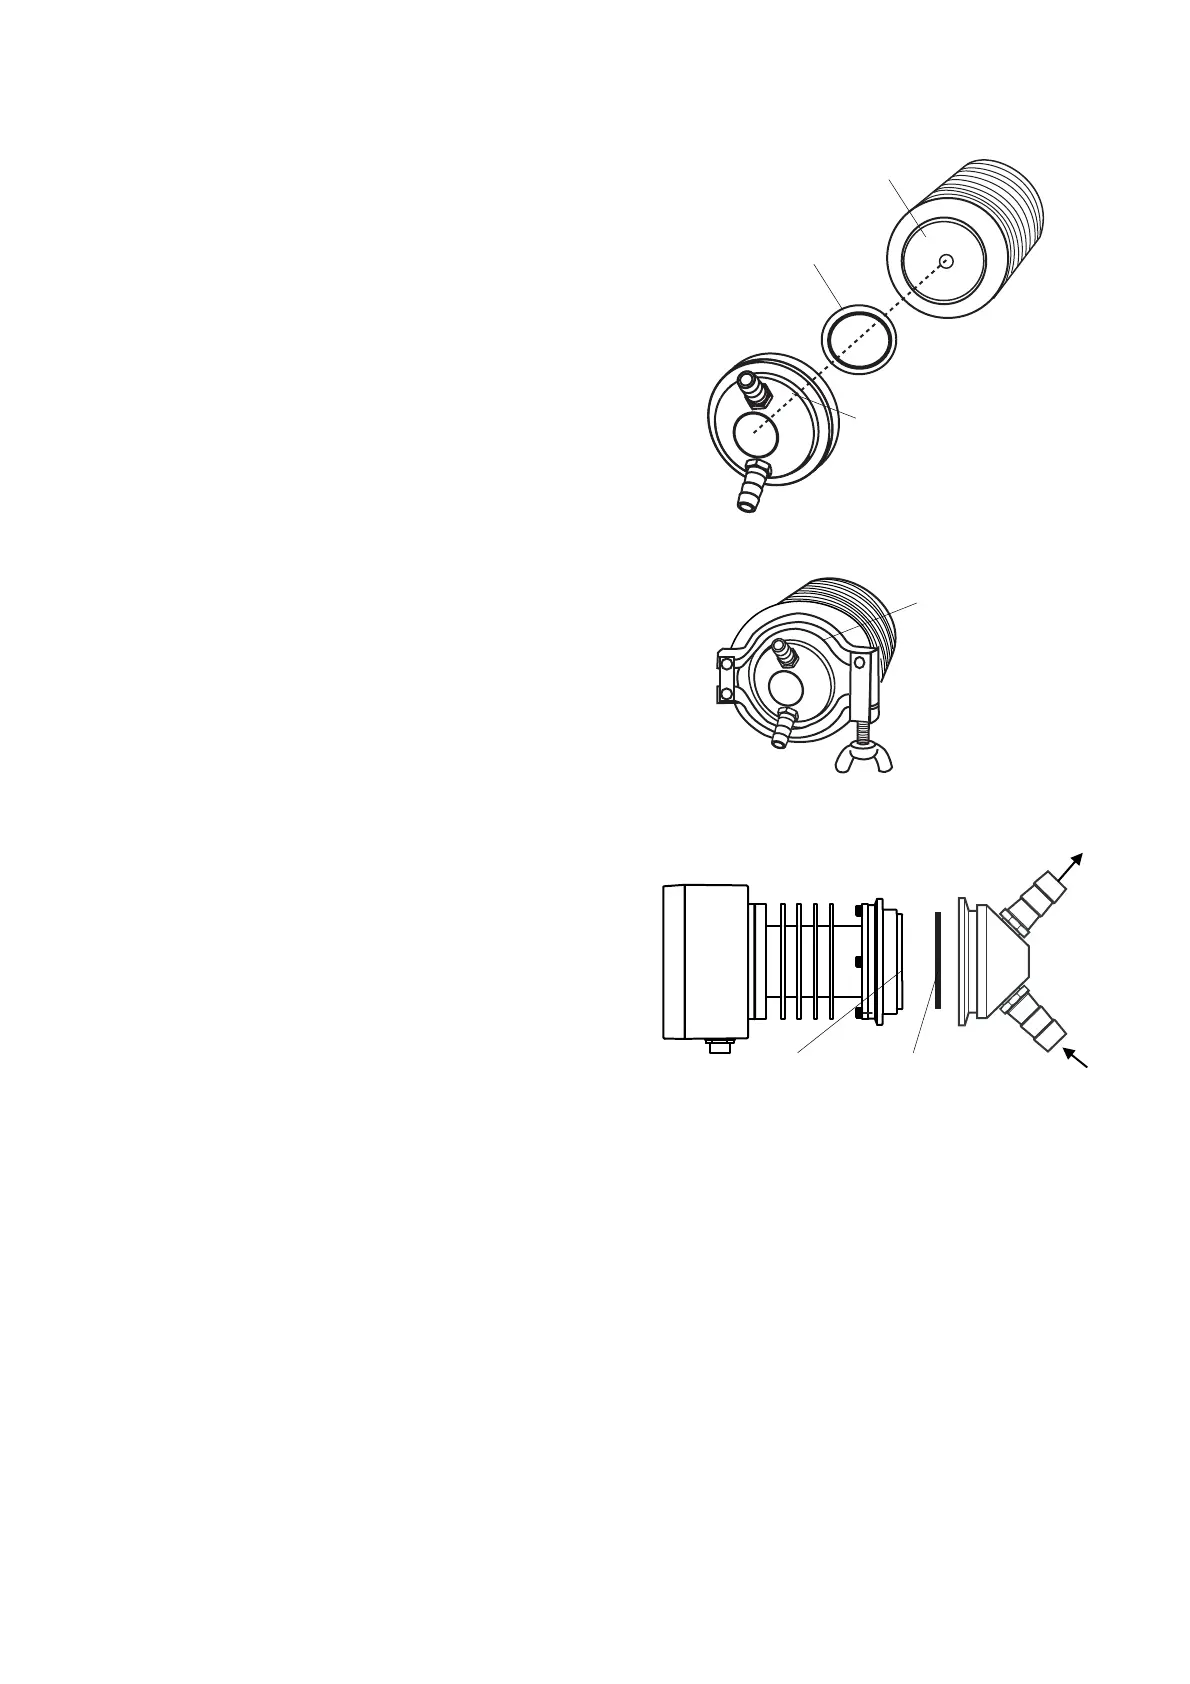
① Install the instrument so that the prism
surface is at a right angle to the ground.
② Attach the sample inlet unit to the instrument
with O-ring (accessory) inserted between
them, and fasten them together with the
clamp band (accessory).
③ Install the inlet unit so that the sample
solution runs from the lower nozzle to the
upper nozzle to prevent air bubbles from
forming.
④ When connecting the tubes to the hose
connector, clamp them with a tie band.
C "Use of tie bands (Hose connector
(RE-67501) only) " page 16
⑤ The prism surface may become contaminated
with solids, dirt and/or grease. If this happens,
the prism surface must be cleaned by hand.
C "16.Cleaning the Prism" page 32
The sample inlet unit should be installed in
such a manner that it can be easily removed
to allow access to the prism for cleaning.
N Suspending the instrument (2.4kg) when
using the sample inlet unit to connect to
the piping is dangerous.
Use of the optional stand is
recommended.
C"5.Mounting the instrument and AC
adapter AD-32 (AD-33 or AD-34)
(Optional)" page 13
C"18.Consumable Parts and Optional
Items" page 34
Fig. 6-2
Fig. 6-3
Fig. 6-4
Top
Bottom
Prism stage
Flow of
solution
O-ring
Flow of solution
Clamp band
Prism stage
O-ring
(silicon or EPDM)
(optional)

 Loading...