• Close and latch Cartridge Door
• Set Module Assembly on its back
• Remove eight screws (no. 6 32x3/8) from Bottom Shield
and lift off
4. Lift Motherboard assembly out of Aluminum Casting
• Gently unplug CPU and/or RAM Memory board
• Unhook and remove plastic Cartridge Guide
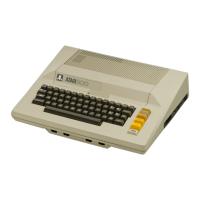
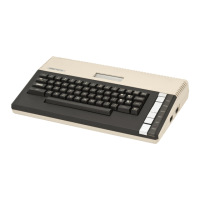
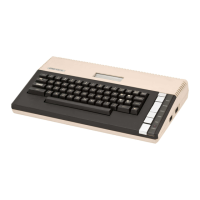
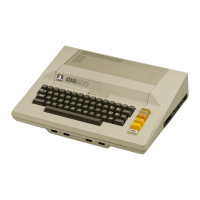
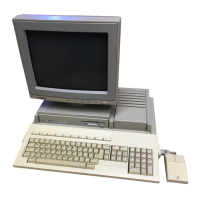
5.6 DISASSEMBLY, 800 Computer Console
This paragraph describes the procedures required to disassemble the
800 Computer Console. Proceed after reading the following notes.
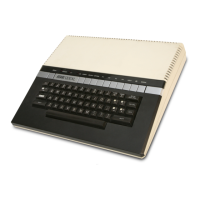
COMPUTER CONSOLE
1. Be careful about mixing screws. The plastic and aluminum parts if
the wrong size screw is used.
2. Excessive torque on screws will strip the plastic and aluminum
parts.
• Plastic - 6 i.nch pounds torque maximum
• Aluminum - 10 inch pounds torque maximum
3. Protect the plastic surfaces Qf the console by working on a soft
surface when the console is turned over on its back.
4. Use all static control precautions whan handling any printed
circuit board.
Access to RAM Memory boards and ROM Memory board
1. Cartridge Door assembly removal, refer to Figure 5-22
• Set System Power switch to OFF.
• Open Cartridge Door
• Rotate Cartridge Door clamps to the outside
• Raise Cartridge Door assembly 1/4 inch, then pull towards you
and lift off
5-33 System Service Manual