CHAPTER 3 - SYSTEM OPERATION
3.1 INTRODUCTION
This chapter will cover the procedures required for system power-up,
using the keyboard and screen editor functions, using Program Car-
tridge system keys, operating the hand controllers, and operating the
ATARI 410 Program Cassette Recorder.
3.2 SYSTEM POWER-UP
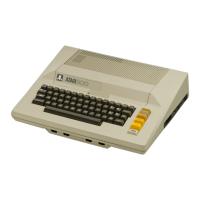
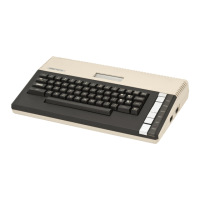
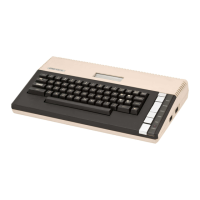
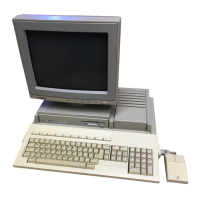
Two modes of system power-up exist for the ATARI 400/800 Personal
Computer Systems; power-up with disk drives and power-up without disk
drives. Before continuing with system power-up ensure that you have
unpacked and set-up your system according to the instructions
outlined in Chapter 2, System Installation.
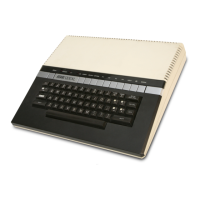
3.2.1 System Power-Up Without Disk Drive
The following steps detail the procedures required to power-up an
ATARI 400 or 800 Personal Computer System without an attached Floppy
Disk Drive. These procedures assume that the system has been set-up
according to the instructions contained in Chapter 2, System
Installation.
Without Program Cartridge.
To power-up the system without a Program Cartridge requires only that
the system be connected to all devices correctly, and the System
Power-ON switch is set to ON. After a few seconds, the screen will
display the "ATARI COMPUTER - MEMO PAD" logo. The Memo Pad Logo
indicates that the system has run a self-test, with no failures, and
is ready to accept information from the Keyboard.
With Proqram Cartridge.
To power-up the system with the Program Cartridge installed, requires
only that the system be connected to all devices correctly, and the
System Power-ON switch is set to ON. After a few seconds, the screen
will display a prompt depending upon the Program Cartridge, ie., the
BASIC Cartridge prompts you with a "READY" written on the screen.
Some Program Cartridges might require you to press the START key or
load a program from the Program Cassette Recorder. The screen display
will prompt you with the correct action for you to take.
ATARI Personal Computers 3-1