CS1782
A
/ CS1784
A
User Manual
8
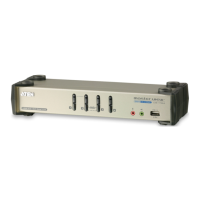
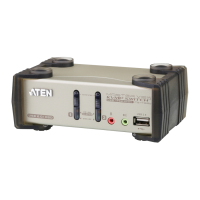
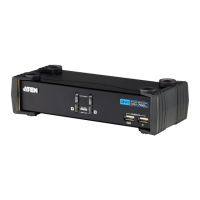
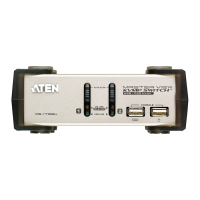
No. Component Description
1 port
selection
pushbuttons
For manual port selection (see Overview, page 15, also):
Press a port selection pushbutton for less than two seconds to
bring the KVM, USB hub, and audio focus to the computer
attached to its corresponding port.
Press a port selection pushbutton twice to bring the audio focus to
the computer attached to its corresponding port.
Press a port selection pushbutton for longer than two seconds to
bring only the KVM focus to the computer attached to its corre-
sponding port.
Press switches 1 and 2 simultaneously for 2 seconds to start Auto
Scan Mode, see Auto Scanning, page 24 for details.
2 port LEDs The port LEDs are built into the port selection switches. The
upper ones are the KVM port LEDs; the lower ones are the
USB LEDs:
KVM
Lights DIM ORANGE to indicate that the computer attached to the
corresponding port is up and running (On Line).
Flashes to indicate that firmware upgrade mode is in effect.
Lights BRIGHT ORANGE to indicate that the computer attached to
the corresponding port is the KVM focus (Selected).
Flashes to indicate that the computer attached to the correspond-
ing port is being accessed under auto scan mode.
USB
Lights GREEN to indicate that the computer attached to its corre-
sponding port is the one that has access to the USB peripherals.
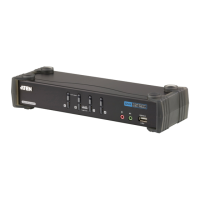
3 audio ports The cables from your main speakers and main microphone
plug in here. The speakers and microphone plugged in here
have priority over those in the rear panel.
4 USB 2.0
hub
USB 2.0 peripherals (printers, scanners, etc.) can plug into
this port (this may require an extra power adapter).
cs1782a-1784a.book Page 8 Monday, July 19, 2021 4:50 PM
 Loading...