Chapter 1. Introduction
5
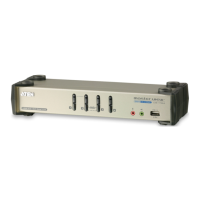
Components
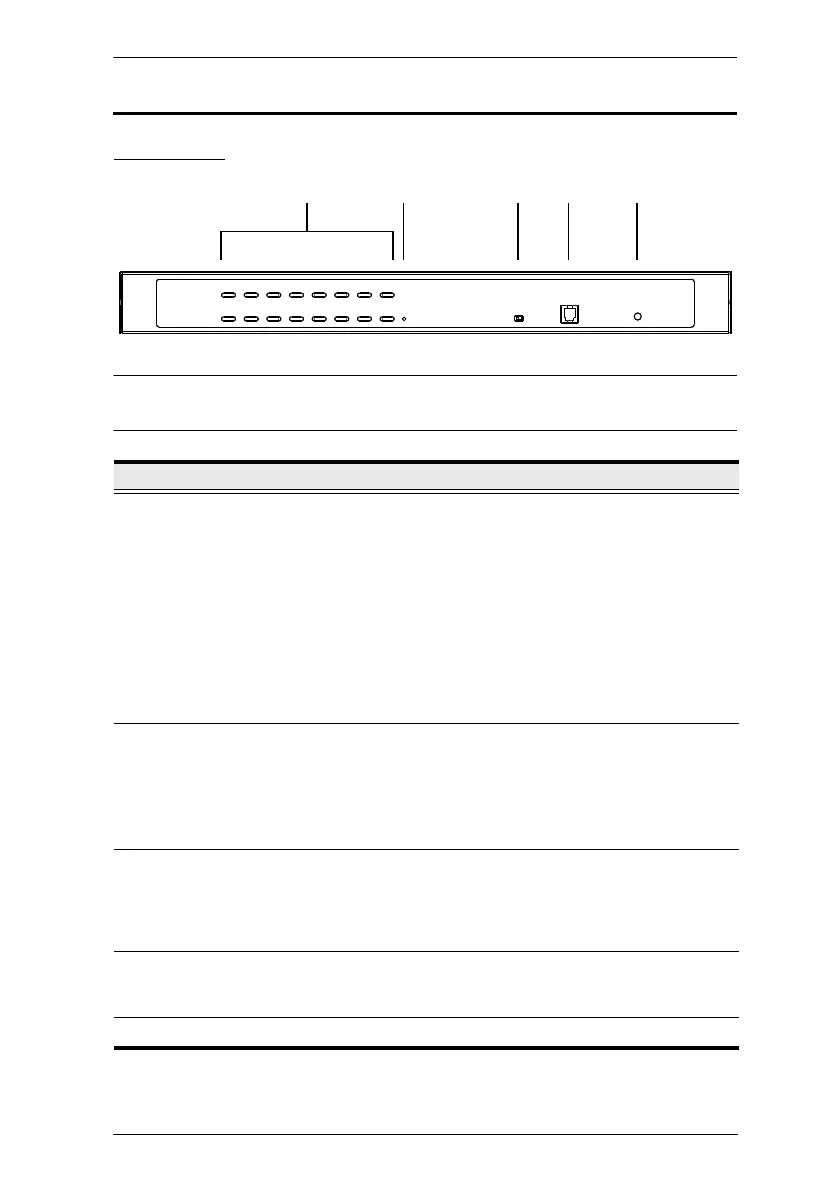
Front View
Note: The CS1316 is pictured above. The CS1308 / CS1308D front panel is the
same as the CS1316, except that it has 8 KVM port LEDs instead of 16.
No. Component Description
1 Port LEDs These port selection pushbuttons each contain 2 LEDs.
An orange LED indicates that a computer is connected to
the corresponding port.
A green LED indicates that the computer connected to the
corresponding port has focus.
Simultaneously pressing port LEDs 1 & 2 resets the
console keyboard and mouse.
Simultaneously pressing port LEDs 7 & 8 on the CS1308 /
CS1308D, or 15 & 16 on the CS1316, starts Auto Scan
mode. See F7: SCAN, page 29.
2 Reset Button Pressing in this button performs a system reset. When the
system is reset, the CS1308 / CS1316 beeps, and then the
KVM port LEDs flash in succession until the reset is
completed. After the reset is completed you can login again.
Note: This button is semi-recessed and must be pushed with a
small object, such as the end of a paper clip or a ballpoint pen.
3 Firmware
Upgrade
Recovery
Switch
During normal operation and while performing a firmware
upgrade, this switch should be in the NORMAL position. If a
firmware upgrade operation does not complete successfully,
this switch is used to perform a firmware upgrade recovery.
See Firmware Upgrade Recovery, page 46, for details.
4 Firmware
Upgrade Port
The firmware upgrade cable that transfers the firmware
upgrade data from the administrator's computer to the
CS1308 / CS1316, plugs into this RJ-11 connector.
5 Power LED Lights to indicate that the unit is receiving power.
12 345
 Loading...