28
6.0 Maintenance and Service
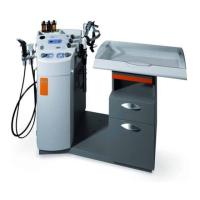
6.3 Changing the tube box of the tube
pump
) The tube cassette is located in the unit's pump
compartment.Itmayonlybereplacedbyqualiedsta!
• The tube box (
3
,g.36)mustbeexchangedregularly
(approx. once a year) to prevent leakage.
• Switchothemainswitch.
• Clean and disinfect the hose system to avoid splashing of
the secretions.
• Loosen the two tube connections.
• Remove the tube box from the drive axle by depressing
the release lever.
• Attach the new tube cassette to the drive axle and arrest
it in the bayonet holder by lifting the release lever. Pull
the tube cassette slightly to check for secure locking.
• Addthetwoconnectingtubesagainacc.tog.36.
) Pump head and cassette holder to be disinfected by
means of spray disinfectant!
) Take care to ensure that the hoses are not kinked when
installing it (shorten them, if necessary)!
Fig. 36.
Hose to the secretion canister
Release lever
Tube cassette
Drainage hose
Connecting nipple to the rear wall
Fig. 35. Changing the rinsing container
6.2 Changing the rinsing canister
) Priortoremovingtherinsingcanister,switchothe
treatment unit by the main switch.
• Slide the rinsing canister to the very top and pivot it
outwards with the level switch. The canister must be
pivoted over the edge of the canister support.
• The canister can then be slanted downwards and
removed.
• To insert pivot the level switch upwards. Slide the canister
upwards as far as it will go, pivot over the edge of the
canister support and insert it downwards into the insert
(seeg.39).
1
2
3
4
5
1 2 3 4 5