6
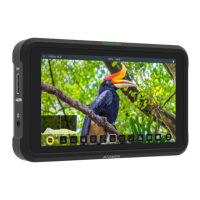
4. Shinobi Connections
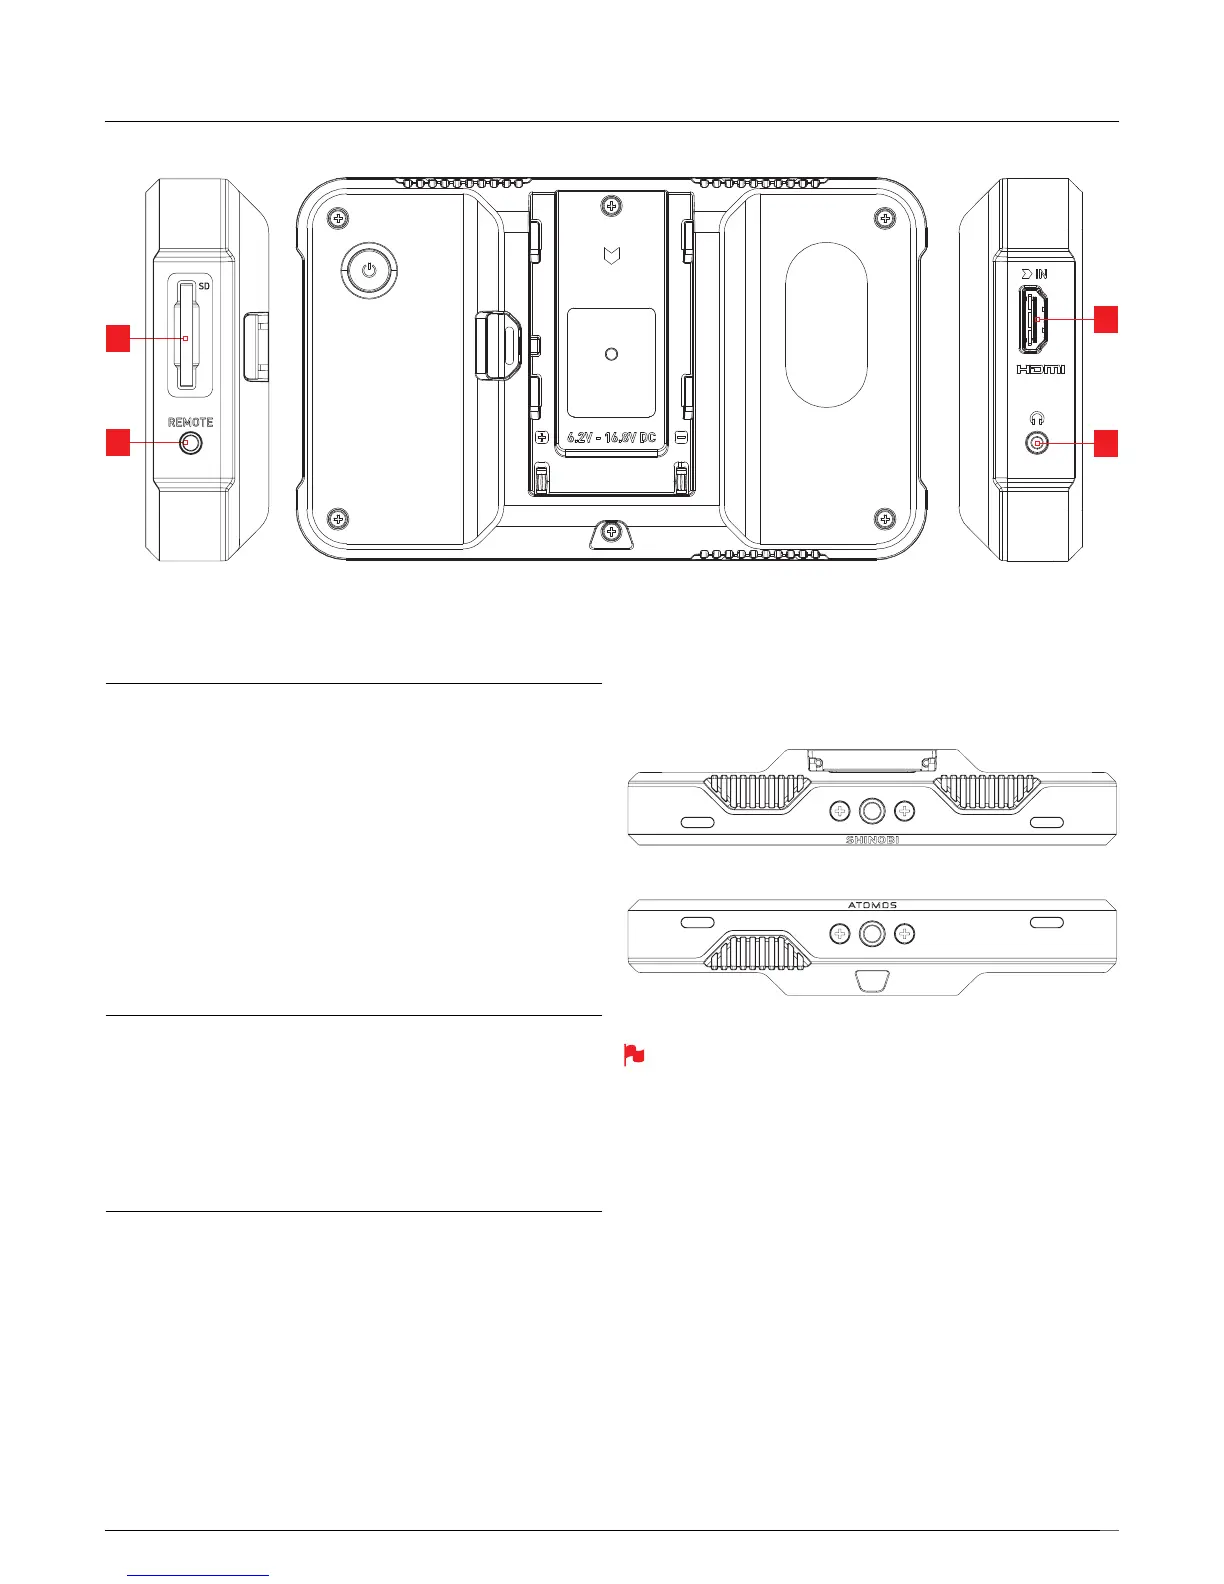
1. SD Card Slot
UseSDcardstoloadLUTsand/orupdatermware.
2. Remote/Calibration Port
Theremote2.5mmjackontherighthandside(lookingfromthefront),
allows for the connection of the ATOMOS USB to Serial LANC cable to
anycomputerdevice.AnX-Ritei1DisplayProcalibrationdeviceneeds
to be attached via USB to the same computer and then placed on
yourShinobi’sscreen*.Theunitwillonlybecalibratedwhenusingthe
ATOMOS Calibration software.
The latest version of the ATOMOS Calibration software for the Shinobi can
be found at www.atomos.com/calibration
*Foroptimalcalibration,itisrecommendedthatyourShinobibepowered
up to 15 minutes prior to calibration.
3. Headphone/audio out
A 3.5mm headphone jack is located below the HDMI port. Volume
for headphone monitoring is via the on-screen audio controls menu,
accessible by touching the audio meters in the upper right side of the
touchscreen(monitoringmode)orinthebottomrightofthescreen
(homescreenmode).
4. HDMI in
The video input is a full size HDMI 1.4 connection used to receive the
signal. This connection also supports embedded audio if your camera or
device sends this out over HDMI.
Embedded Audio: Most mirrorless cameras and camcorders send two
channels of audio over HDMI which allows you to monitor audio via the
headphone/audio out jack.
1
2
3
4
Mounting options
The Shinobi unit includes 1/4”-20 screw mounts top and bottom, ensuring it
is secure on gimbals, and compatible with the latest mounting solutions.
Top view
Bottom
Ensure you do not over tighten the screw mounts as this may cause
damage. Do not insert a 1/4-20” thread longer than 5mm or you will
risk causing damage to the chassis.