*Subject to change without notice Atomos Shogun Flame – User Manual Edition 1: May 2016 9
Battery
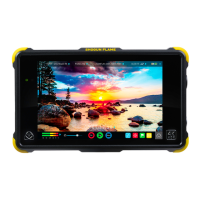
The Shogun Flame is a battery powered device. Like all batteries, you
will need to take care of them. Make sure that you don’t short circuit the
connections because this can result in very high currents that can damage
thecellsandcouldposearehazard.
Charge new batteries before using them, using the battery charger
supplied. To attach the battery, gently slide it down into the slot until it locks
into position. To remove a battery, push the latch to release it.
Batteries do not charge in a linear way. At rst they charge very
quickly, and then the rate slows down to a trickle. While charging,
one or more red lights will blink. When 90% charge is reached, all the
lights will ash. It is perfectly OK to use the batteries at this point and
we recommend stopping at this stage for the longest battery life. If
you leave the batteries on charge after all four lights are ashing, the
charger goes into trickle charging mode for the nal 10%. Eventually,
when trickle charging is complete, and the batteries are at 100%
charge, all the lights will go out.
Before any type of disposal the battery should be discharged
completely. Tape the contacts with electrical tape and package so as
to prevent contacts accidentally coming together at any time.
Incineration must be performed by an approved and permitted waste
treatment facility that handles lithium ion batteries. If you are not sure
if your waste facility can handle lithium ion batteries, contact them and
verify if they are permitted or not.
Battery Charger
The included battery charge has been designed to rapidly charge the
included batteries yet be a light weight charger that is easy to travel with.
To start charging connect the included AC power supply to the mains,
and connect the DC jack to the input on the charger.
It’s worth noting that the two included power supplies are identical
so you can use either with the charger or Flame unit.
Simply align the battery with the retaining rungs and slide in to place.
The battery is held in to place via friction and can be removed by sliding
it out, there is not battery locking mechanism to release.
The LED indicators on at the top of the charger provide status indication
for the battery:
SOLID RED LED – Unit is Powered and ready to go.
FLASHING RED FIRST LED – This is reading the current Charge Status
of the battery.
FLASHING GREEN & Flashing RED – This indicates the level of charge
with each bar representing roughly 25% of the batteries capacity.
SOLID GREEN – Indicates the battery is 100% charged.
In the unlikely event of a charge error the rst and fast red LEDs
ashing quickly.
Fast charging of the battery is possible up to 80% capacity and the
remaining 20% will then charge at a slower rate to maintain good
battery life.
DC Power
Once the Shogun Flame is switched on, it will operate from your external
DC power source if available, if no DC power source is present, then the
battery will become the primary power source. The battery will work as
redundant power if DC power is disconnected.
To attach the battery, gently slide it down into the slot and lock into
position. To remove a battery, push the release button below the battery.
To attach a DC Power source such as Power Station, connect the DC
cable to the rear of the Shogun Flame.
Shogun Flame batteries and modular accessories are held in
place tightly because they are on the outside of the device, this is
to ensure there is no possibility whatsoever that they could work
loose, so you may have to be quite rm with the battery latches.
We suggest that you familiarize yourself with the force required to
remove the batteries and accessories so that you can do this quickly
in the eld.
The Shogun Flame features an Atomos technology called Continuous
Power which uses battery looping technology for uninterrupted switching
between power sources during use.
The Shogun Flame may be powered from NiMH & Li Ion 14.4V
battery systems. Battery adapter required such as the Atomos
battery plate or D-Tap adapter.
Coiled Dtap to DC cable
Included in the Flame accessories is a Dtap /Ptap type connector to
2.1mm DC barrel. This is designed to allow you to power your device
from an external battery system. To use this simply connect the Dtap
connector to your power source. Ensure that the output of the power
source does not exceed 16.8V DC and ideally should be using either
12 or 14v. When the Dtap cable is in use it will replace the DC input an
override any attached batteries.
It is worth keeping a battery on the Flame unit - the connected Dtap
source runs out it will automatically switch over to the battery that is
connected to the the Flame.
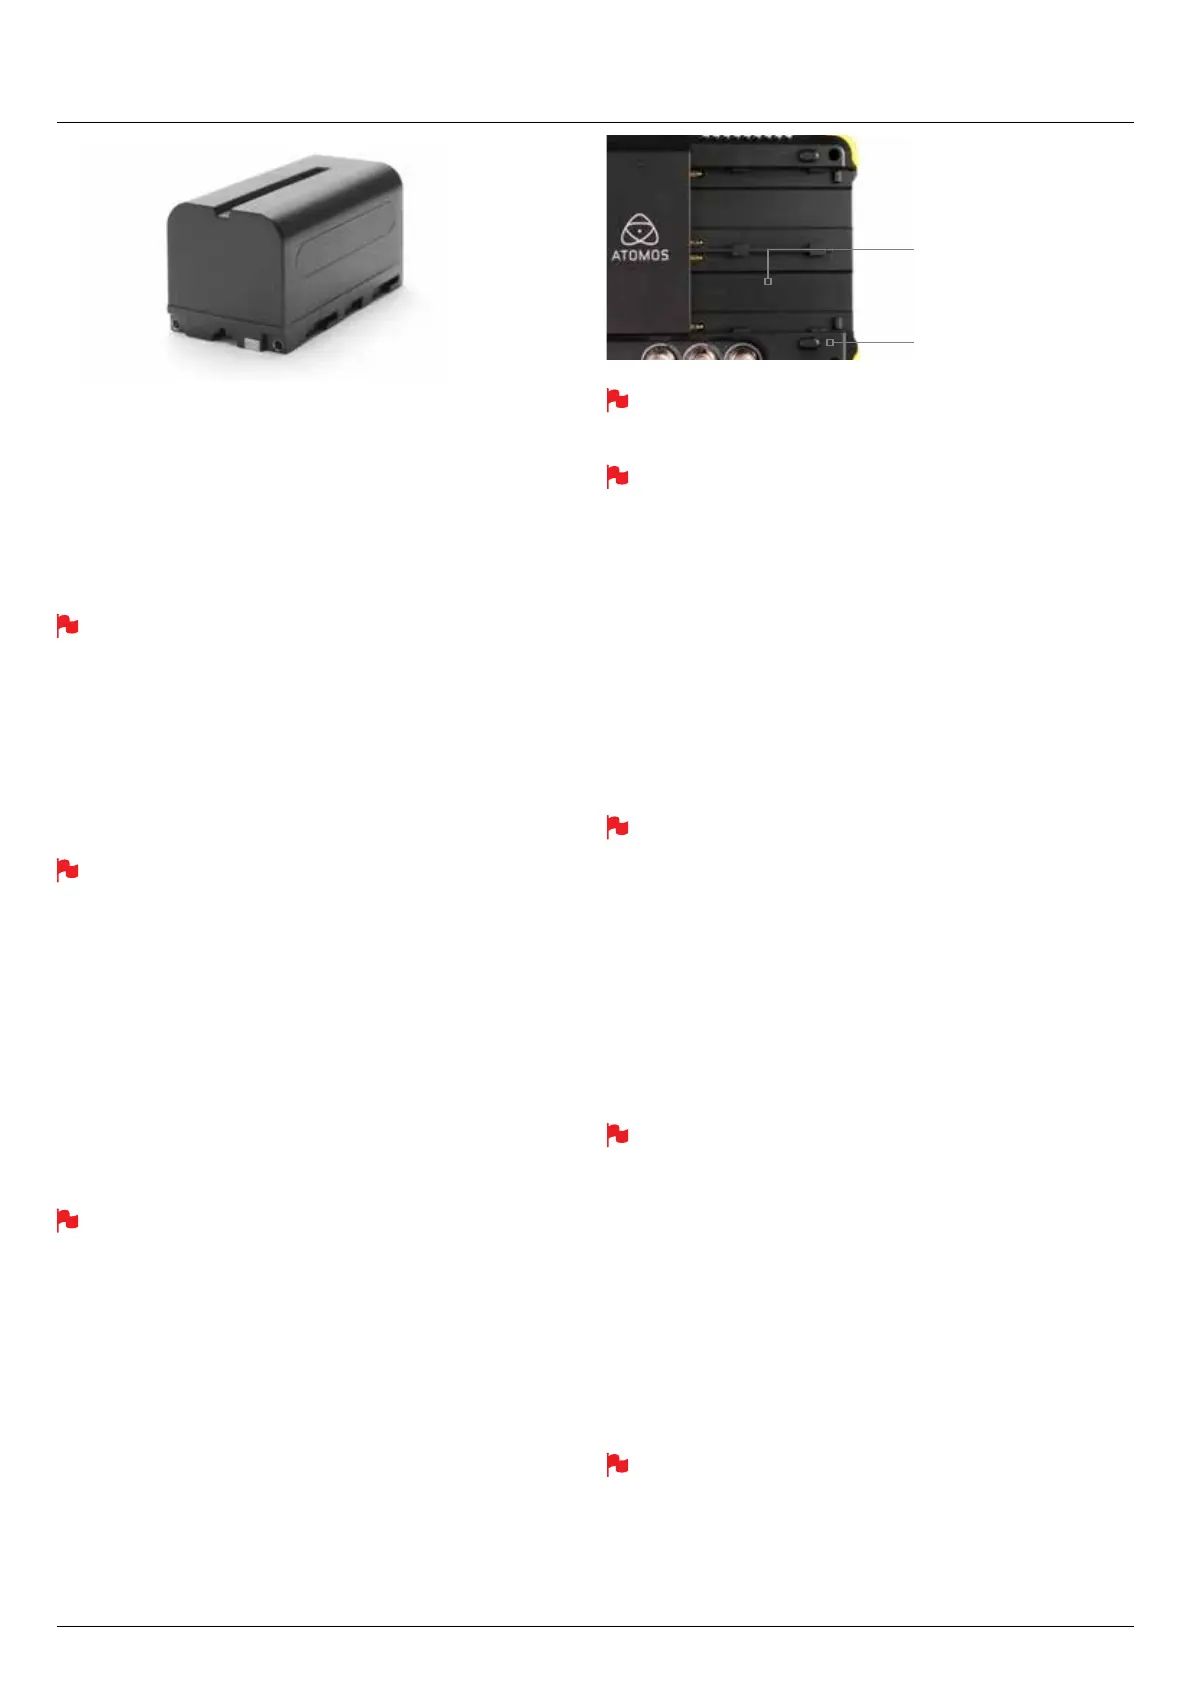
4. Connecting the Shogun Flame and powering up
Battery slot
Gently slide
down into battery
slot and lock into
position
Push the release
button to eject the
battery.