User’s Manual
44
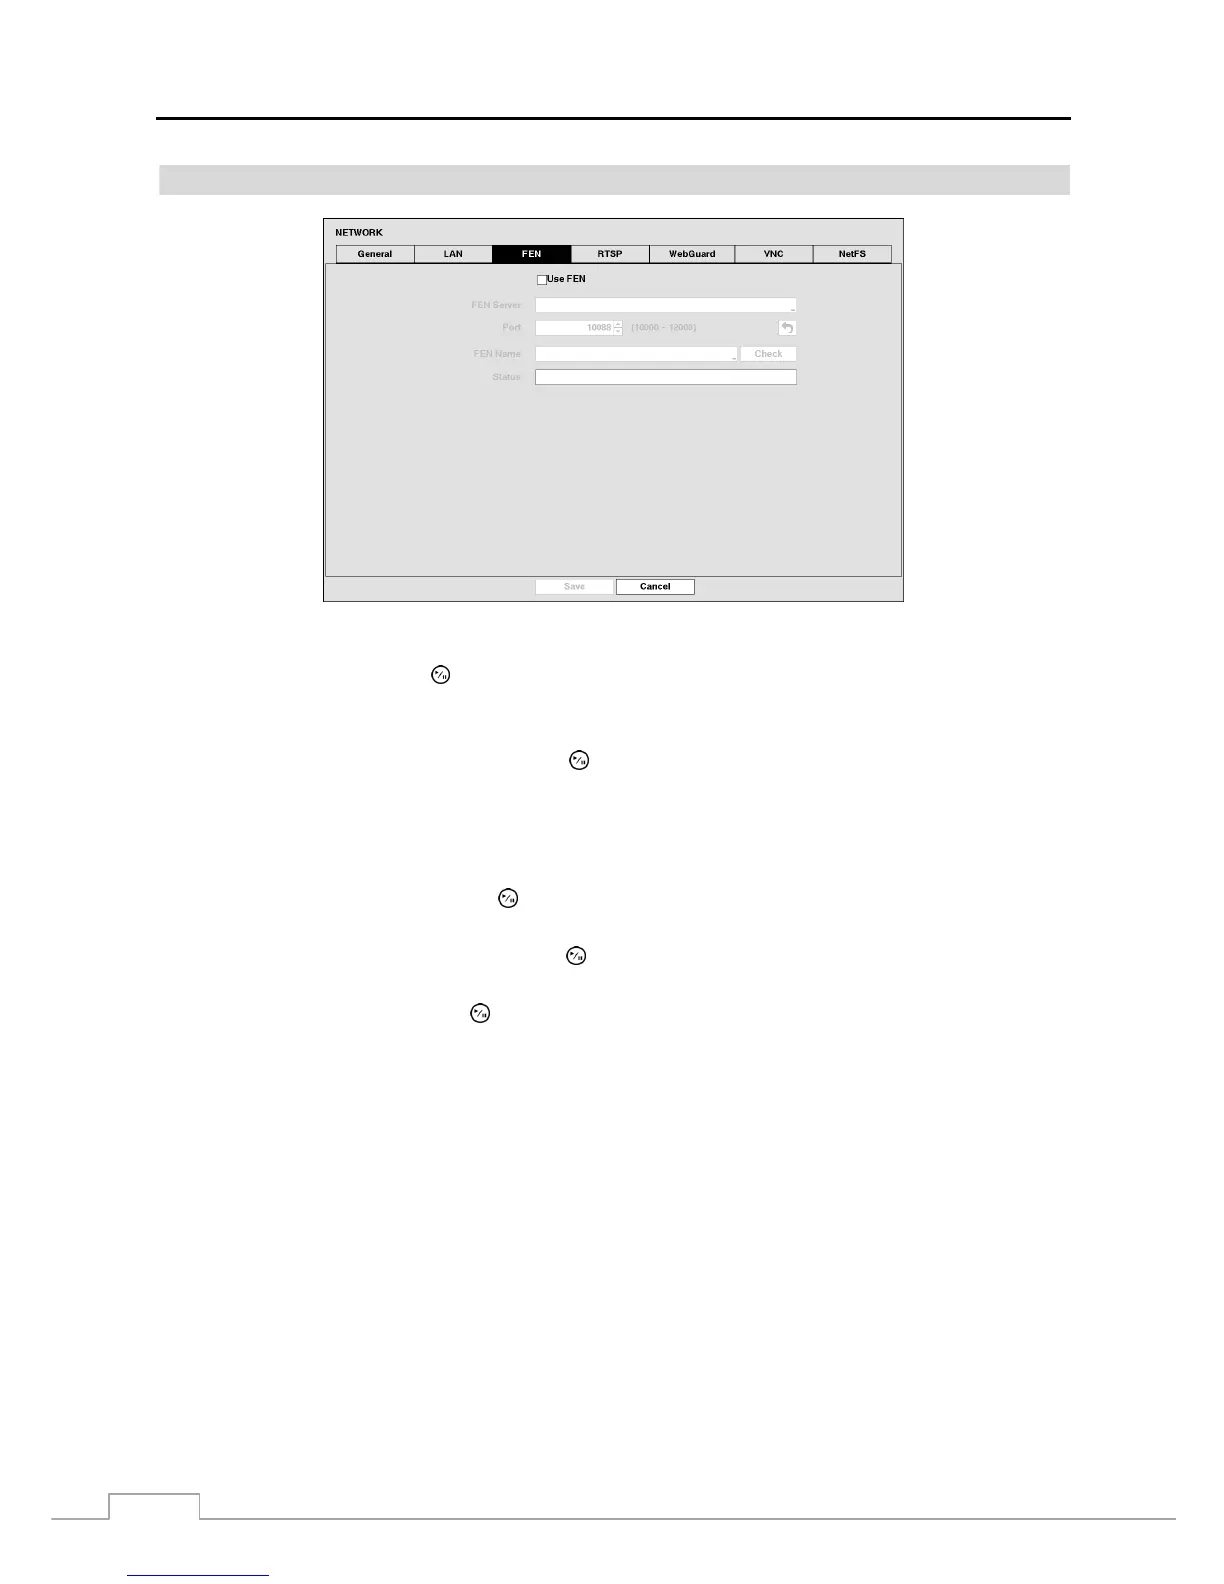
FEN
Figure 29: Network – FEN setup screen.
Highlight Use FEN and press the
button to toggle between On and Off.
NOTE: FEN is the technology that automatically sets up your DVR to work seamlessly for remote viewing via
your network internet connection. For FEN to work, naming your DVR will be required.
Highlight the box beside FEN Server and press the button. A virtual keyboard appears allowing you to enter the
IP address or domain name of the FEN server.
NOTE: You will need to get the IP Address or domain name of the FEN Server from your network administrator.
You can use the domain name instead of IP address if you already set up the DNS Server when setting
up the LAN.
Highlight the box beside Port and press the button. Set the port number of the FEN server using the Up and Down
arrow buttons to increase or decrease the numbers.
Highlight the box beside FEN Name and press the button. A virtual keyboard appears allowing you to enter the
DVR name to be registered on the DVRNS (DVR Name Service) server.
Highlight the Check box and press the button to check whether or not the name you entered can be used.
NOTE: The FEN Name you entered should be checked by selecting Check, otherwise the FEN changes will not
be saved.
When entering no name or a name already registered on the DVRNS server, an error message displays.
The box beside Status displays the current information of the Rendezvous server and NAT (Network Address Translation)
device.