19
USER'S MANUAL
bit One HD /
7. bit One HD SETUP WITH PC
To adjust the bit One HD functions a software is required. The processor needs to be connected to the PC and
turned on. After installing the software, start it by selecting the icon shown on your desktop.
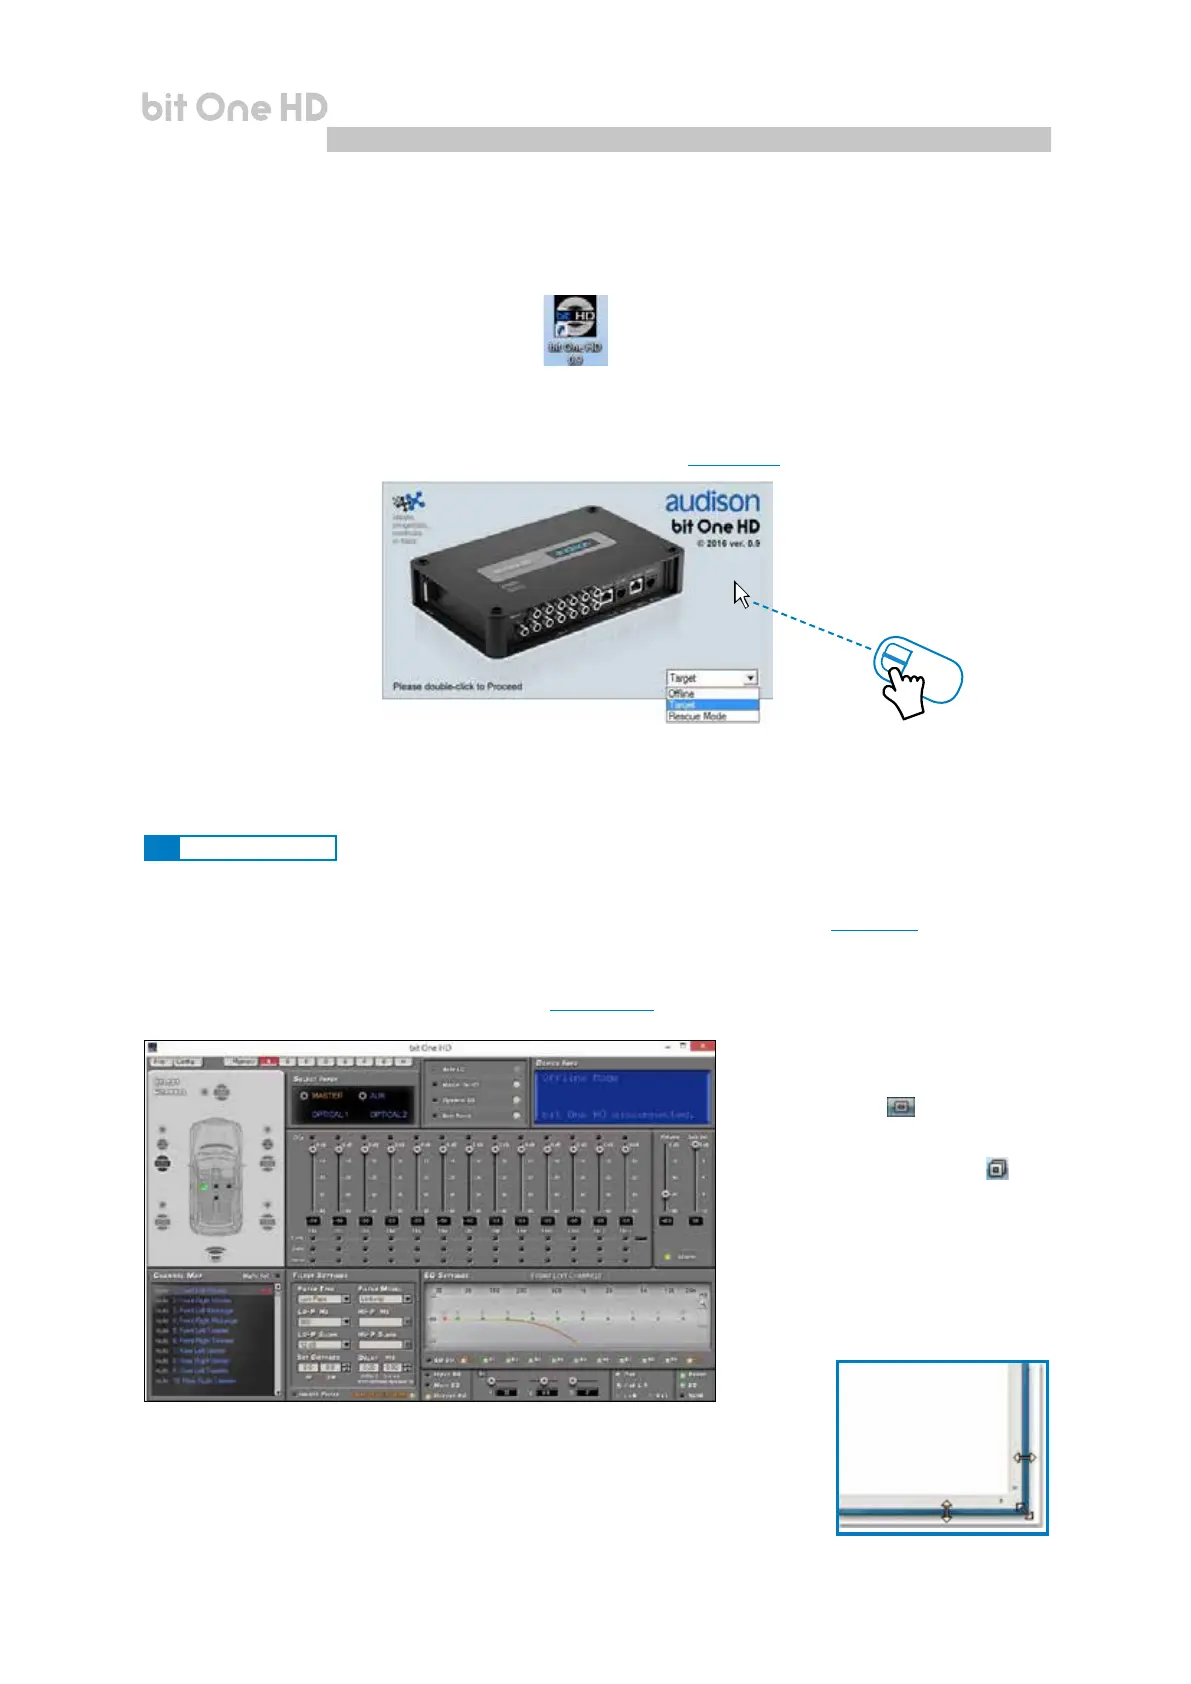
To select the startup mode select the corresponding entry on the drop down menu, then press ENTER or double click on
the bit One HD image.
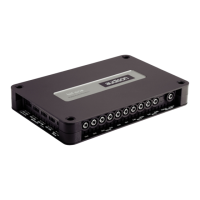
Here is how the bit One HD software appears when started in OFFLINE mode
In this case even if the bit One HD processor is connected to the PC, it does not interact with the software.
The OFFLINE mode can be used to work on the software to get familiar with the processor multiple functions
without connecting the bit One HD to the PC. For more information on the specic functions see section 7.2 (TARGET mode).
The software is pre-set to start with a 3-way + stereo Sub active multi-amplied system.
To set a new “virtual” system, and so to change the inputs and select the outputs, the function I/O Conguration Wizard
in the “Cong” window of the software main menu needs to be selected.
Follow the same instructions as per TARGET mode
(see section 7.2.).
The rst window is the startup page where one of the following modes needs to be selected:
- OFFLINE mode, bit One HD not connected;
- TARGET mode, bit One HD connected;
- RESCUE mode, bit One HD connected for Update/Rescue
(see section 9.4).
7.1 OFFLINE MODE
Remark: how to change the size of the PC
software window
• To make the window full-screen, click on
the Enlarge button or double click on
the title bar of the PC software window.
• To restore the previous size from full-
screen, click on the Reset button or
double click on the title bar on the window.
• To resize the PC software window (make
it smaller or larger), position the mouse
pointer on one edge or corner of the window.
When the mouse pointer becomes an
arrow with a double point, drag the edge
or corner to make the window larger or
smaller.
2 click
7